
1. Introdución
Thank you for choosing the Feexot Retro Bluetooth AM FM SW Radio. This manual provides essential information for the safe and efficient operation of your device. Please read it thoroughly before use and retain it for future reference.
This portable radio combines vintage aesthetics with modern functionality, offering AM, FM, and Shortwave (SW) radio reception, Bluetooth connectivity, and multiple playback options including USB, TF card, and AUX input. Its compact design and rechargeable battery make it ideal for both home and outdoor use.
2. Produto rematadoview
Familiarize yourself with the components and controls of your Feexot Retro Radio.

Figure 1: Front panel controls and features of the Feexot Retro Radio.
Compoñentes clave:
- Interruptor de alimentación: Integrated into the tonearm mechanism. Moving the tonearm over the faux record turns the unit ON; returning it to its resting position turns it OFF.
- Botón de volume: Axusta o nivel de saída de audio.
- Mode Switch (MP3/FM/AM/SW): Selects between different audio sources (MP3 playback, FM radio, AM radio, Shortwave radio).
- Dial de axuste: Used to precisely tune into radio stations. Features frequency-modulated LED lighting.
- Antena: Antena telescópica extensible para unha mellor recepción de radio.
- Botóns de control de reprodución: Play/Pause, Previous Track, Next Track (for MP3/Bluetooth modes).
- Porto USB: Para reproducir audio files dunha unidade flash USB.
- Ranura para tarxetas TF: Para reproducir audio files desde unha tarxeta TF (MicroSD).
- Entrada AUX: Conector de 3.5 mm para conectar dispositivos de son externos.
- DC 5V Type-C Charging Port: Para recargar a batería interna.
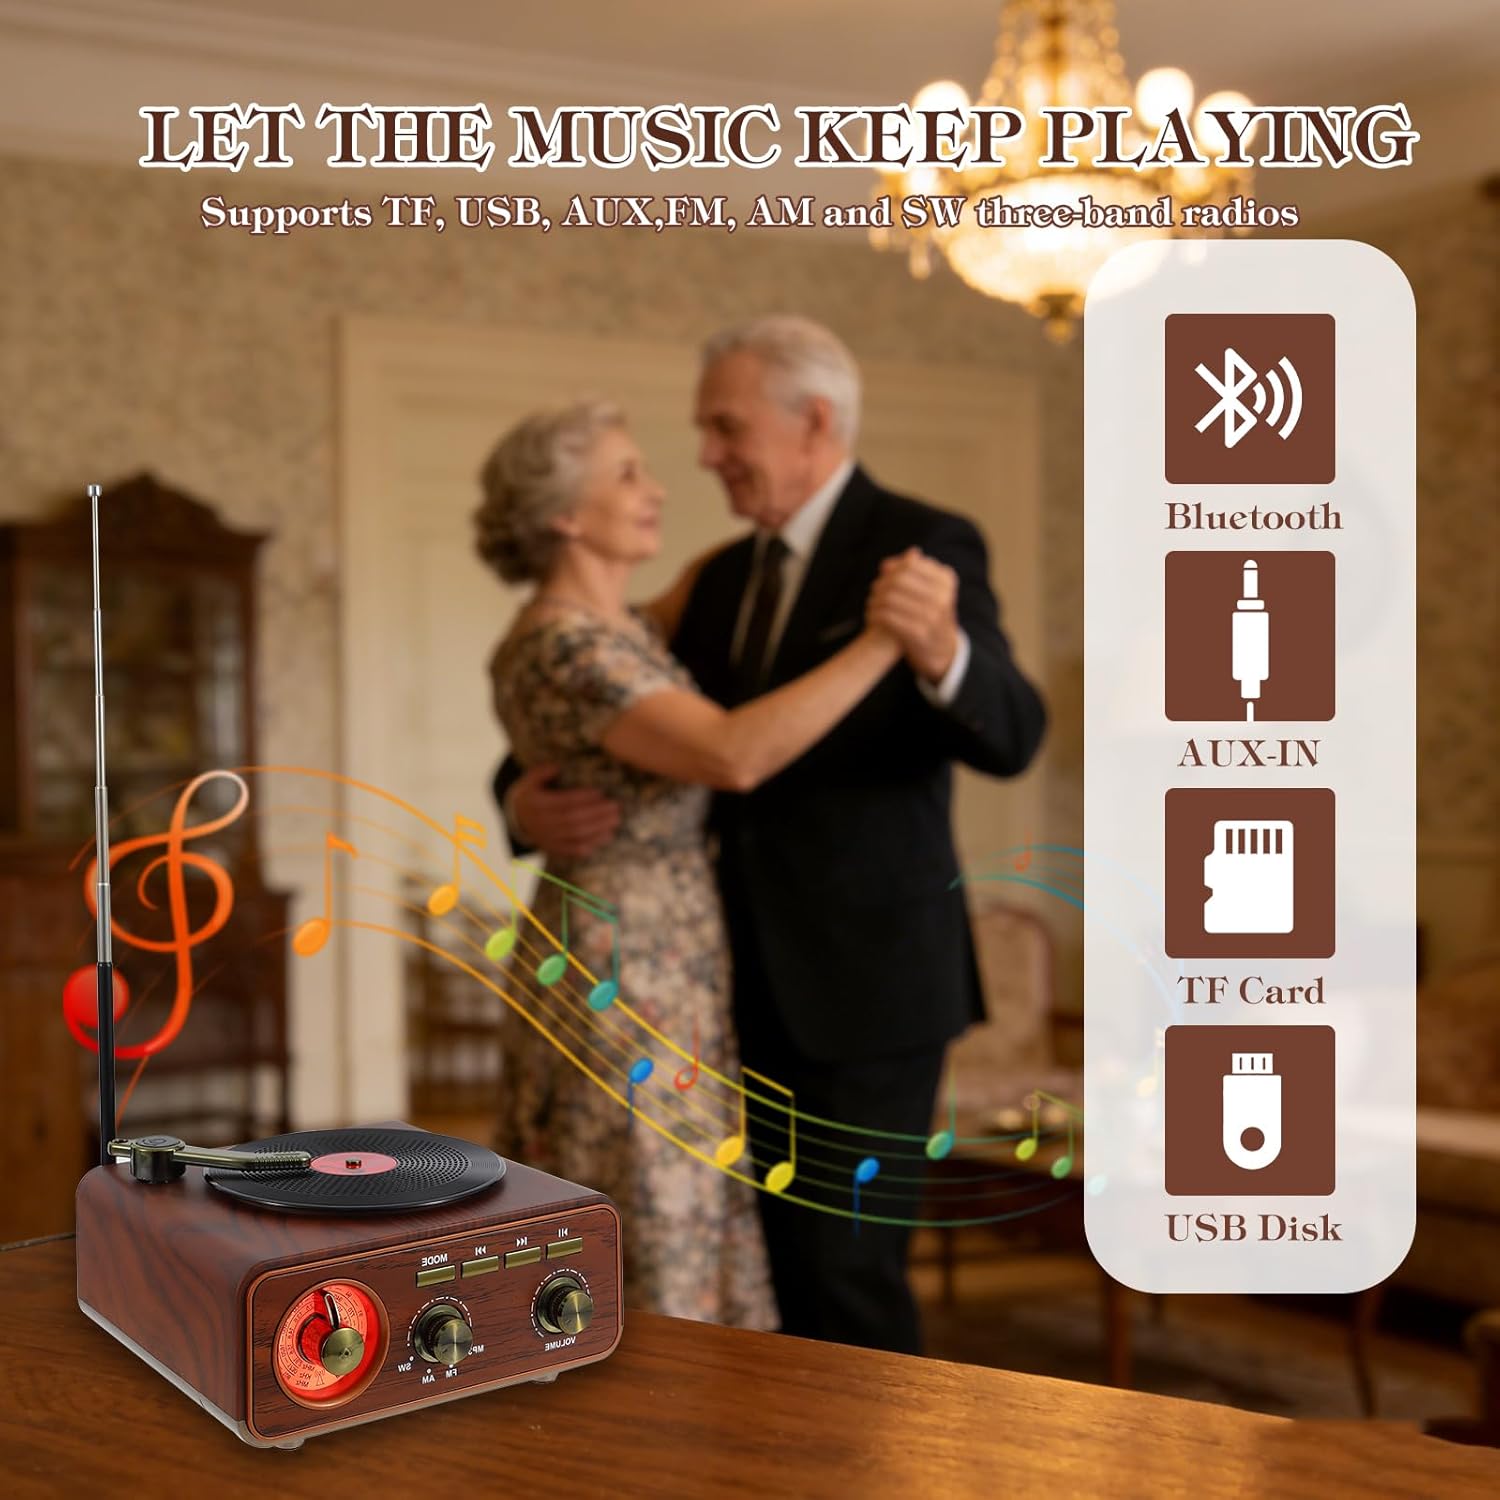
Figure 2: Available audio input options.
3. Configuración
3.1 Desembalaxe
Carefully remove the radio from its packaging. Ensure all included components are present:
- Feexot Retro Bluetooth AM FM SW Radio
- Cable de carga USB (tipo A a tipo C)
- Manual do propietario (este documento)
3.2 Carga da batería
The radio is equipped with a built-in rechargeable lithium-ion battery. Before first use, it is recommended to fully charge the device.
- Connect the provided USB charging cable to the DC 5V Type-C port on the side of the radio.
- Conecta o outro extremo do cable USB a un adaptador de corrente USB compatible (non incluído) ou a un porto USB do ordenador.
- A luz indicadora de carga acenderase durante a carga.
- A full charge typically takes approximately 4 hours. The indicator light may change or turn off once charging is complete.
The radio can operate for several hours on a full charge, providing extended wireless listening.
3.3 Extensión da antena
For optimal radio reception, extend the telescopic antenna located at the back of the unit to its full length (approximately 19.29 inches).

Figura 3: Dimensións do produto como referencia de colocación.
4. Instrucións de funcionamento
4.1 Encendido/apagado
To power on the radio, gently move the tonearm from its resting position to over the faux record on the top surface. The unit will emit an audible cue, and the tuning dial will illuminate. To power off, return the tonearm to its resting position.
Video 1: Demonstration of powering on the radio by moving the tonearm.
4.2 Axuste do volume
Xire o Botón de volume on the front panel clockwise to increase volume and counter-clockwise to decrease it.
4.3 Selecting Audio Mode
Usa o Interruptor de modo to cycle through available audio sources: MP3 (for USB/TF card), FM, AM, and SW (Shortwave) radio bands.
4.4 Funcionamento da radio (AM/FM/SW)
- Estenda a antena telescópica para unha mellor recepción.
- Establece o Interruptor de modo to FM, AM, or SW.
- Xire o Marcador de sintonía to scan for radio stations. The illuminated dial will help in precise tuning.
- Adjust the antenna position and radio placement for optimal signal clarity.

Figure 4: Visual representation of radio frequency tuning.
4.5 Emparejamento Bluetooth
- Establece o Interruptor de modo to Bluetooth mode. The radio will enter pairing mode, indicated by an audible prompt.
- No teu teléfono intelixente, tableta ou outro dispositivo con Bluetooth, activa Bluetooth e busca os dispositivos dispoñibles.
- Select "BT-888" (or similar name) from the list of devices.
- Once paired, the radio will confirm with an audible sound, and you can stream audio wirelessly.

Figure 5: Bluetooth connection with a mobile device.
Reprodución de tarxetas USB/TF 4.6
- Insert a USB flash drive into the USB port or a TF (MicroSD) card into the TF card slot on the side of the radio.
- Establece o Interruptor de modo to MP3 mode. The radio will automatically detect and begin playing audio files do dispositivo de almacenamento inserido.
- Use os botóns Reproducir/Pausa, Pista anterior e Pista seguinte para controlar a reprodución.
4.7 Entrada AUX
- Connect an external audio device (e.g., MP3 player, laptop) to the AUX input jack on the side of the radio using a 3.5mm audio cable (not included).
- Establece o Interruptor de modo to AUX mode.
- Controla a reprodución e o volume desde o dispositivo externo conectado.
5. Mantemento
5.1 Limpeza
Limpe a radio cun pano suave e seco. Non empregue produtos de limpeza abrasivos, ceras nin disolventes, xa que poden danar o acabado. Evite pulverizar líquidos directamente sobre a unidade.
5.2 Coidado coa batería
- Para prolongar a duración da batería, evite descargala completamente con frecuencia.
- If the radio will not be used for an extended period, charge it to approximately 50% and store it in a cool, dry place. Recharge every 3-6 months to prevent deep discharge.
- Non expoña a batería a temperaturas extremas nin á luz solar directa.
5.3 Almacenamento
Store the radio in a dry environment, away from direct sunlight and extreme temperatures. Retract the antenna when not in use to prevent damage.
6 Solución de problemas
If you encounter issues with your Feexot Retro Radio, please refer to the following common problems and solutions:
| Problema | Causa posible | Solución |
|---|---|---|
| Sen poder | Battery is discharged; Tonearm not in ON position. | Charge the battery; Move the tonearm over the faux record to power on. |
| Sen son | Volume demasiado baixo; Modo incorrecto seleccionado; Dispositivo non conectado correctamente. | Increase volume; Select correct mode (e.g., FM, Bluetooth); Ensure Bluetooth is paired or AUX cable is fully inserted. |
| Mala recepción de radio | Antena non estendida; Zona de sinal débil; Interferencia. | Fully extend the telescopic antenna; Reposition the radio; Try tuning slowly to find a clearer signal. |
| Bluetooth non se conecta | Radio not in Bluetooth mode; Device too far; Already connected to another device. | Ensure radio is in Bluetooth mode; Move device closer to radio; Disconnect from other devices and try pairing again. |
| A tarxeta USB/TF non se reproduce | Modo incorrecto; Incompatible file format; Corrupted card/drive. | Ensure radio is in MP3 mode; Check file formats (e.g., MP3); Try a different USB drive or TF card. |
7. Especificacións
| Característica | Detalle |
|---|---|
| Marca | Feexot |
| Número de modelo | F-1317BT |
| Cor | marrón |
| Dimensións do produto (L x W x H) | 5.9" x 3.3" x 6.3" (150 mm x 85 mm x 160 mm) |
| Tecnoloxía de conectividade | Bluetooth, USB, AUX |
| Tecnoloxía de sintonizador | AM/FM/SW (3-Band) |
| Fonte de enerxía | Alimentado por batería (1 batería de iones de litio incluída) |
| Características especiais | Built-In AM Antenna, Portable, Rechargeable |
| Tipo de visualización | LED (for tuning dial illumination) |
| Compoñentes incluídos | Owner's Manual, USB Cable |
| Nivel de resistencia á auga | Non resistente á auga |
8. Información da garantía
This Feexot product is covered by a 1 ano de garantía desde a data de compra. Esta garantía cobre defectos de fabricación e man de obra en condicións de uso normal. Non cobre danos causados por mal uso, accidentes, modificacións non autorizadas ou desgaste normal.
Conserve o comprobante de compra para reclamacións de garantía.
9. Atención ao cliente
For any questions, technical assistance, or warranty inquiries, please contact Feexot customer support through the retailer's platform or refer to the contact information provided with your purchase documentation.
We are committed to providing excellent service and support for your Feexot product.


