1. Rematadoview
The Philips TAZ2200 is a versatile portable sound machine designed for enjoying various audio formats. It features a top-loading CD player, a front-loading cassette player, FM radio, Bluetooth 6.0 connectivity, USB playback, and a 3.5mm audio input. Equipped with dynamic bass boost and 6W stereo speakers, it delivers rich sound. The unit can be powered by AC mains or batteries and includes a carrying handle for portability.
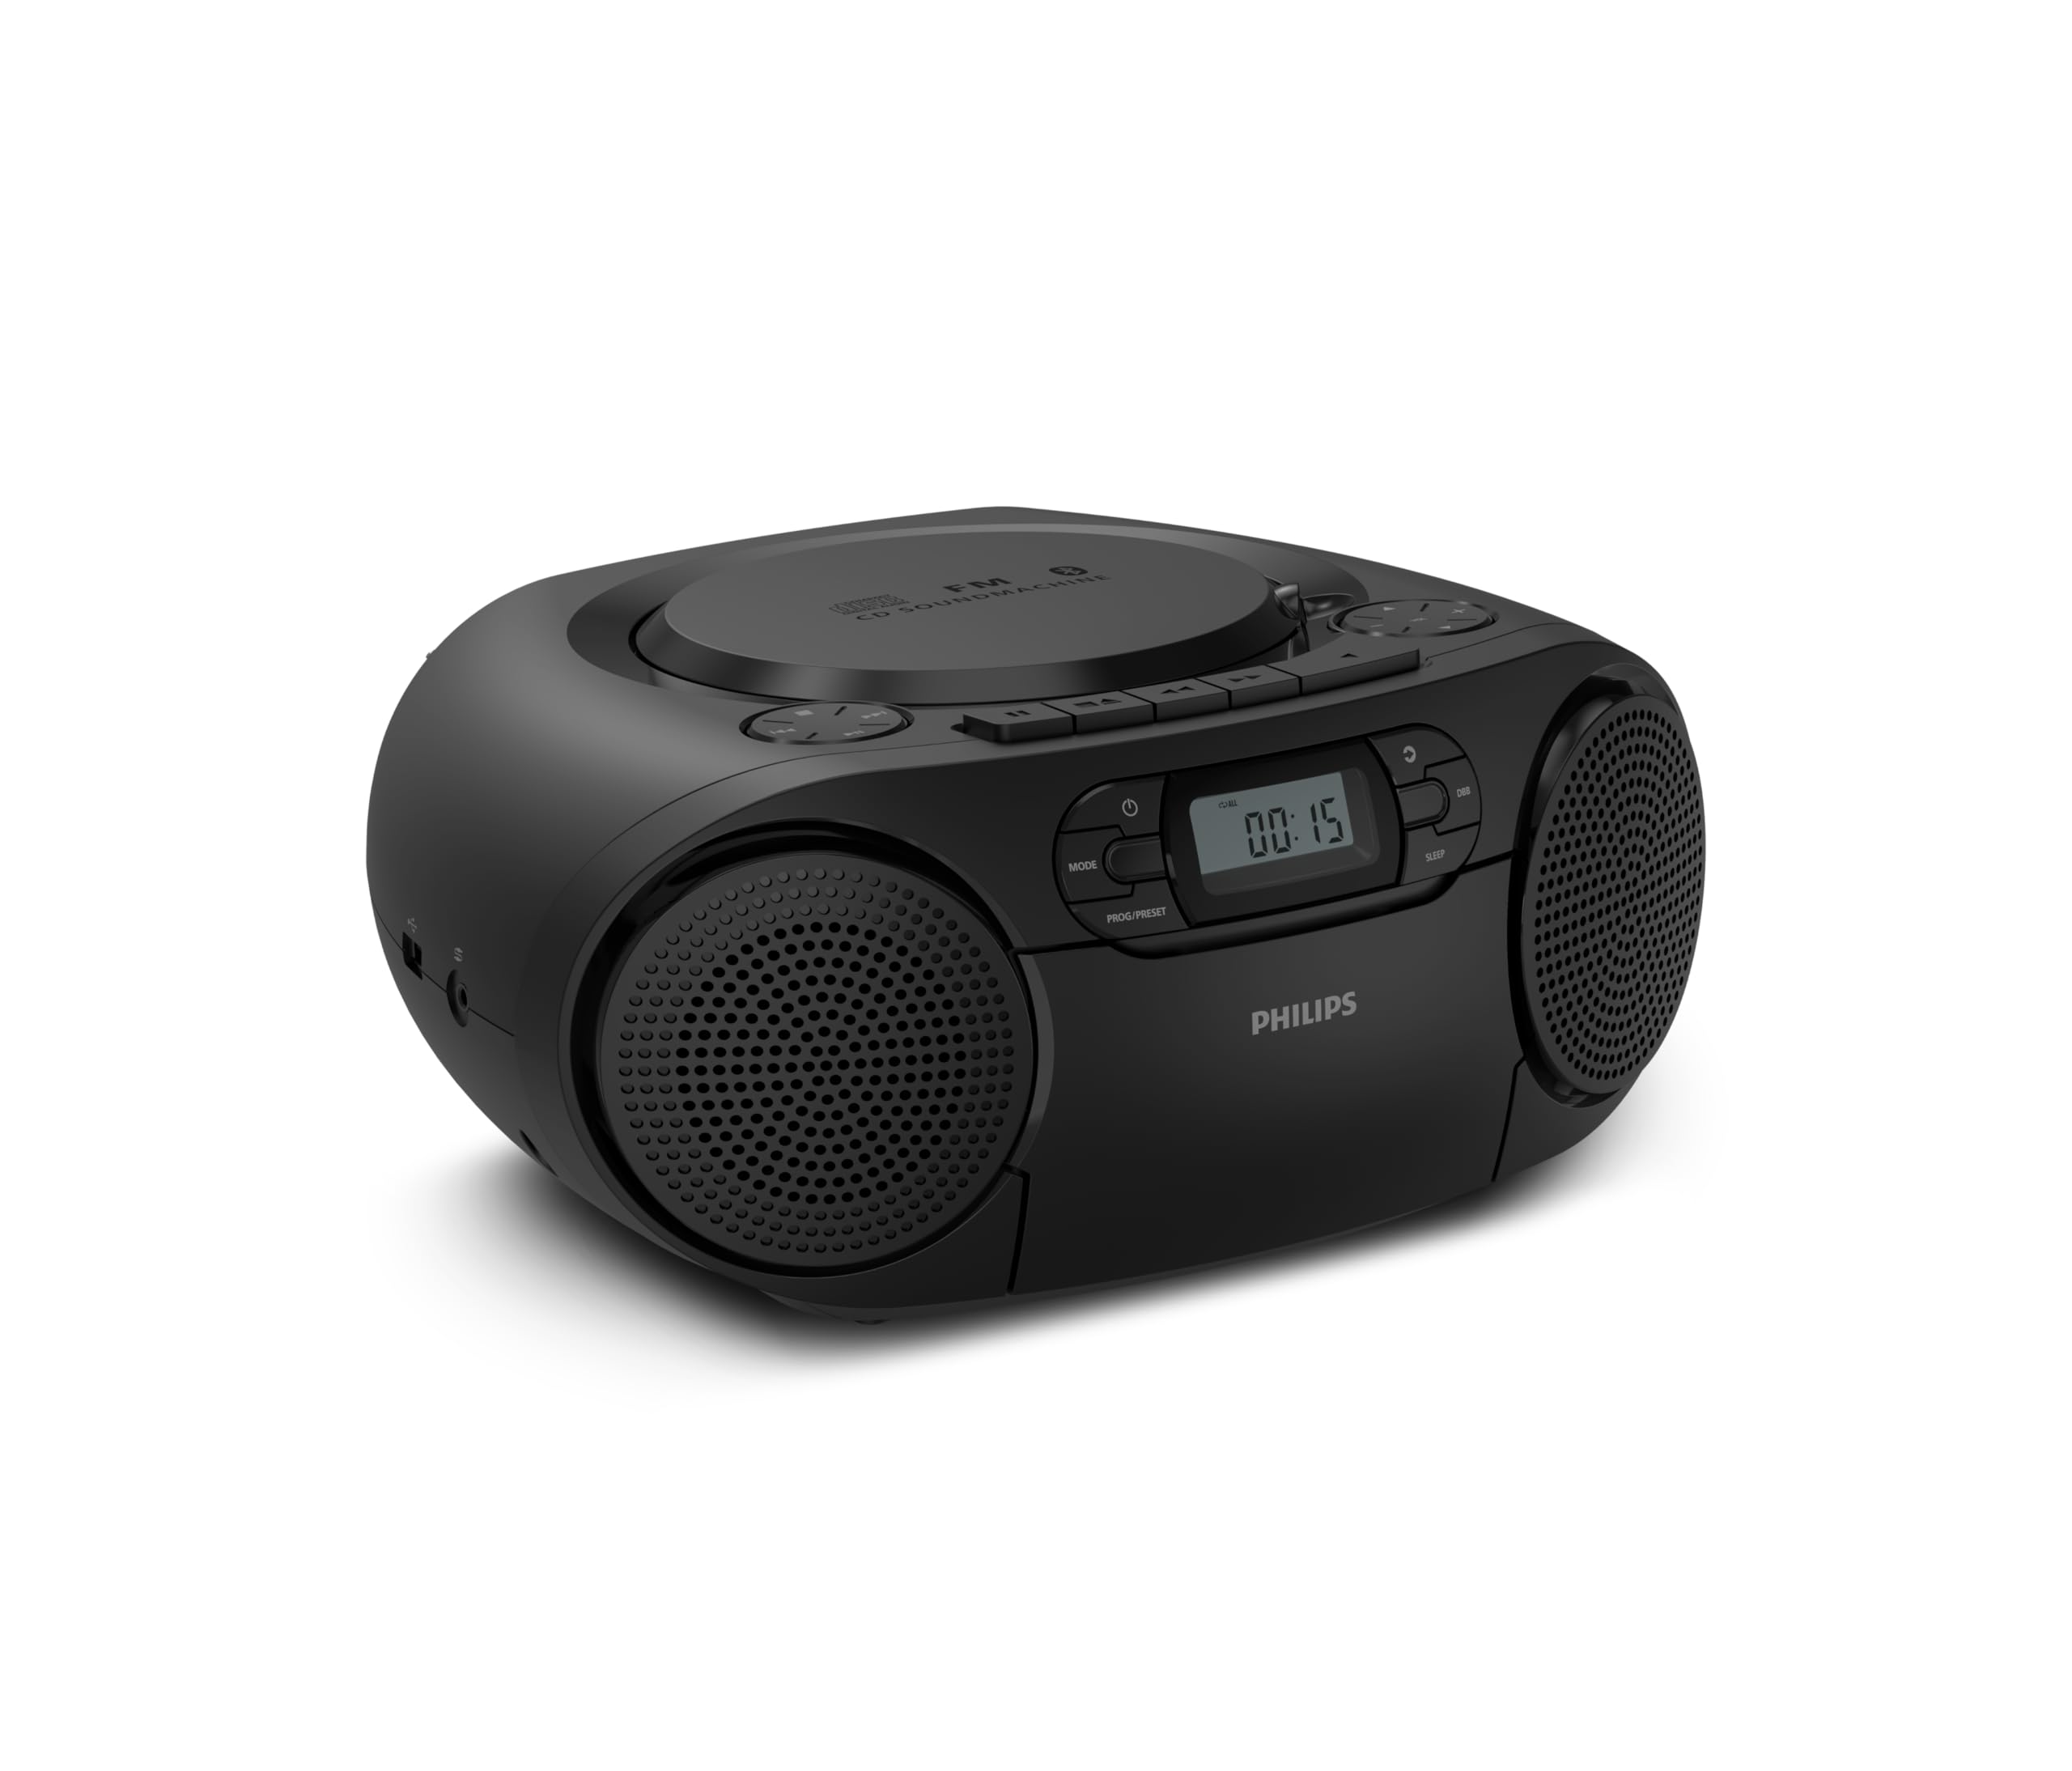
Fronte view of the Philips TAZ2200 CD Soundmachine, showing the main display and control buttons.
2. Información de seguridade
Please read these safety instructions carefully before using your device and keep them for future reference. Incorrect use may result in hazards.
- Fonte de enerxía: Empregue só o adaptador de corrente ou as baterías especificadas. Asegúrese de que o volumetage cumpre cos requisitos da unidade.
- Auga e humidade: Non expoña a unidade á choiva, á humidade, a goteos ou a salpicaduras. Non coloque obxectos cheos de líquidos, como vasos, enriba da unidade.
- Ventilación: Ensure adequate ventilation. Do not block any ventilation openings. Maintain a minimum distance around the unit for sufficient ventilation.
- Calor: Non coloque a unidade preto de fontes de calor como radiadores, rexistros de calor, estufas ou outros aparellos (incluídos amplificadores) que producen calor.
- Baterías: Follow correct polarity when inserting batteries. Do not mix old and new batteries, or different types of batteries. Remove batteries if the unit is not used for a long period.
- Limpeza: Desconecte a unidade da toma de corrente antes de limpala. Use un pano suave e seco. Non empregue produtos de limpeza líquidos nin produtos de limpeza en aerosol.
- Servizo: Non intente atender este produto vostede mesmo. Remita todo o servizo a persoal de servizo cualificado.
3. Que hai na caixa
Ao desembalar, asegúrese de que estean presentes todos os elementos que se indican a continuación:
- Philips TAZ2200 CD Soundmachine
- Cable de alimentación
- Guía de inicio rápido
- Folleto de garantía
- Ficha de seguridade
4. Controis e conexións
Controis do panel frontal
The front panel features the main display, power button, mode selection, program/preset buttons, and dynamic bass boost (DBB) control. Playback controls for CD and USB are also located here.

Fronte detallada view showing the display, power, mode, program/preset, and DBB buttons.
Side and Rear Connections
The side of the unit provides a USB port for digital audio playback and a 3.5mm audio input jack for connecting external devices.

Lado view illustrating the USB port and Audio Input jack.
The top of the unit houses the CD compartment and additional playback controls, while the rear features the AC power input and the FM antenna.

Arriba view showing the CD compartment and associated controls.

Traseira view displaying the AC power input and the telescopic FM antenna.
5. Configuración
5.1 Fonte de alimentación
Alimentación CA
- Asegúrese de que a unidade estea apagada.
- Connect the supplied power cable to the AC IN socket on the rear of the sound machine.
- Plug the other end of the power cable into a wall power outlet.
Potencia da batería
For portable use, the unit can operate on 6 x C-type batteries (not included).
- Abra a tapa do compartimento da batería situada na parte inferior da unidade.
- Insert 6 C-type batteries, ensuring correct polarity (+/-) as indicated inside the compartment.
- Pecha a tapa do compartimento da batería de forma segura.
5.2 Axuste da antena
For optimal FM radio reception, fully extend the telescopic antenna located at the rear of the unit. Adjust its position and angle to achieve the clearest signal.
6. Instrucións de funcionamento
6.1 Funcionamento xeral
- Encendido/apagado: Preme o POTENCIA botón para acender ou apagar a unidade.
- Control de volume: Usa o VOL+ or VOL - botóns para axustar o nivel de volume.
- Dynamic Bass Boost (DBB): Preme o DBB button to activate or deactivate the dynamic bass boost feature for enhanced bass sound.
- Selección de modo: Preme o MODO button repeatedly to switch between CD, Cassette, FM Radio, Bluetooth, USB, and Audio Input modes.
6.2 Reprodución de CD
- Open the CD compartment cover on top of the unit.
- Place a CD (CD, CD-R, or CD-RW) with the label side facing up onto the spindle.
- Pecha a tapa do compartimento do CD.
- Preme o MODO para seleccionar o modo CD.
- Preme o REPRODUCIR/PAUSA botón para iniciar a reprodución.
- Usa o SALTAR botóns (|< or >> |) para saltar pistas.
- Mantén premido |< or >> | to search within a track.
- Preme o PARA botón para deter a reprodución.
6.3 Reprodución de casete
- Open the cassette compartment door on the front of the unit.
- Introduza unha cinta de casete coa beira aberta cara arriba.
- Peche a porta do compartimento da casete.
- Preme o MODO botón para seleccionar o modo Cassete.
- Preme o XOGAR botón para iniciar a reprodución.
- Usa o AVANCE RÁPIDO or RETROBAR buttons to quickly advance or rewind the tape.
- Preme o PARA botón para deter a reprodución.
6.4 Radio FM
- Preme o MODO botón para seleccionar o modo de radio FM.
- Escaneo automático: Manteña premido o PROG/PRESET botón para buscar e almacenar automaticamente as emisoras de FM dispoñibles.
- Sintonización manual: Preme o TUNING botóns (|< or >> |) to manually tune to a desired frequency.
- Gardando presets: After tuning to a station, press PROG/PRESET once, then use |< or >> | para seleccionar un número predefinido e prema PROG/PRESET de novo para confirmar.
- Recordando presets: No modo FM, prema PROG/PRESET repeatedly to cycle through saved preset stations.
6.5 Reprodución por Bluetooth
- Preme o MODO para seleccionar o modo Bluetooth. A pantalla mostrará "BT" e parpadeará, indicando que está en modo de emparellamento.
- No teu dispositivo con Bluetooth (teléfono intelixente, tableta), activa Bluetooth e busca os dispositivos dispoñibles.
- Select "Philips TAZ2200" from the list of devices.
- Once paired, the unit will emit a confirmation sound, and 'BT' will stop flashing.
- Start playing audio on your connected device. The sound will be streamed to the sound machine.
Reprodución por USB 6.6
- Insira unha unidade flash USB no porto USB do lateral da unidade.
- Preme o MODO botón para seleccionar o modo USB.
- A unidade detectará automaticamente e comezará a reproducir son compatible files (MP3, WAV, WMA).
- Usa os controis de reprodución (REPRODUCIR/PAUSA, SALTAR, PARA) as you would for CD playback.
6.7 Audio Input (AUX)
- Connect one end of a 3.5mm audio cable (not included) to the AUDIO IN jack on the side of the sound machine.
- Connect the other end of the audio cable to the headphone jack or audio output of your external device (e.g., MP3 player, turntable).
- Preme o MODO button to select Audio Input mode.
- Start playing audio on your external device. The sound will be played through the sound machine.
7. Mantemento
- Limpeza da unidade: Limpe o exterior da unidade cun pano suave e lixeiramenteamp pano. Non use produtos de limpeza ou disolventes abrasivos.
- Coidado do reprodutor de CD: Keep the CD compartment clean. If the lens is dirty, use a specialized CD lens cleaner. Avoid touching the lens.
- Coidados do reprodutor de casetes: Limpe periodicamente os cabezales da cinta e os rolos de presión cun hisopo de algodón lixeiramente dampcon alcohol isopropílico.
- Substitución da batería: If using batteries, replace all 6 C-type batteries when the unit's performance diminishes or if the unit will not be used for an extended period.
- Almacenamento: Cando non estea en uso, garde a unidade nun lugar limpo e seco, lonxe da luz solar directa e de temperaturas extremas.
8 Solución de problemas
If you encounter any issues with your Philips TAZ2200, please refer to the table below for common problems and solutions.
| Problema | Causa posible | Solución |
|---|---|---|
| Sen poder | Cable de alimentación non conectado; Pilas esgotadas ou inseridas incorrectamente. | Comprobe a conexión da corrente alterna; substitúa as pilas ou asegúrese de que a polaridade sexa correcta. |
| Sen son | Volume demasiado baixo; Modo incorrecto seleccionado; Auriculares conectados. | Increase volume; Select the correct source mode (CD, FM, BT, etc.); Disconnect headphones. |
| Non se reproduce o CD | CD inserted incorrectly; CD is dirty or scratched; CD format not supported. | Insert CD with label side up; Clean or replace CD; Ensure CD is CD-R/RW compatible. |
| Cassette not playing | Cassette inserted incorrectly; Tape is damaged. | Insert cassette correctly; Try a different cassette. |
| Mala recepción FM | Antena non estendida ou colocada correctamente; sinal débil. | Estenda e axuste completamente a antena telescópica; probe a mover a unidade a unha localización diferente. |
| Bluetooth non se conecta | Unit not in pairing mode; Bluetooth device too far; Device already paired with another unit. | Ensure unit is in Bluetooth mode and flashing; Move device closer; Disconnect from other devices. |
| Problemas de reprodución por USB | Unidade USB non inserida correctamente; Incompatible file format; USB drive corrupted. | Volva inserir a unidade USB; asegúrese de files are MP3, WAV, or WMA; Try a different USB drive. |
9. Especificacións
| Característica | Especificación |
|---|---|
| Marca | PHILIPS |
| Número de modelo | TAZ2200/10 |
| Tecnoloxía de conectividade | Bluetooth 6.0, USB, Audio Input (3.5mm) |
| Tipo de altofalante | Stereo (2 speakers) |
| Potencia de saída | 6 vatios (máx.) |
| Medios compatibles | CD, CD-R, CD-RW, Cassette, USB (MP3, WAV, WMA) |
| Sintonizador de radio | Digital FM with 20 presets |
| Fonte de enerxía | AC (wired), 6 x C-type batteries (not included) |
| Dimensións (LxWxH) | 24.5 x 28.5 x 12.5 cm |
| Peso | 1.35 quilogramos |
| Cor | Prata |
10. Garantía e soporte
10.1 Garantía do produto
This Philips TAZ2200 CD Soundmachine comes with a 2 ano de garantía desde a data de compra. Conserve o comprobante de compra para reclamacións de garantía. A garantía cobre defectos de fabricación e avarías en condicións de uso normais.
10.2 Atención ao cliente
For technical assistance, troubleshooting beyond this manual, or warranty service, please refer to the contact information provided in the warranty booklet included with your product. You can also visit the official Philips support website for your region for further assistance and FAQs.