
1. Introdución
This manual provides essential information for the safe and efficient use of your Kyocera ECOSYS MZ3201ix A3 Laser Multifunction Printer. Please read this manual thoroughly before operating the device and keep it for future reference.
Produto rematadoview
The Kyocera ECOSYS MZ3201ix is a versatile A3 laser multifunction printer designed for both office and home office environments. It offers high-resolution printing, copying, scanning, and faxing capabilities, ensuring efficient document management.
Características principais:
- Print resolution up to 1200 dpi.
- Print speed up to 32/17 pages A4/A3 per minute in black and white.
- 100-sheet universal feeder and 500-sheet cassette.
- Duplex unit for double-sided printing (DIN A5 - DIN A3).
- Integrated high-level security features.
- Automatic Document Feeder (ADF).
- Network-ready with Ethernet and USB connectivity.
- Scan to email functionality.
- Intuitive touch screen interface.
2. Información de seguridade
Observe sempre as seguintes precaucións de seguridade para evitar lesións ou danos no dispositivo.
- Fonte de alimentación: Connect the printer only to a grounded power outlet with the correct voltage. Non sobrecargues as tomas de corrente.
- Colocación: Place the printer on a stable, level surface. Ensure adequate ventilation around the device. Avoid placing it near water or heat sources.
- Manexo: Non intente desmontar nin modificar a impresora. Encargue calquera tipo de mantemento a persoal cualificado.
- Consumibles: Use only genuine Kyocera toner and parts. Keep toner cartridges out of reach of children.
- Mover o dispositivo: The printer is heavy (49 kg). Use appropriate lifting techniques or assistance when moving it to prevent injury.
3. Que hai na caixa
Desembala a caixa con coidado e asegúrate de que estean presentes todos os elementos:
- Kyocera ECOSYS MZ3201ix Multifunction System
- Cartucho de toner
- Recipiente de residuos de tóner
- Cable de alimentación
- Instrucións de seguridade
- Guía de inicio rápido
If any items are missing or damaged, please contact your vendor or Kyocera support.
4. Configuración
4.1 Desembalaxe e colocación
- Remove all packaging materials, tapes, and protective films from the printer.
- Place the printer on a sturdy, level surface capable of supporting its weight (approximately 49 kg). Ensure there is sufficient space around the printer for ventilation and access to trays and covers.
4.2 Conexión do cable de alimentación
- Connect the power cable to the power input on the rear of the printer.
- Conecte o outro extremo do cable de alimentación a unha toma de corrente con conexión a terra.
4.3 Installing Toner and Waste Toner Container
- Abra a tapa frontal da impresora.
- Insert the toner cartridge according to the instructions provided on the cartridge and inside the printer.
- Insert the waste toner container into its designated slot.
- Pecha a tapa frontal de forma segura.
4.4 Carga de papel
- Pull out the paper cassette (standard 500-sheet tray or 100-sheet universal feeder).
- Axuste as guías do papel ao tamaño do papel que está a cargar (admite de A5 a A3).
- Cargue a pila de papel, asegurándose de que non supere a liña de recheo máximo.
- Empurre con coidado a cassete de papel de volta na impresora.
4.5 Conexión de rede e USB
- For Network Connection (Ethernet): Connect an Ethernet cable from your network router/switch to the LAN port on the printer.
- For Direct Connection (USB): Connect a USB 2.0 cable from your computer to the USB port on the printer.
4.6 Instalación de software
- Acende a impresora usando o botón de acendido.
- Follow the on-screen instructions on the printer's touch screen for initial setup, including language and network settings.
- On your computer, insert the driver CD (if provided) or download the latest drivers and utility software from the official Kyocera websitio.
- Run the installer and follow the prompts to install the printer drivers and software.
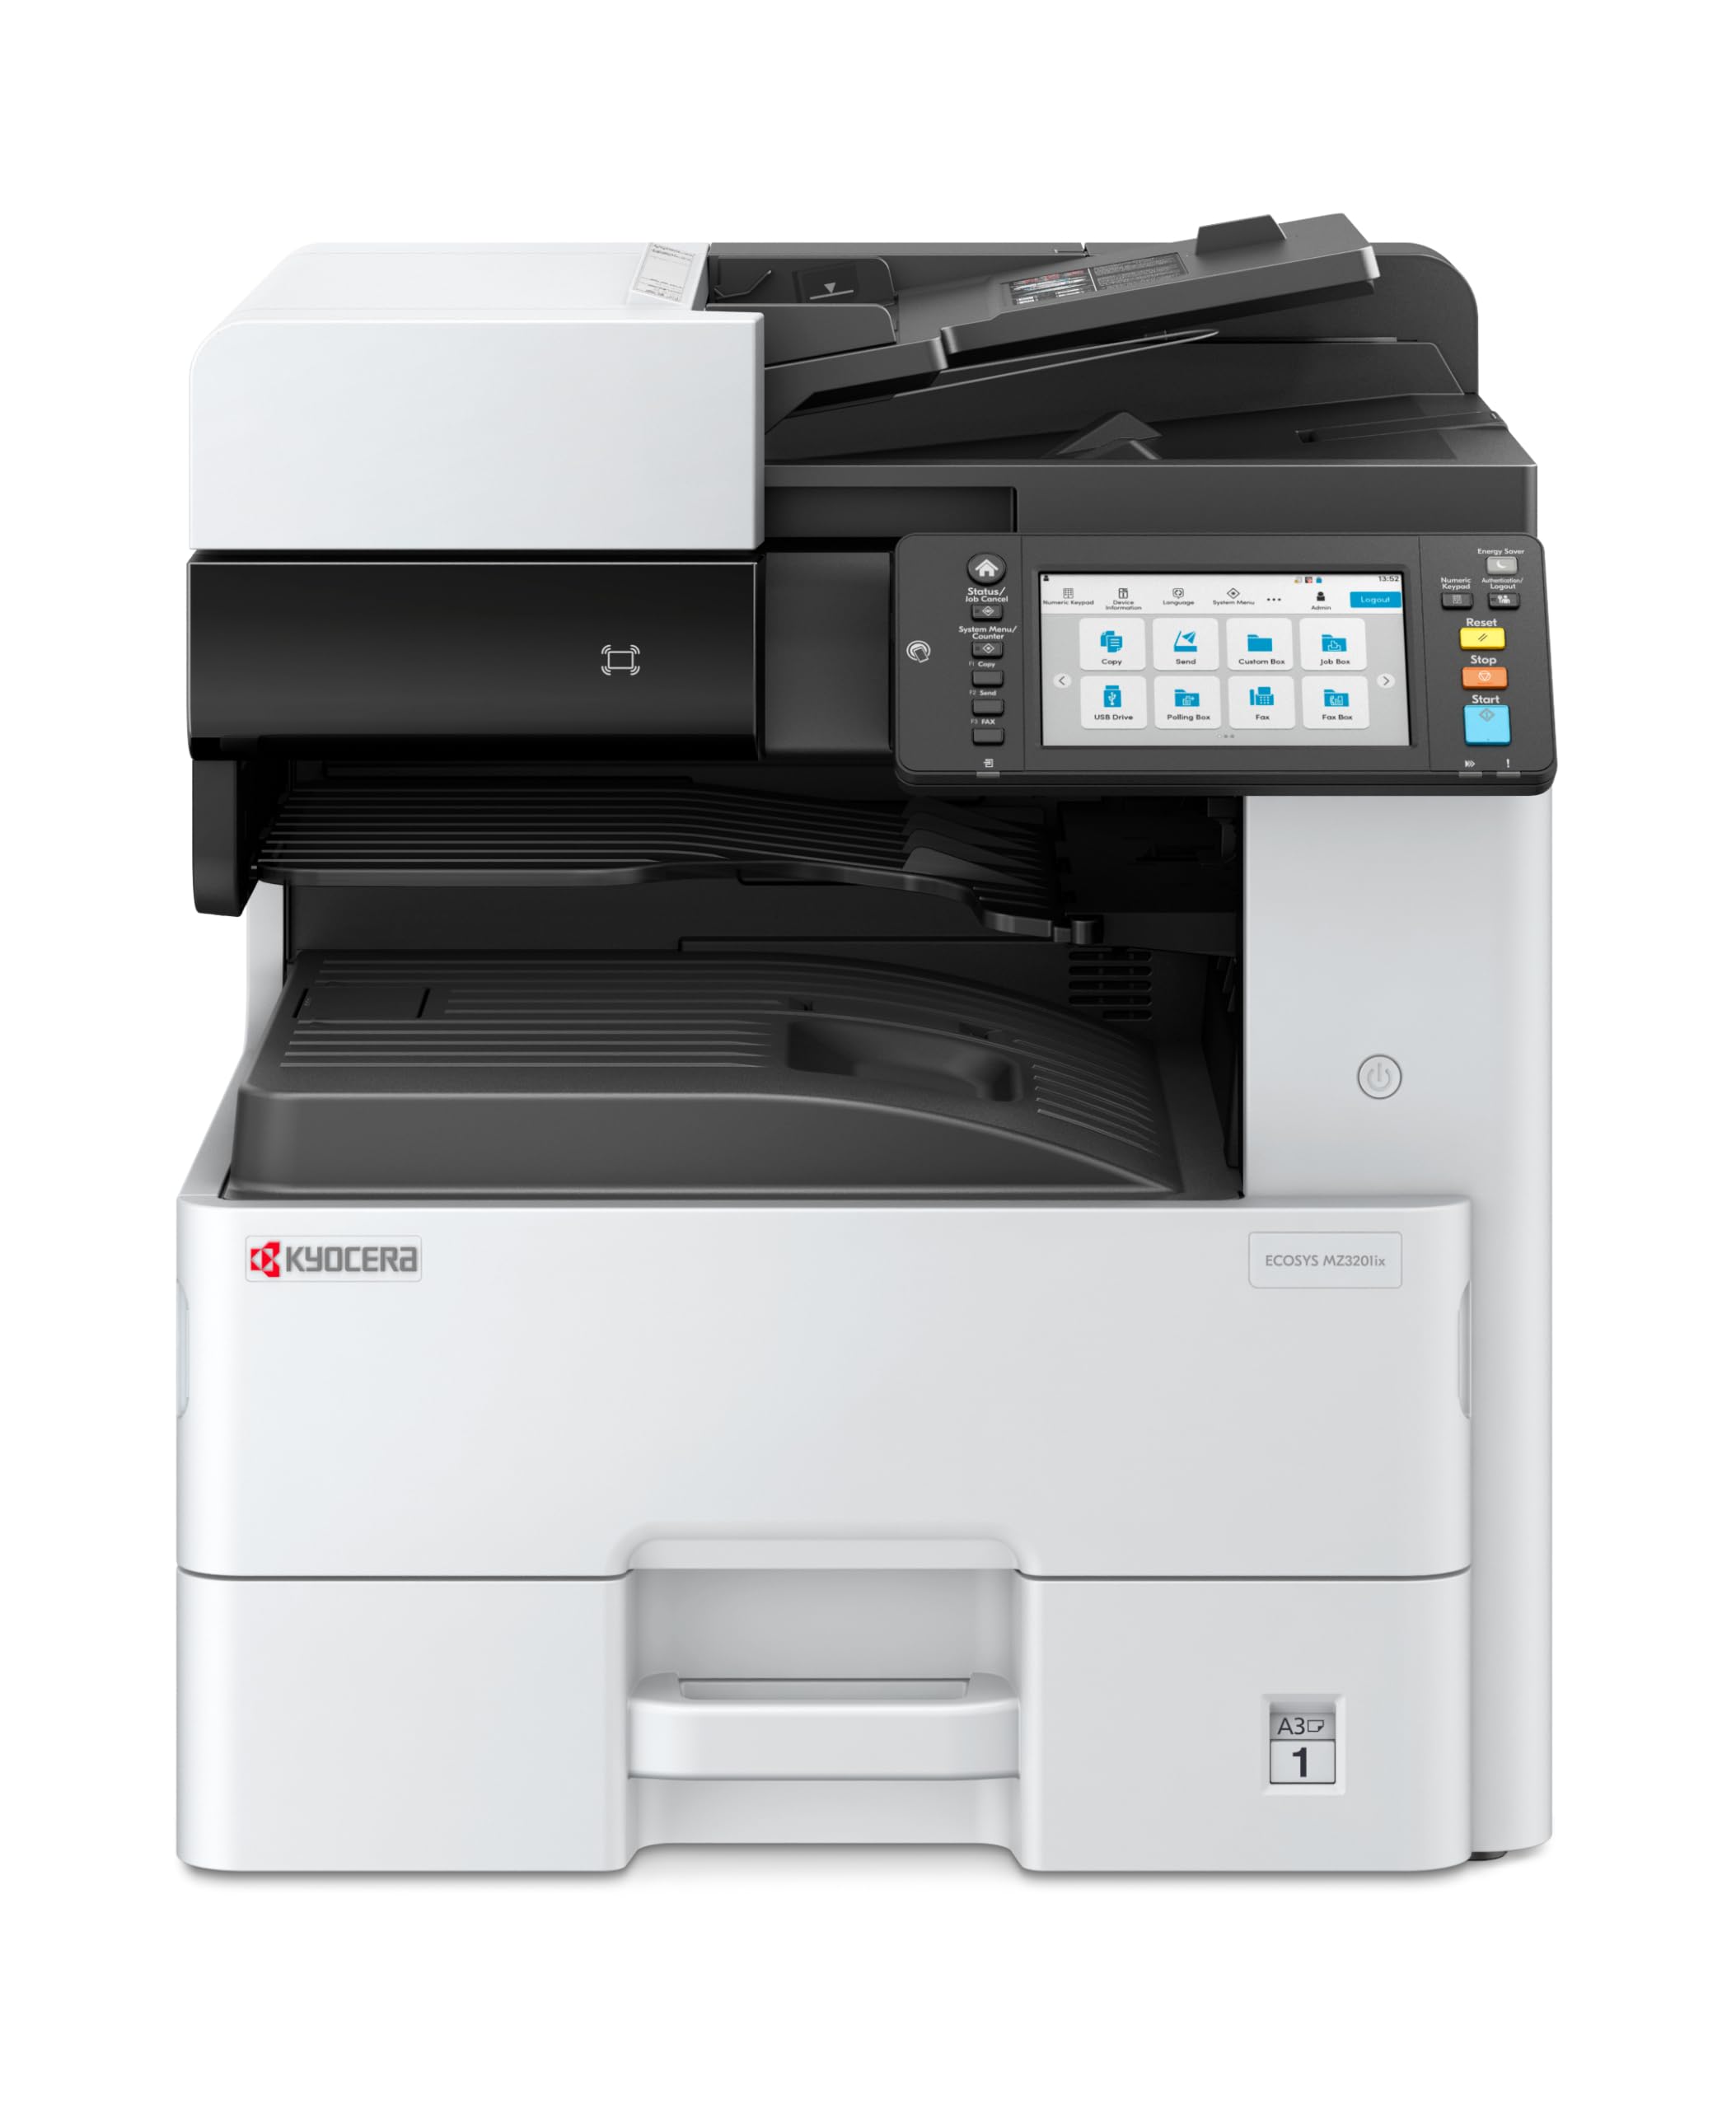
Image 1: Kyocera ECOSYS MZ3201ix A3 Laser Multifunction Printer. This image shows the front view of the printer, highlighting its compact design and the integrated touch screen panel.
5. Instrucións de funcionamento
5.1 Impresión básica
- Abre o documento que queres imprimir no teu ordenador.
- Seleccione File > Imprimir.
- Choose the Kyocera ECOSYS MZ3201ix from the list of available printers.
- Axuste a configuración de impresión (por exemplo, número de copias, tamaño do papel, impresión dúplex) segundo sexa necesario.
- Fai clic Imprimir.
5.2 Copia de documentos
- Coloque o documento cara abaixo no cristal do escáner ou cara arriba no alimentador automático de documentos (ADF).
- On the printer's touch screen, select the Copiar función.
- Adjust settings such as number of copies (up to 999), zoom, and paper type.
- Preme o Comeza botón para comezar a copiar.
5.3 Escanear documentos
- Coloque o documento no cristal do escáner ou no ADF.
- On the printer's touch screen, select the Escanear función.
- Choose your desired scan destination (e.g., Scan to PC, Scan to Email, Scan to USB).
- Configure scan settings such as resolution (up to 1200 x 1200 dpi), color mode, and file formato.
- Preme o Comeza botón para comezar a dixitalizar.
5.4 Envío de documentos por fax
(Note: Fax functionality requires a telephone line connection, not detailed in this manual.)
- Coloque o documento no cristal do escáner ou no ADF.
- On the printer's touch screen, select the Fax función.
- Enter the recipient's fax number using the keypad.
- Axuste a configuración de fax necesaria.
- Preme o Comeza botón para enviar el fax.
6. Mantemento
Un mantemento regular garante un rendemento óptimo e prolonga a vida útil da súa impresora.
6.1 Limpeza da impresora
- Exterior: Limpe as superficies exteriores cun suave, damp, pano que non solte fiapos. Non empregue produtos de limpeza abrasivos nin disolventes.
- Cristal do escáner: Gently clean the scanner glass with a soft cloth and a non-abrasive glass cleaner.
- Rodillos do ADF: Periodically clean the ADF rollers with a lint-free cloth dampened with isopropyl alcohol to prevent paper jams.
6.2 Substitución do cartucho de tóner
- When the printer indicates low toner, order a new Kyocera toner cartridge.
- Abra a tapa frontal da impresora.
- Retire o cartucho de tóner baleiro tirando del para fóra.
- Desembale o novo cartucho de tóner e axíteo suavemente para distribuír o tóner.
- Insert the new toner cartridge firmly into its slot until it clicks into place.
- Pecha a tapa frontal.
6.3 Replacing Waste Toner Container
- When the printer indicates the waste toner container is full, prepare a new one.
- Open the cover that provides access to the waste toner container.
- Carefully remove the full waste toner container. Seal it in a plastic bag for proper disposal.
- Insert the new waste toner container into its slot.
- Pecha a tapa.
7 Solución de problemas
Esta sección aborda problemas comúns que podes atopar coa túa impresora.
7.1 Atascos de papel
- Síntoma: Printer stops, and an error message indicates a paper jam.
- Solución: Turn off the printer. Open all covers and trays. Carefully remove any jammed paper, pulling in the direction of the paper path. Ensure no small pieces of paper remain. Close all covers and restart the printer.
7.2 Mala calidade de impresión
- Síntoma: Faded prints, streaks, or spots on pages.
- Solución: Check toner level and replace if low. Perform a print head cleaning or calibration from the printer's maintenance menu. Ensure you are using appropriate paper for your print job.
7.3 A impresora non responde
- Síntoma: Printer is online but does not print documents sent from the computer.
- Solución: Check all cable connections (USB/Ethernet). Restart both the printer and your computer. Verify that the correct printer driver is installed and selected. Check the printer's network settings if connected via Ethernet.
7.4 Códigos de erro
If an error code appears on the touch screen, refer to the comprehensive user manual (available on the Kyocera website) for specific instructions related to that code. Many codes indicate specific issues like open covers, paper jams, or consumable replacement needs.
8. Especificacións
| Característica | Especificación |
|---|---|
| Marca | Kyocera |
| Nome do modelo | ECOSYS MZ3201ix |
| Número de modelo | 110C2V3NL0 |
| Tecnoloxía de conectividade | Ethernet, USB 2.0 |
| Tecnoloxía de impresión | Láser |
| Características especiais | Automatic Document Feeder, Auto-Duplex, Network Ready, Scan to Email, Touch Screen |
| Saída da impresora | Monocromo |
| Max Print Speed Black & White | 32 Pages per minute (A4) |
| Peso do elemento | 49 quilogramos |
| Dimensións do produto (PxWxH) | 58.5P x 59L x 68.8H cm |
| Max Print Resolution Black & White | 1200 x 1200 ppp |
| Resolución de escáner | 1200 x 1200 ppp |
| Impresión dúplex | Automático |
| Max Copy Count | 999 |
| Tempo de saída da primeira páxina | 5.2 segundos |
| Max Supported Paper Size | A3 |
| Capacidade máxima da folla de entrada | 1600 |
| Printing Media Type | Papel común |
| Funcións | Copy, Fax, Scan, Print |
9. Garantía e soporte
Your Kyocera ECOSYS MZ3201ix printer comes with a standard manufacturer's warranty. For detailed information regarding warranty terms, duration, and coverage, please refer to the warranty card included with your product or visit the official Kyocera websitio.
Atención ao cliente:
If you encounter any issues that cannot be resolved using this manual or require technical assistance, please contact Kyocera customer support. You can find contact information on the Kyocera websitio web ou na documentación que se inclúe coa impresora.
When contacting support, please have your printer's model name (ECOSYS MZ3201ix) and serial number ready. The serial number is typically located on a label on the back or bottom of the printer.