1. Introdución
Thank you for choosing the Black+Decker KW712 650W Electric Planer. This manual provides essential information for the safe and efficient operation, maintenance, and troubleshooting of your new tool. Please read these instructions carefully before use and keep them for future reference. This planer is designed for planing wood and wood-like materials.
Avisos xerais de seguridade
- Use sempre o equipo de protección individual axeitado, incluíndo lentes de seguridade, protección auditiva e unha máscara antipo.
- Asegúrate de que a área de traballo estea limpa, ben iluminada e libre de obstáculos.
- Manteña os nenos e os espectadores afastados mentres manexa a ferramenta.
- Disconnect the planer from the power source before making any adjustments, changing accessories, or performing maintenance.
- Secure the workpiece firmly to prevent movement during planing.
- Non opere a cepilladora en damp ou condicións húmidas.
2. Produto rematadoview
Familiarize yourself with the components of your Black+Decker KW712 Electric Planer before operation.

Figura 1: global view of the Black+Decker KW712 Electric Planer. The image shows the orange and black body of the planer with its cord, front handle, and rear handle, along with the planing base and dust port.
Compoñentes clave:
- Botón de axuste de profundidade: Used to set the desired planing depth.
- Asa dianteira: Provides control and stability during operation.
- Rear Handle (with Trigger): Main grip for operating the tool, includes the power trigger and lock-off button.
- Base de planeamento: The flat surface that glides over the workpiece.
- Porto de extracción de po: Connects to a dust bag or vacuum cleaner for chip removal.
- Ranura en V: Located on the front shoe for chamfering edges.
- Láminas: Reversible TCT (Tungsten Carbide Tipped) blades for efficient material removal.
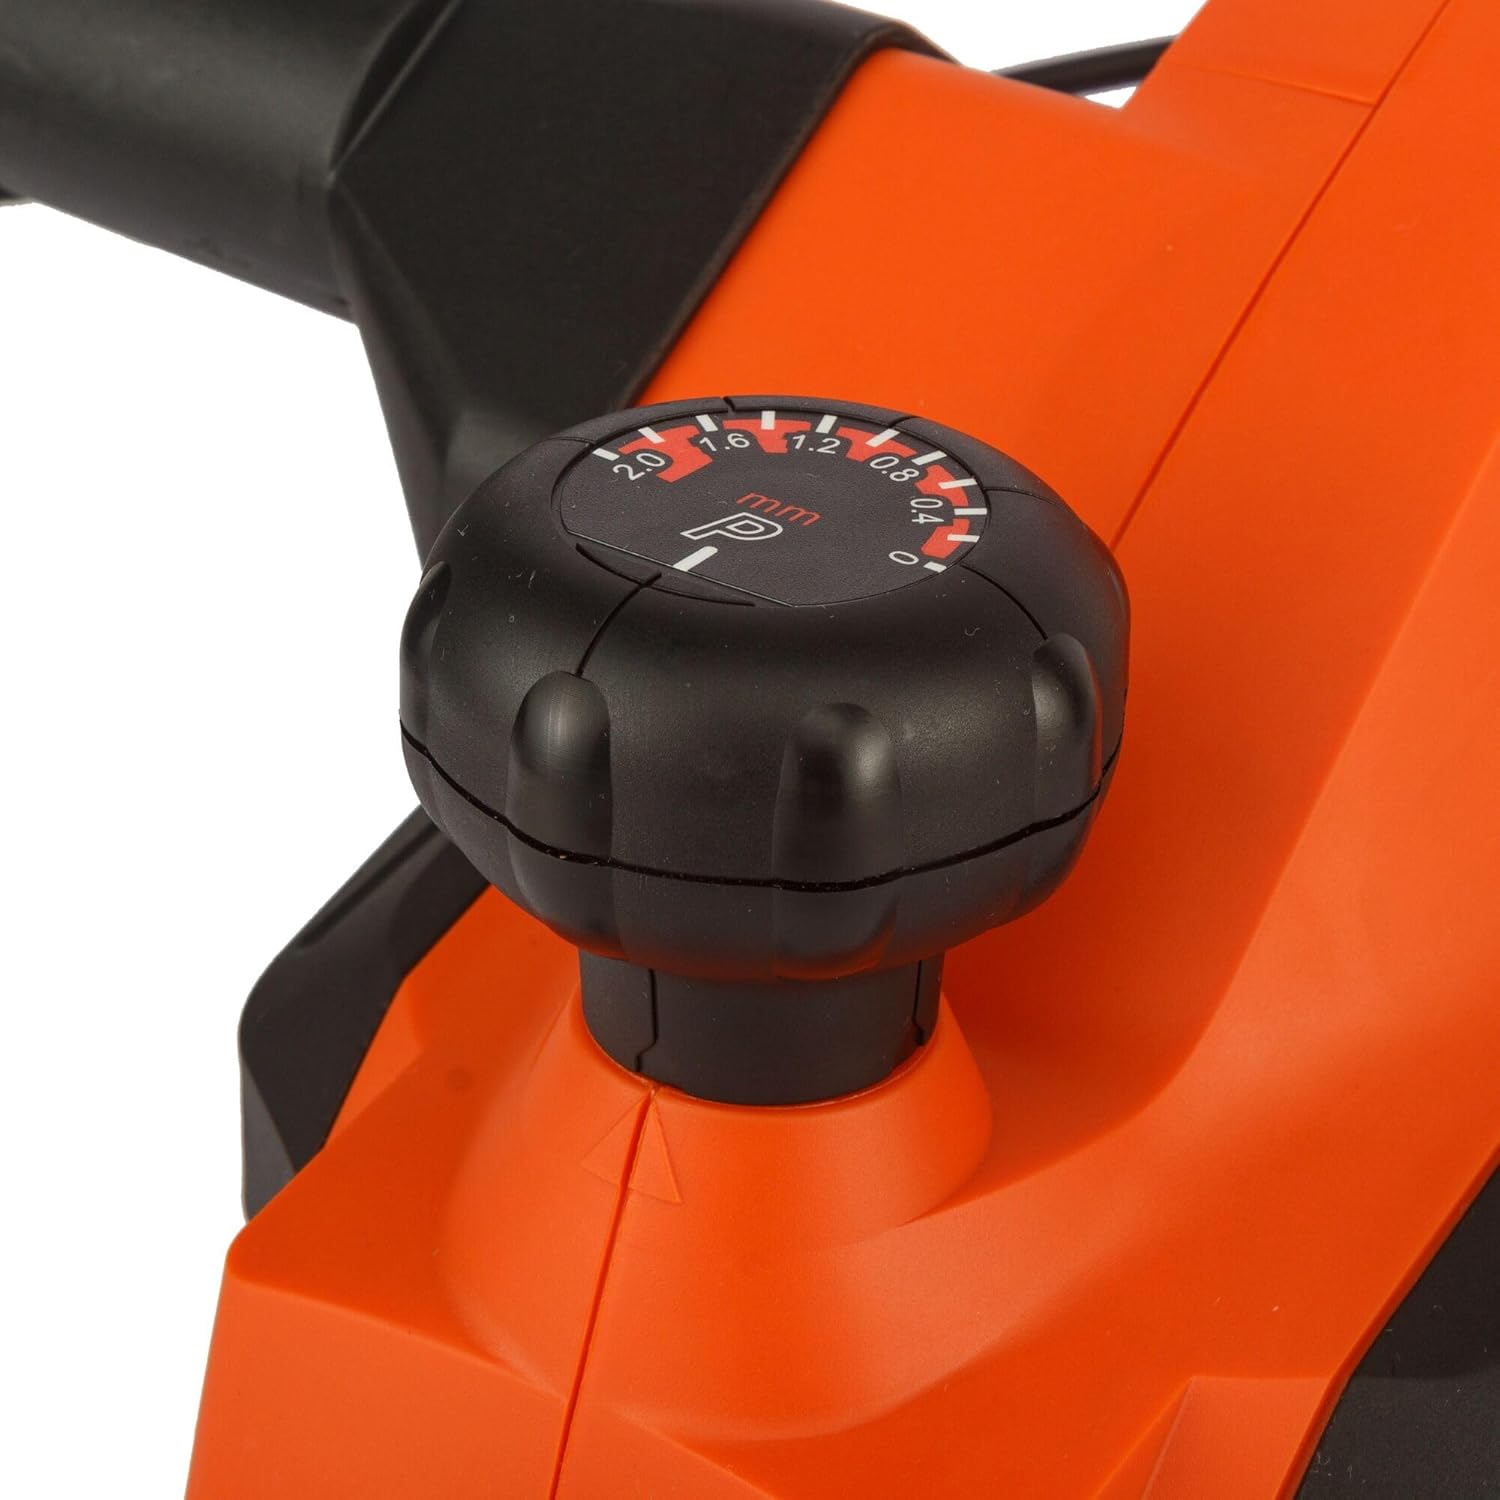
Imaxe 2: Primeiro plano view of the depth adjustment knob. The knob is black with white markings indicating planing depths from 0 to 2.0 mm.

Imaxe 3: Primeiro plano view of the dust extraction port. This shows the circular opening on the side of the planer where a dust bag or vacuum hose can be attached.

Imaxe 4: Primeiro plano view of the power trigger and the safety lock-off button located on the handle of the planer.
3. Configuración
Conexión de alimentación
- Ensure the power switch is in the 'OFF' position before plugging the tool into a power outlet.
- Connect the planer to a grounded power outlet with the correct voltage (230 V).
Extracción de po
The KW712 planer is equipped with a dust extraction port to maintain a clean work environment.
- Attach a suitable dust bag or connect a vacuum cleaner hose to the dust extraction port.
- Ensure the connection is secure to prevent dust leakage.
Inspección da lámina
The planer uses TCT double-sided blades designed for long life. Before each use, inspect the blades.
- Check blades for sharpness, chips, or damage. Damaged blades can affect planing quality and safety.
- If blades are dull or damaged, refer to the Maintenance section for replacement instructions.
4. Instrucións de funcionamento
Holding the Planer
- Hold the planer firmly with both hands, one on the front handle and one on the rear handle.
- Maintain a balanced stance to ensure control over the tool.
Axuste da profundidade de cepillado
- Rotate the depth adjustment knob at the front of the planer to select the desired cutting depth. The planer allows for precise adjustments, including a 0.2mm depth setting for fine work.
- The maximum cutting depth is 2mm for quick material removal.
- Start with a shallow depth and gradually increase if needed.
Arranque e parada
- To start the planer, press the safety lock-off button and then squeeze the trigger switch.
- To stop the planer, release the trigger switch.
Planing Technique
- Coloque a zapata dianteira da cepilladora plana sobre a peza de traballo, asegurándose de que as láminas non toquen a superficie.
- Start the planer and allow it to reach full speed before moving it forward.
- Apply even pressure and move the planer smoothly and consistently across the workpiece.
- Maintain control and avoid tilting the planer.
- Para biselar bordos, aliñe a ranura en V da zapata dianteira co bordo da peza de traballo e guíe a cepilladora ao longo deles.

Figure 5: A user demonstrating the operation of the Black+Decker KW712 planer on a wooden plank, with a dust extraction hose connected to the tool.
5. Mantemento
Un mantemento regular garante a lonxevidade e o rendemento óptimo da súa cepilladora.
Limpeza
- Always disconnect the planer from the power supply before cleaning.
- Use un cepillo suave ou aire comprimido para eliminar o po e as lascas de madeira da ferramenta, especialmente arredor das aberturas de ventilación do motor e da zona da lámina.
- Limpe o exterior cun anuncioamp pano. Non use produtos químicos agresivos ou produtos de limpeza abrasivos.
Blade Replacement (TCT Double-Sided Blades)
The KW712 uses durable TCT double-sided blades. When one side becomes dull, the blade can be reversed. When both sides are dull, the blades must be replaced.
- A seguridade primeiro: Disconnect the planer from the power supply.
- Localiza o cl da láminaamping screws on the cutter head.
- Using the appropriate wrench (usually supplied with the tool), loosen the clampparafusos.
- Carefully remove the dull blade. Blades are extremely sharp; handle with caution.
- Clean the blade seating area.
- Insert a new or reversed blade, ensuring it is correctly seated and aligned.
- Apretar o clampcolocar os parafusos de forma segura.
- Repeat for the other blade if necessary.
- Ensure both blades are at the same height before operating the planer.
Almacenamento
- Garde a cepilladora nun lugar seco e seguro, fóra do alcance dos nenos.
- Protexa as láminas de danos durante o almacenamento.
6 Solución de problemas
Esta sección aborda problemas comúns que podes atopar coa túa cepilladora.
| Problema | Causa posible | Solución |
|---|---|---|
| A cepilladora non arranca | No power supply; Faulty switch; Safety lock-off not engaged correctly. | Check power connection and outlet; Ensure safety lock-off button is pressed before trigger; If problem persists, contact service. |
| Mal acabado de cepillado (superficie rugosa, marcas de vibración) | Dull or damaged blades; Incorrect planing depth; Uneven pressure; Blades not set at equal height. | Replace or reverse blades; Reduce planing depth; Apply even pressure; Check and adjust blade height. |
| Vibracións ou ruídos excesivos | Loose components; Damaged blades; Unbalanced cutter head. | Check all screws and tighten if necessary; Inspect and replace damaged blades; If vibration continues, seek professional service. |
| Dust extraction ineffective | Dust port clogged; Dust bag full or improperly attached; Vacuum cleaner not powerful enough. | Clear dust port; Empty or reattach dust bag; Use a more powerful vacuum cleaner. |
7. Especificacións
| Característica | Especificación |
|---|---|
| Número de modelo | KW712 |
| Entrada de enerxía | 650 W |
| Voltage | 230 V |
| Ancho de cepillado | 82 mm |
| Max. Planing Depth | 2 mm |
| Axuste de profundidade | incrementos de 0.2 mm |
| Peso | 2 kg (2000 gramos) |
| Dimensións (L x W x H) | 10 x 10 x 10 cm |
| Material | Aluminio |
| Fonte de enerxía | Eléctrico con cable |
8. Garantía e soporte
For warranty information, please refer to the warranty card included with your product or contact your local Black+Decker dealer or authorized service center. Keep your purchase receipt as proof of purchase.
For technical support or service inquiries, please visit the official Black+Decker websitio ou póñase en contacto co seu departamento de atención ao cliente.


