Introdución
This manual provides essential instructions for the proper installation, maintenance, and safe use of the RYOBI/Ridgid Flange Collar, part number 6900120. This replacement part is designed for compatibility with various power tools, including models C306C and C355C. Please read this manual thoroughly before attempting any installation or maintenance to ensure safety and optimal performance of your equipment.
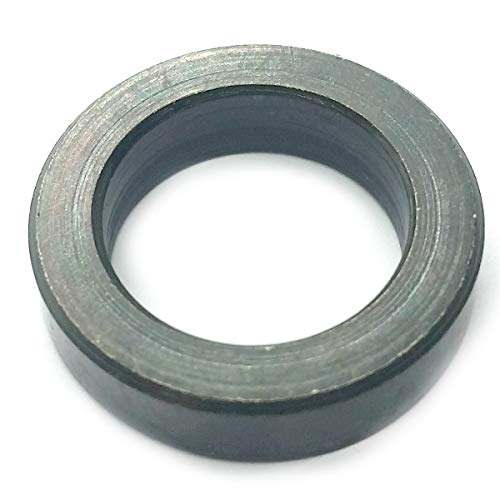
Imaxe 1: The RYOBI/Ridgid Flange Collar, part number 6900120. This component is crucial for securing cutting blades or accessories on compatible power tools, ensuring stable and safe operation.
Información de seguridade
Always prioritize safety when working with power tools and replacement parts. Failure to follow these safety guidelines may result in serious injury or damage to equipment.
- Desconectar a enerxía: Always unplug the power tool from its power source before performing any assembly, disassembly, or maintenance.
- Usar equipo de protección individual (EPI): Use safety glasses, gloves, and other appropriate PPE as recommended by your power tool's original manual.
- Usar as ferramentas correctas: Ensure you have the correct tools for installation and removal to prevent damage to the part or tool.
- Inspeccionar pezas: Before installation, inspect the new flange collar for any signs of damage or manufacturing defects. Do not install damaged parts.
- Suxeitar de forma segura: Ensure all components are securely fastened according to the tool's original specifications after installation.
- Consult Original Manual: Refer to your specific power tool's instruction manual for detailed disassembly and reassembly procedures.
Configuración e instalación
This section outlines the general steps for replacing a flange collar. Specific procedures may vary depending on your power tool model. Always consult your tool's original manual for precise instructions.
- Preparar a ferramenta: Ensure the power tool is unplugged and completely de-energized. Place the tool on a stable, clean workbench.
- Access the Blade/Accessory Area: Depending on your tool, you may need to remove guards or covers to access the blade or accessory mounting area.
- Remove Old Flange Collar:
- Typically, a retaining nut or bolt secures the blade and flange collar. Use the appropriate wrench or tool to loosen and remove this fastener.
- Carefully remove the blade or accessory.
- Remove the old flange collar. Inspect it for wear, damage, or deformation.
- Clean the Shaft: Clean any debris, dust, or rust from the tool's spindle or shaft where the flange collar sits.
- Install New Flange Collar:
- Place the new RYOBI/Ridgid Flange Collar (6900120) onto the tool's spindle, ensuring it seats correctly and fully.
- Ensure the orientation is correct as per your tool's design (e.g., some collars have a specific side facing the blade).
- Mount Blade/Accessory: Place the blade or accessory onto the spindle, ensuring it aligns with the flange collar.
- Secure with Retaining Nut: Reinstall the retaining nut or bolt. Tighten it firmly but do not overtighten, as this can damage the collar or spindle. Refer to your tool's manual for torque specifications if available.
- Reassemble Guards: Reattach any guards or covers that were removed.
- Proba de funcionamento: Before using the tool for work, perform a brief test run without load to ensure the blade spins freely and there are no unusual noises or vibrations.
Operating with the New Flange Collar
Once the RYOBI/Ridgid Flange Collar 6900120 is correctly installed, your power tool should operate as intended. Always follow the original operating instructions and safety guidelines provided with your power tool. The flange collar's primary function is to securely hold the blade or accessory, ensuring stable rotation and preventing slippage during operation.
- Ensure the blade or accessory is always clean and free of debris before use.
- Regularly check the tightness of the retaining nut/bolt securing the flange collar and blade.
- If you notice any unusual vibrations, wobbling, or noise from the blade area, immediately stop the tool and inspect the installation.
Mantemento
Proper maintenance extends the life of your flange collar and ensures safe tool operation.
- Inspección periódica: Periodically inspect the flange collar for signs of wear, cracks, deformation, or corrosion. Replace the part if any damage is observed.
- Limpeza: Keep the flange collar and the tool's spindle area clean from sawdust, metal shavings, or other debris. Use a dry cloth or compressed air.
- Almacenamento: Store the tool in a clean, dry environment when not in use to prevent rust or corrosion on metal parts.
Resolución de problemas
If you encounter issues after installing the new flange collar, consider the following common problems and solutions:
| Problema | Causa posible | Solución |
|---|---|---|
| Blade wobbles or vibrates excessively. |
|
|
| A lámina non xira libremente. |
|
|
| Tool makes unusual grinding noises. |
|
|
If problems persist after troubleshooting, discontinue use and contact a qualified service technician or the tool manufacturer for assistance.
Especificacións
| Característica | Detalle |
|---|---|
| Número de peza | 6900120 |
| Marca | RYOBI / Ridgid (Replacement Part) |
| Compatibilidade | C306C, C355C (and other compatible models) |
| Dimensións do produto | 5 x 5 x 5 polgadas |
| Peso do elemento | 4 onzas |
| Material | (Material not specified, typically metal) |
Garantía e Soporte
This RYOBI/Ridgid replacement part 6900120 is typically covered by the warranty provided by the seller or the original manufacturer of the part. Please retain your proof of purchase for any warranty claims.
- Información da garantía: For specific warranty terms and conditions, refer to the documentation provided with your purchase or contact the retailer/seller directly.
- Soporte técnico: For technical assistance regarding the installation or function of this part, it is recommended to consult the original power tool manufacturer's support resources or a certified service technician.
- Contacting Seller: If you purchased this part from an online retailer, their customer service department can often provide guidance or direct you to the appropriate support channels.


