1. Introdución
This manual provides instructions for the installation, operation, and maintenance of the Leviton PJ26-E 1-Gang Decora/GFCI Wallplate. This wallplate is designed to cover a single Decora or GFCI device, offering a clean and finished appearance. Its midway size provides additional wall coverage, which can help conceal minor wall surface irregularities.
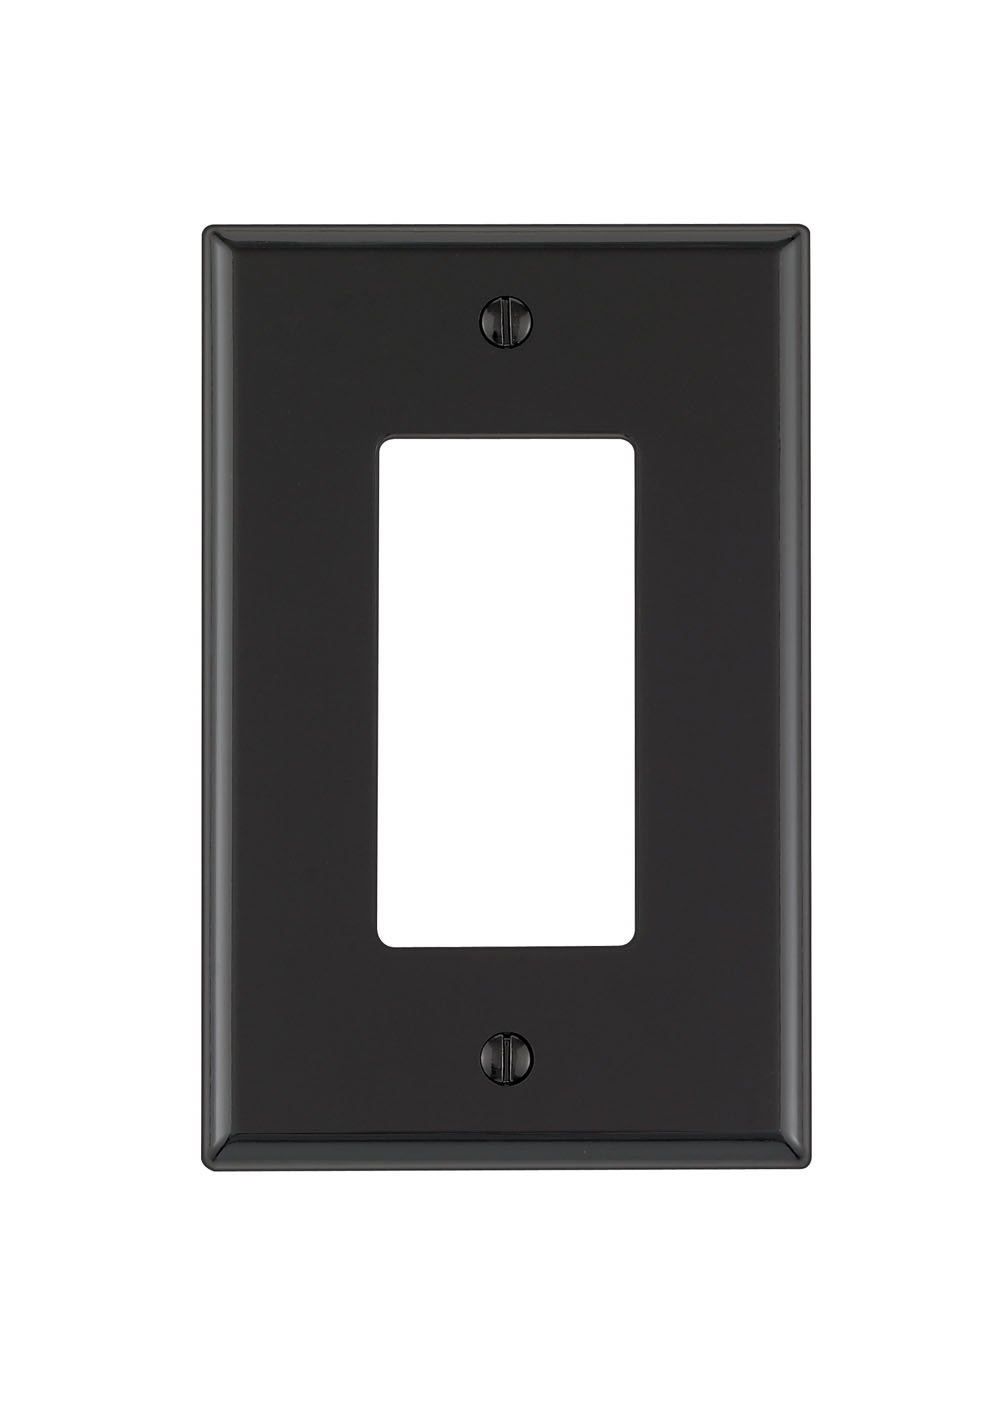
Image 1.1: Leviton PJ26-E 1-Gang Decora/GFCI Wallplate in Black. This image shows the front view of the wallplate, designed to accommodate one Decora-style electrical device or GFCI outlet.
Características principais:
- 1-Gang Configuration: Designed for a single electrical device.
- Midway Size: Provides slightly larger coverage than standard wallplates, ideal for concealing wall imperfections.
- Thermoplastic Nylon Construction: Ensures durability and resistance to impact, abrasion, fading, and discoloration.
- Grao comercial: Built for robust performance and longevity.
- Cor: Black finish for a sleek aesthetic.
2. Información de seguridade
AVISO: Para evitar incendios, descargas eléctricas ou a morte, desconecte a alimentación no disyuntor ou na caixa de fusibles e comprobe que a alimentación estea desconectada antes de conectar o cableado. Teña sempre precaución ao traballar con compoñentes eléctricos.
- Ensure all electrical work is performed by a qualified electrician or in accordance with local electrical codes.
- Do not install if the wallplate or device appears damaged.
- Este produto está pensado só para uso en interiores.
- Manter lonxe dos nenos.
3. Contido do paquete
- 1 x Leviton PJ26-E 1-Gang Decora/GFCI Wallplate (Black)
- Mounting Screws (matching color)
4. Especificacións
| Atributo | Detalle |
|---|---|
| Número de modelo | PJ26-E |
| Marca | Leviton |
| Configuración | 1 velocidade |
| Tamaño | A medio camiño |
| Cor | Negro |
| Material | nailon termoplástico |
| Tipo de acabado | Nylon |
| Dimensións do produto | 2.76" de ancho x 4.6" de alto |
| Tipo de instalación | Screw-In (Device Mount) |
| Peso do elemento | 0.704 onzas |
| UPC | 078477205846 |
5. Instalación
Siga estes pasos para instalar correctamente a súa placa de parede Leviton:
- Apagar a enerxía: Locate the circuit breaker or fuse box that controls the power to the outlet or switch you are working on. Turn off the power completely. Verify the power is off using a voltagprobador.
- Remove Old Wallplate: Carefully unscrew and remove the existing wallplate from the electrical device.
- Position New Wallplate: Place the Leviton PJ26-E wallplate over the electrical device, aligning the screw holes.
- Secure Wallplate: Insert the provided mounting screws into the wallplate holes and gently tighten them until the wallplate is snug against the wall. Do not overtighten, as this can crack the wallplate.
- Restaurar enerxía: Unha vez instalada a placa de parede de forma segura, volva ao disxuntor ou á caixa de fusibles e volva a conectar a alimentación.
6. Funcionamento
The Leviton PJ26-E wallplate is a passive component designed to cover and protect electrical devices. Once installed, no further operational steps are required. It provides a finished look and helps prevent accidental contact with wiring behind the device.
7. Mantemento
- Limpeza: To clean the wallplate, use a soft, damp pano. Evite produtos de limpeza abrasivos, solventes ou produtos químicos agresivos, xa que poden danar o acabado.
- Inspección: Periodically check the wallplate for any signs of damage, cracks, or discoloration. If damage is observed, replace the wallplate to maintain safety and appearance.
- Estanqueidade: Ensure the mounting screws remain tight. If the wallplate becomes loose, gently retighten the screws.
8 Solución de problemas
- Wallplate does not fit: Ensure you have the correct size and configuration (1-gang Decora/GFCI) for your electrical device.
- Wallplate appears loose: Gently tighten the mounting screws. If the problem persists, check if the electrical device itself is securely mounted to the electrical box.
- Wallplate is damaged: If the wallplate is cracked or broken, it should be replaced immediately to ensure safety and aesthetics.
9. Garantía e soporte
This Leviton product comes with a standard warranty. For specific warranty details, claims, or technical support, please refer to the official Leviton website or contact Leviton customer service directly. Keep your purchase receipt as proof of purchase.
Atención ao cliente de Leviton: Para obter máis asistencia, visite www.leviton.com ou póñase en contacto coa súa liña de asistencia.


