1. Introdución
This manual provides essential information for the safe and effective use of your Eiko FC8T9/CW Circline T-9 G10Q Base Halogen Bulb. Please read these instructions carefully before installation and retain for future reference.
The Eiko FC8T9/CW is a 22-watt, cool white halogen circline bulb designed for specific lighting fixtures. It features a G10Q base and a T-9 circular shape, providing a brighter, whiter light output for indoor applications.
2. Información de seguridade
- Desconexión de alimentación: Asegúrese sempre de que a subministración eléctrica da luminaria estea desconectada no disyuntor antes de instalar, retirar ou limpar a lámpada.
- Manipular con coidado: Halogen bulbs can be fragile. Handle the bulb by its base or edges, avoiding direct contact with the glass to prevent oils from your skin from causing hot spots and premature failure.
- Correct Fixture: Use this bulb only in fixtures designed for circline T-9 bulbs with a G10Q base and the specified wattage (22W).
- Temperatura de funcionamento: Halogen bulbs operate at high temperatures. Do not touch the bulb immediately after use. Allow it to cool completely before handling.
- Ventilación: Asegúrate de que o aparello teña unha ventilación axeitada para evitar o sobrequecemento.
- Eliminación: Desfágase das lámpadas usadas segundo a normativa local.
- Só para uso en interiores: This bulb is intended for indoor applications.
3. Produto rematadoview
The Eiko FC8T9/CW is a circular halogen bulb designed for specific lighting applications. Its unique shape and base type ensure compatibility with appropriate fixtures.
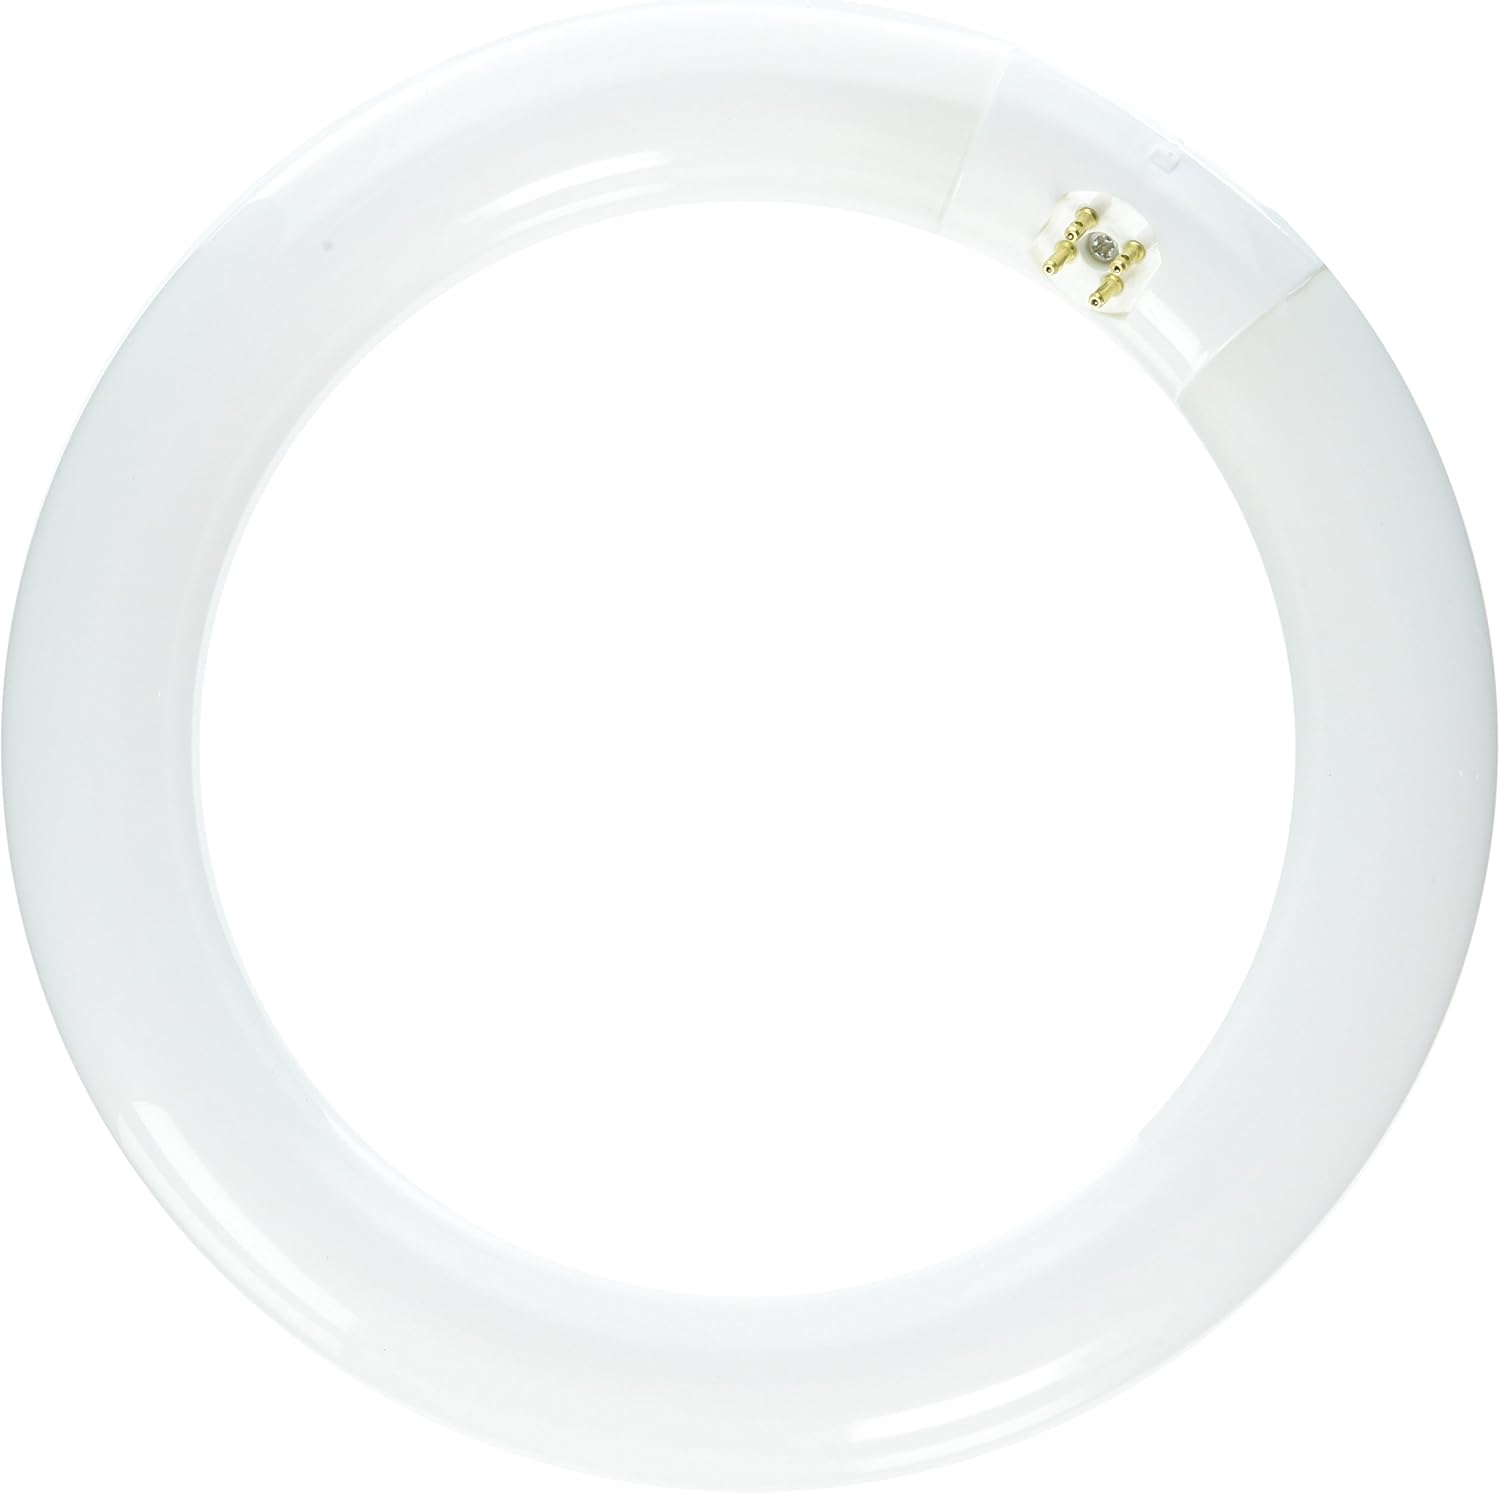
Figura 3.1: Eiko FC8T9/CW Circline Halogen Bulb. This image shows the circular shape of the bulb and its G10Q base connectors.
Características principais:
- Tipo: Halogen Circline Bulb
- Modelo: FC8T9/CW
- Wattage: 22 vatios
- Tipo de base: G10Q
- Cor da luz: Branco frío (4100 Kelvin)
- Forma: T-9 Circular
4. Instrucións de instalación
- Apagar a enerxía: Locate the circuit breaker controlling the light fixture and switch it to the "OFF" position. Verify that the power is off by attempting to turn on the light switch.
- Retirar a lámpada antiga (se corresponde): If replacing an existing bulb, allow it to cool completely. Carefully grasp the old circline bulb and gently twist or pull it from its socket, depending on the fixture design. Note how the pins align with the socket.
- Inspeccionar o dispositivo de fixación: Check the fixture's socket for any damage or debris. Ensure it is clean and dry.
- Instalar a nova lámpada: Align the four pins of the G10Q base on the new Eiko FC8T9/CW bulb with the corresponding slots in the fixture's socket. Gently push the bulb into the socket until it is firmly seated. Do not force the bulb, as this can damage the pins or the socket.
- Restaurar enerxía: Once the bulb is securely installed, return to the circuit breaker and switch the power back to the "ON" position.
- Proba: Acenda o interruptor da luz para confirmar que a nova lámpada funciona correctamente.

Figura 4.1: Bulb dimensions for proper fixture fit. The image shows the bulb held by hands, indicating its circular shape and approximate size of 8.4 inches (21 cm).
5. Funcionamento
The Eiko FC8T9/CW bulb operates immediately upon receiving power from a compatible fixture. Simply use the light switch connected to your fixture to turn the bulb on or off.
- Ensure the fixture's switch is in the "ON" position after installation.
- The bulb will provide a cool white light suitable for various indoor environments.
6. Mantemento
Limpeza:
- Always turn off the power and allow the bulb to cool completely before cleaning.
- Wipe the bulb gently with a clean, dry, lint-free cloth. Avoid using abrasive cleaners or liquids, as these can damage the bulb's surface or internal components.
- If accidental contact with skin oils occurs, clean the bulb with rubbing alcohol and a clean cloth to prevent hot spots.
Substitución:
Bulbs naturally dim over time. Replace the Eiko FC8T9/CW bulb when its light output significantly decreases or when it ceases to function. Follow the installation instructions (Section 4) for safe replacement.
7 Solución de problemas
| Problema | Causa posible | Solución |
|---|---|---|
| A lámpada non se acende. | No power to fixture, loose connection, incorrect bulb type, or defective bulb. | Check circuit breaker. Ensure bulb is fully seated in socket. Verify fixture compatibility. Replace bulb if necessary. |
| O bulbo parpadea. | Loose connection, incompatible dimmer (if applicable), or nearing end of life. | Turn off power, re-seat bulb. Ensure fixture is not on a dimmer not rated for halogen. Replace bulb. |
| A lámpada queima rapidamente. | Sobrevoltage, excessive vibration, frequent switching, or improper handling (skin oils). | Verificar o volume do aparellotage. Ensure bulb is not subject to excessive vibration. Minimize frequent on/off cycles. Clean bulb if handled directly. |
8. Especificacións
| Atributo | Valor |
|---|---|
| Marca | Eiko |
| Número de modelo | FC8T9/CW |
| Tipo de luz | Halóxeno |
| Wattage | 22 vatios |
| Tamaño da forma do bulbo | T9 (Circline) |
| Tipo de base | G10Q |
| Cor clara | Branco frío |
| Temperatura da cor | 4100 Kelvin |
| Voltage | 120 voltios |
| Material | Vidro |
| Uso interior/exterior | Interior |
| Peso do elemento | 3.2 onzas (aprox. 0.2 libras) |
| Dimensións do produto | 1 x 1 x 2.7 inches (packaging/overall, bulb diameter approx. 8.4 inches) |
| Índice de reproducción da cor (CRI) | 80 |
9. Garantía e soporte
Specific warranty information for the Eiko FC8T9/CW bulb may vary. Please refer to the packaging or contact Eiko directly for detailed warranty terms and conditions.
For technical support or further inquiries, please visit the official Eiko websitio ou póñase en contacto co seu departamento de atención ao cliente.
Fabricante: Eiko


