Introdución
This manual provides detailed instructions for the setup, operation, and maintenance of your Supersonic SC371 Digital Projection Alarm Clock with AM/FM Radio. Please read this manual thoroughly before using the device to ensure proper function and to maximize your user experience.
Información de seguridade
- Non expoña a unidade a temperaturas extremas, luz solar directa, po ou humidade.
- Ensure the power adapter is compatible with your local power supply (AC 120V, 60Hz).
- Non intente desmontar nin modificar a unidade. Encargue calquera mantemento a persoal cualificado.
- Manteña a unidade lonxe da auga ou outros líquidos.
- Use only the specified battery type for backup (9V, not included).
Contido do paquete
Comprobe que todos os elementos estean presentes no paquete:
- Supersonic SC371 Digital Projection Alarm Clock with Radio
- Adaptador de alimentación de CA.
- Manual de usuario (este documento)
Produto rematadoview
The Supersonic SC371 is a versatile digital alarm clock featuring a clear LED display, built-in time projection, and an integrated AM/FM radio. It includes an alarm with sleep/snooze timers and a 3.5mm audio input for external devices.
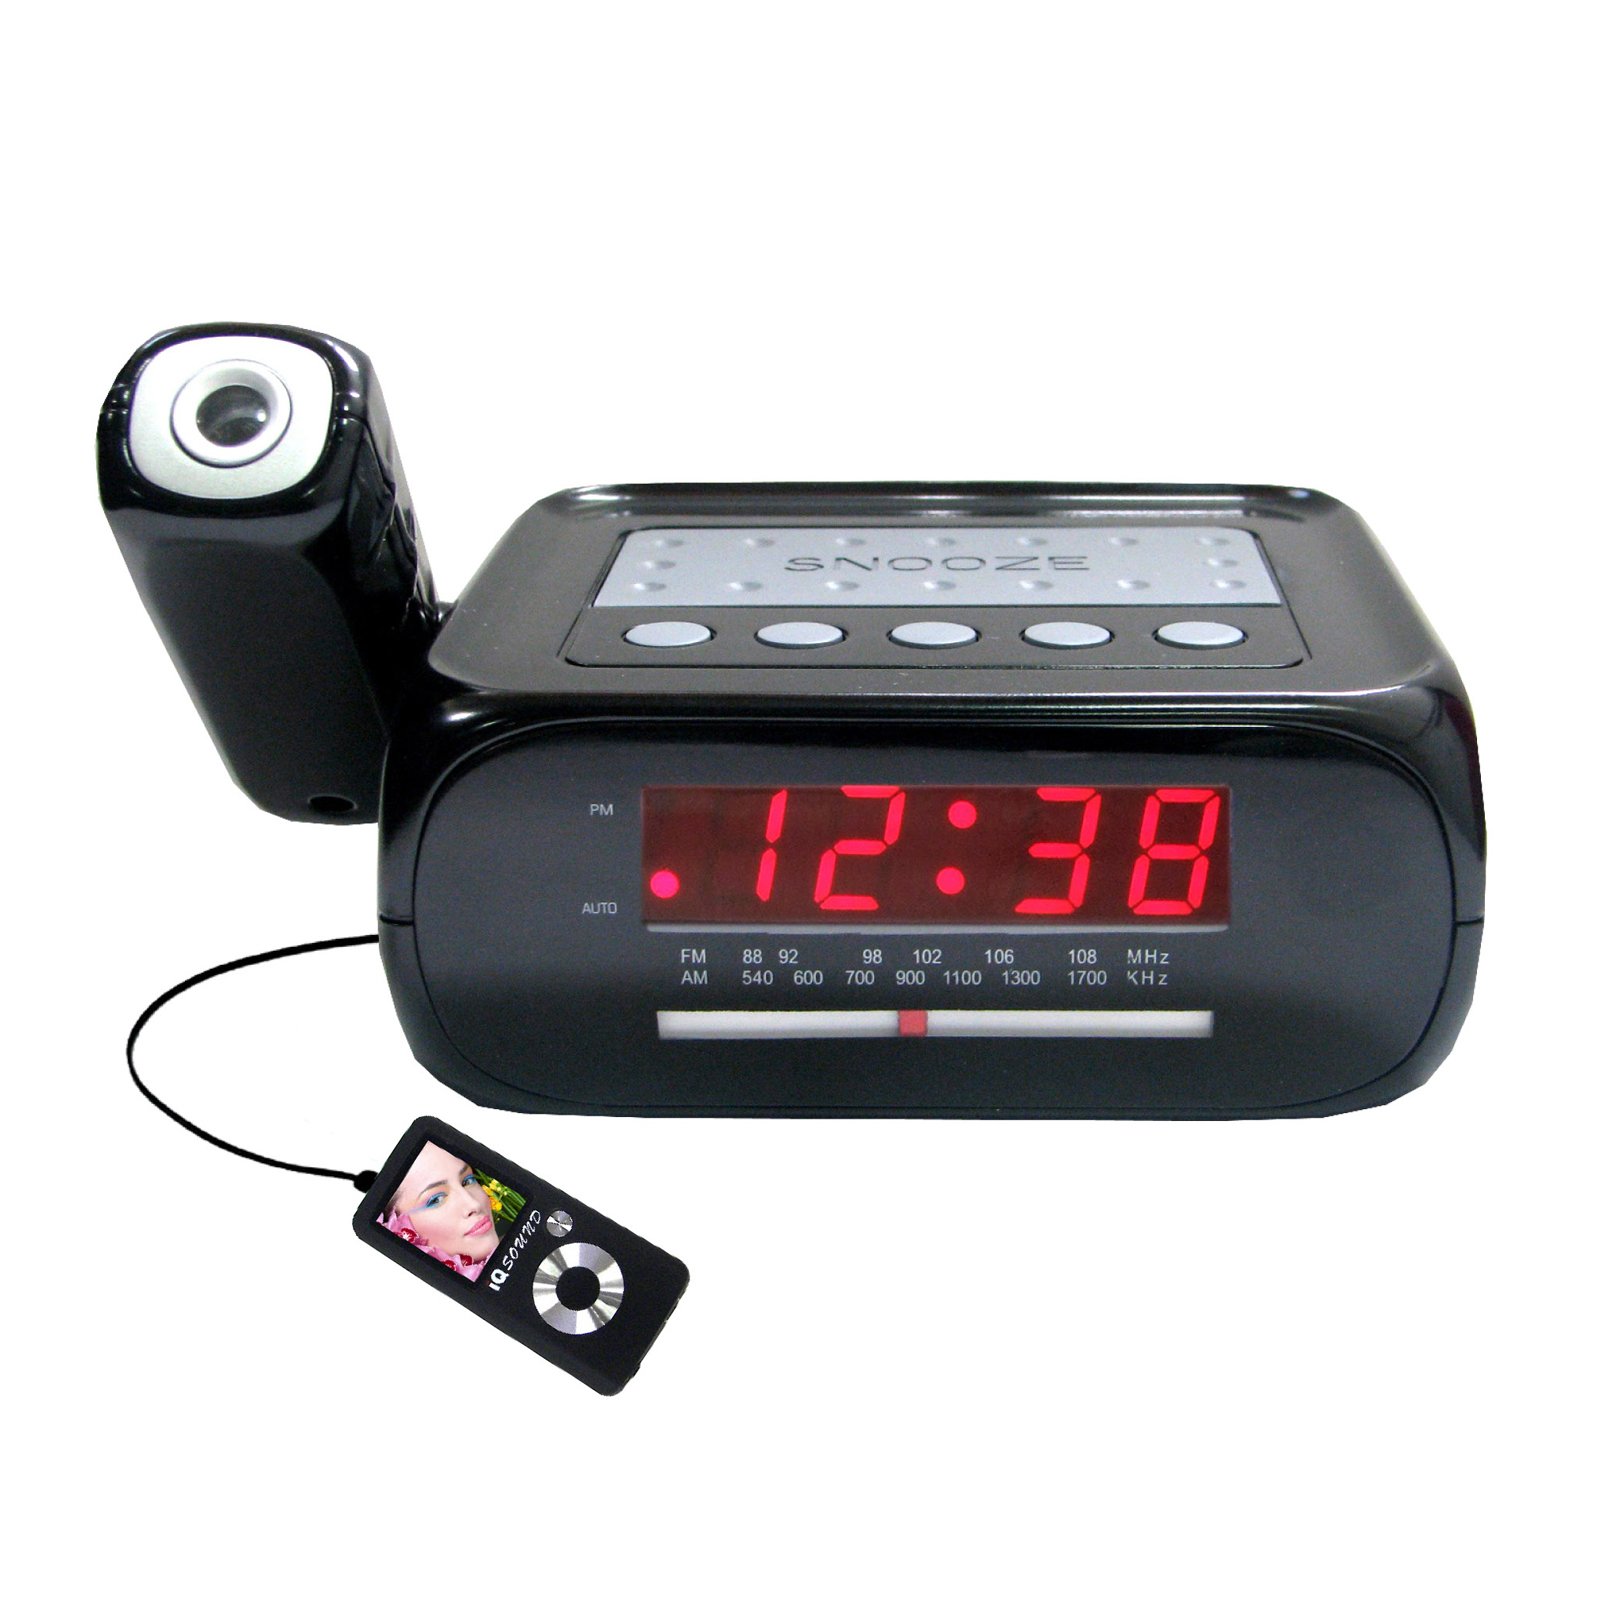
Imaxe: Fronte view of the Supersonic SC371 Digital Projection Alarm Clock, showing the LED display and control buttons.
Características principais:
- Digital Clock with LED Display
- Built-in Time Projection
- AM/FM Radio Tuner
- Alarm Clock with Sleep/Snooze Timers
- Wake Up to Music or Buzzer
- 3.5mm Audio Input Jack for Portable Audio Players
Configuración
1. Conexión de alimentación
Connect the AC power adapter to the DC IN jack on the back of the unit, then plug the adapter into a standard AC 120V, 60Hz wall outlet. The unit will power on and the LED display will illuminate.
2. Batería de reserva (opcional)
For battery backup functionality, insert one 9V battery (not included) into the battery compartment located on the bottom of the unit. This battery will preserve time and alarm settings during a power outage, but the display and projection will not operate.
Instrucións de funcionamento
Axuste da hora
- Manteña premido o HORARIO botón. Os díxitos das horas comezarán a parpadear.
- Usa o HORA botón para axustar a hora.
- Usa o MINUTO botón para axustar o minuto.
- Preme HORARIO de novo para confirmar e saír do modo de axuste da hora.
Configuración da alarma
- Manteña premido o CONXUNTO DE ALARMA botón. Os díxitos da hora da alarma parpadearán.
- Usa o HORA botón para axustar a hora de alarma desexada.
- Usa o MINUTO botón para axustar o minuto de alarma desexado.
- Preme CONXUNTO DE ALARMA de novo para confirmar a hora da alarma.
- Preme o ALARMA ON / OFF button to activate or deactivate the alarm. An indicator will appear on the display when the alarm is active.
Función de repetición
Cando soe a alarma, prema o botón AMORTAR para silenciar temporalmente a alarma durante aproximadamente 9 minutos. A alarma volverá soar despois do período de repetición.
Funcionamento da radio (AM/FM)
- Preme o RADIO ON/OFF botón para acender a radio.
- Preme o BANDA botón para cambiar entre as bandas AM e FM.
- Usa o TUNING knob or buttons (if available) to select your desired station.
- Axuste o volume empregando o VOLUME botón.
- Para apagar a radio, prema RADIO ON/OFF botón de novo.
Proxección do tempo
The unit features a built-in projector to display the time on a wall or ceiling. Locate the PROXECCIÓN button or switch. Press or slide it to activate the projection. You may be able to adjust the focus and angle of the projection using dedicated controls on the unit.
Usando a entrada auxiliar
Connect an external audio device (e.g., MP3 player, smartphone) to the 3.5mm Audio Input Jack using a standard 3.5mm audio cable (not included). The unit will automatically switch to AUX mode, allowing you to play audio from your connected device through the clock's speaker.
Mantemento
Limpeza
To clean the unit, gently wipe the surfaces with a soft, dry cloth. Do not use abrasive cleaners, waxes, or solvents, as these can damage the finish. Ensure the unit is unplugged before cleaning.
Substitución da batería
If the battery backup feature is used, replace the 9V battery annually or when the unit fails to retain settings during a power interruption.
Resolución de problemas
| Problema | Causa posible | Solución |
|---|---|---|
| A unidade non se acende. | O adaptador de corrente non está conectado ou está avariado. | Asegúrate de que o adaptador de CA estea conectado correctamente á unidade e a unha toma de corrente que funcione. |
| Projection does not work or is dim. | Projection feature not activated; unit too far from surface; projector lens obstructed. | Activate the projection feature. Adjust the unit's distance from the projection surface. Clean the projector lens if necessary. |
| Radio estática ou mala recepción. | Sinal débil; antena non estendida. | Extend the FM wire antenna fully. Reposition the unit for better reception. |
| Non soa a alarma. | Alarm not set or deactivated; volume too low. | Ensure the alarm is set and activated (check display indicator). Increase the volume. |
Especificacións
| Característica | Especificación |
|---|---|
| Número de modelo | SC371 |
| Tipo de visualización | LED dixital |
| Fonte de enerxía | AC 120V, 60Hz (Corded Electric) |
| Copia de seguridade da batería | 1 x 9V (non incluído) |
| Características especiais | Alarm, Audio Input, Projection Clock, Radio, Snooze |
| Dimensións (LxWxH) | 18.52 x 9.42 x 8.71 cm (7.29 x 3.71 x 3.43 polgadas) |
| Peso do elemento | 517 g (1.14 lb) |
| Tipo de montaxe | Mesa |
Garantía e Soporte
Os produtos Supersonic están deseñados para ser fiables e ter un bo rendemento. Para obter información sobre a garantía ou asistencia técnica, consulte a tarxeta de garantía incluída coa súa compra ou visite o sitio web oficial de Supersonic. websitio. Garde o recibo da compra como proba de compra para calquera reclamación de garantía.


