1. Introdución
Thank you for choosing the lightmaXX DJ Scan LED. This professional LED scanner is designed to provide dynamic lighting effects for various applications, including DJ sets, clubs, and events. Featuring a powerful LED light source and precise scanning capabilities, it offers vibrant colors and versatile patterns to enhance any performance space.
This manual provides essential information for the safe and efficient operation of your lightmaXX DJ Scan LED. Please read it thoroughly before installation and use, and keep it for future reference.

Figura 1: Máisview of the lightmaXX DJ Scan LED unit.
2. Instrucións de seguridade
Para garantir un funcionamento seguro, observe as seguintes precaucións de seguridade:
- Conecte sempre a unidade a unha toma de corrente con conexión a terra.
- Non expoña a unidade á choiva nin á humidade.
- Asegúrese de que haxa unha ventilación axeitada arredor da unidade para evitar o sobrequecemento.
- Evite a exposición directa dos ollos á fonte de luz.
- Desconectar da corrente antes de limpar ou realizar o mantemento.
- Só o persoal cualificado debe realizar as reparacións.
- Manter lonxe de materiais inflamables.
3. Contido do paquete
Verifica que todos os elementos estean presentes no paquete:
- lightmaXX DJ Scan LED unit
- Cable de alimentación
- Manual de usuario (este documento)
- Mounting bracket (if included)
4. Características
The lightmaXX DJ Scan LED offers a range of features for dynamic lighting:
- Fonte de luz: Powerful LED technology for bright and efficient illumination.
- Mestura de cores: RGBAW (Red, Green, Blue, Amber, White) color mixing for a wide spectrum of colors.
- Tipo de escáner: Designed as a scanner for precise beam movement and pattern projection.
- Control: DMX control for integration into professional lighting setups.
- Visualización: Digital display for easy navigation and setting adjustments.

Figura 2: Fronte view showing the LED lens and light output.
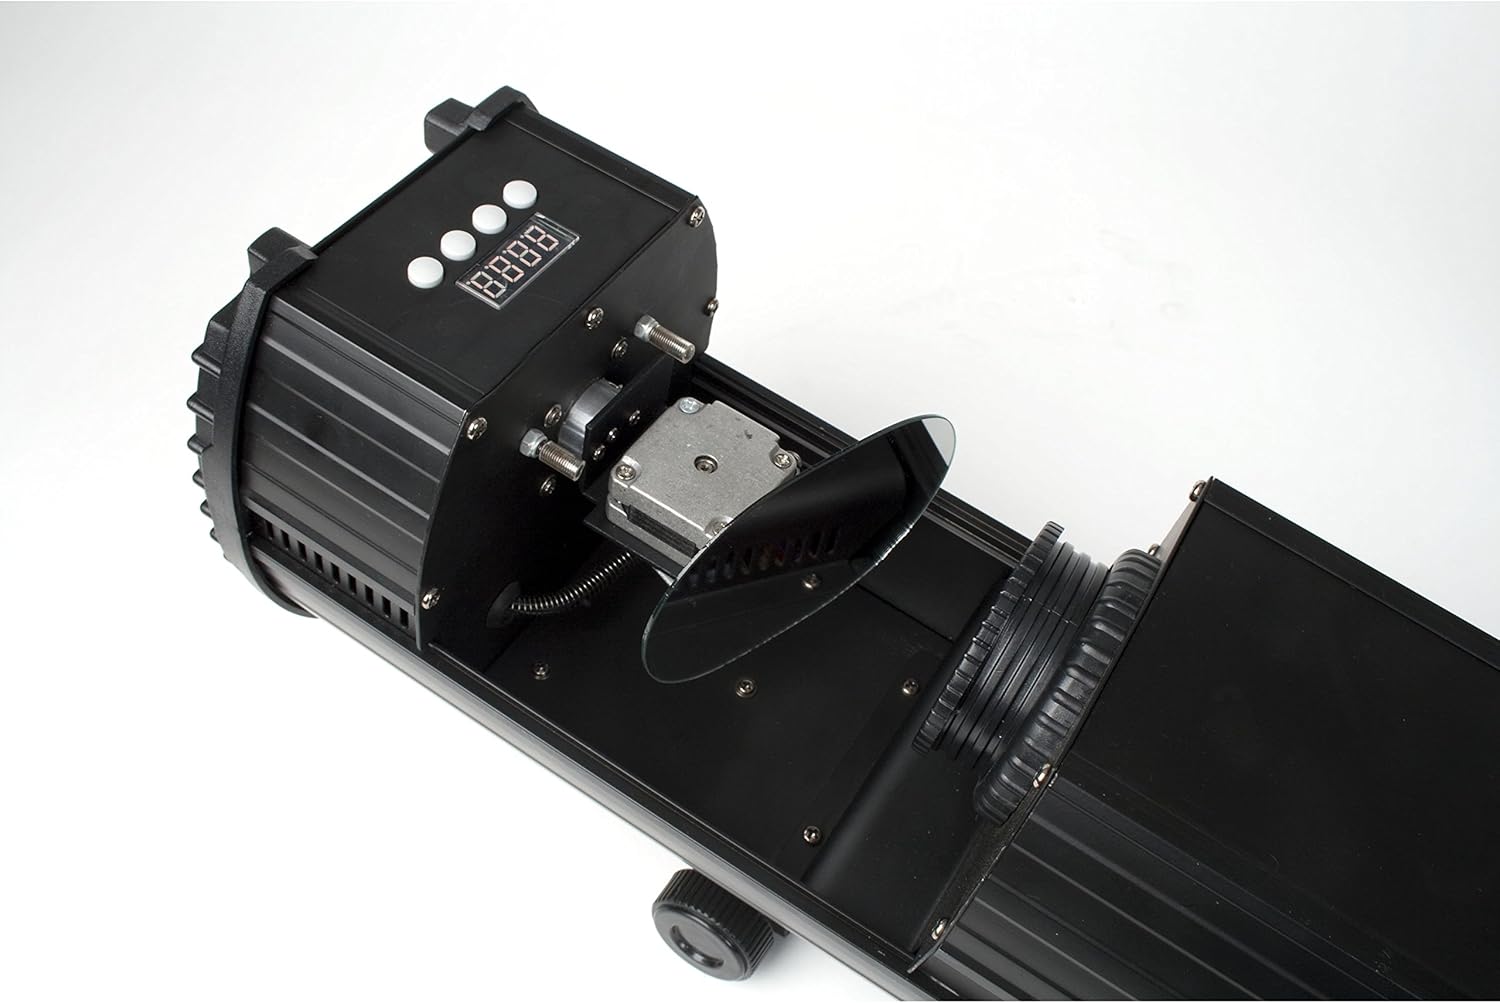
Figure 3: Internal mirror mechanism for dynamic scanning effects.
5. Configuración
5.1 Montaxe
The lightmaXX DJ Scan LED can be mounted on a truss, stand, or placed on a flat surface. Ensure the mounting surface or structure can support the weight of the unit securely. Use appropriate clamps and safety cables when mounting overhead.
5.2 Conexión de alimentación
Connect the supplied power cable to the power input on the rear of the unit and then to a suitable grounded power outlet (230V AC, 50Hz). Ensure the power switch is in the OFF position before connecting.

Figura 4: Panel traseiro con entrada de alimentación e ventilador de refrixeración.
5.3 DMX Connection (Optional)
For DMX control, connect a standard 3-pin DMX cable from your DMX controller's output to the DMX IN port on the lightmaXX DJ Scan LED. If connecting multiple units, daisy-chain them by connecting the DMX OUT of the first unit to the DMX IN of the next.

Figure 5: Control panel and DMX input/output ports.
6. En funcionamento
6.1 Panel de control
The control panel features a digital display and several buttons for navigating menus and adjusting settings. Refer to Figure 5 for the location of the control panel.
- MENÚ: Accesses the main menu or goes back to the previous menu.
- ARRIBA ABAIXO: Navega polas opcións do menú ou axusta valores.
- ENTRAR: Confirms a selection or saves a setting.
6.2 Modos de funcionamento
The lightmaXX DJ Scan LED typically supports the following operating modes:
- Modo DMX: Allows full control over all functions via a DMX controller. Set the DMX address using the control panel.
- Modo activo de son: The unit reacts to sound via a built-in microphone, creating dynamic light shows synchronized with music.
- Modo automático: Runs pre-programmed light sequences automatically.
- Modo mestre/escravo: Connect multiple units where one acts as the master, controlling the others (slaves) for synchronized operation without a DMX controller.

Figura 6: Example of a green light beam projection.

Figura 7: Example of a red light beam projection.
7. Mantemento
7.1 Limpeza
Regular cleaning helps maintain optimal performance. Disconnect the unit from power before cleaning.
- Use a soft, lint-free cloth to wipe the exterior.
- For lenses and mirrors, use a specialized lens cleaning solution and cloth to avoid scratches.
- Periodically clean the cooling fan and vents to ensure proper airflow.
7.2 Almacenamento
Cando non estea en uso, garde a unidade nun lugar seco e libre de po, preferiblemente na súa embalaxe orixinal ou nunha funda protectora.
8 Solución de problemas
Se tes problemas, consulta a táboa seguinte para ver os problemas e as solucións máis habituais:
| Problema | Causa posible | Solución |
|---|---|---|
| A unidade non se acende. | No power connection; faulty cable; blown fuse. | Check power cable connection; try another outlet; replace fuse if necessary. |
| Sen saída de luz. | Unit in standby; DMX signal issue; LED failure. | Check operating mode; verify DMX connection and address; contact support if LED is faulty. |
| Sen control DMX. | Enderezo DMX incorrecto; cable DMX defectuoso; problema co controlador DMX. | Set correct DMX address; test DMX cable; check DMX controller settings. |
| Beam movement is erratic. | Obstruction; internal mechanism issue. | Ensure no physical obstructions; contact support if issue persists. |
9. Especificacións
| Característica | Detalle |
|---|---|
| Número de modelo | LCD-502 |
| Fonte de luz | LED |
| Tipo de luz | Escáner |
| Mestura de cores | RGBAW (Red, Green, Blue, Amber, White) |
| Fonte de alimentación | 230V AC, 50Hz (typical) |
| Modos de control | DMX, Sound Active, Auto, Master/Slave |
| ASIN | B004CTLQXK |

Figure 8: Energy efficiency information for the LED light source.
10. Garantía e soporte
lightmaXX products are designed for reliability and performance. For warranty information and technical support, please refer to the warranty card included with your product or visit the official lightmaXX websitio. Garda o comprobante de compra para calquera reclamación de garantía.
For further assistance, please contact lightmaXX customer service.


