1. Produto rematadoview
The AAXA LED PICO, Pocket projector is an ultra-compact device designed for portable media projection. It integrates long-lasting LED technology with a built-in multimedia player and versatile input options, making it suitable for various mobile projection needs.
As características principais inclúen:
- Ultra Bright 25 Lumens: Delivers clear images with High Definition 720p (1280x720) native resolution, supporting up to 1080p.
- Vibrant Color Technology: Equipped with 15,000-hour LEDs for extended lifespan and vivid color reproduction.
- Deseño ultraportátil: Features an 80-minute built-in rechargeable Lithium-ion Battery, chargeable via the supplied micro USB cable.
- Audio integrado: Built-in speakers provide audio playback.
- Múltiples opcións de conectividade: Includes mini-HDMI, 3.5mm Aux Audio Out, Composite A/V connections, and Micro SD/USB readers for media playback (supports up to 16GB).
- Plug 'n Play Setup: Designed for instant setup with USB devices, compatible with Apple Mac and PC.
- Large Image Projection: Capable of projecting images up to 60 inches in low-light conditions.

Figura 1: De arriba abaixo view of the AAXA LED Pico Micro Video Projector, highlighting its compact design, control buttons, and projection lens.
2. Que hai na caixa
Your AAXA LED Pico Micro Video Projector package should contain the following items:
- AAXA LED Pico Micro Video Projector Unit
- Cable de carga micro USB
- Composite A/V Cable (3.5mm Jack)
- Mini-HDMI to HDMI Cable
- Small Tripod (may vary by package)
- Adaptador de corrente (para cargar)
3. Guía de configuración
3.1 Carga do proxector
Before initial use, fully charge the projector's built-in Lithium-ion battery. Connect the supplied micro USB cable to the projector's DC 5V port and the other end to a USB power adapter (not always included) or a computer's USB port. The charging indicator light will show the charging status.

Figure 2: The micro USB cable connected to the projector for charging. Ensure the cable is securely inserted into the DC 5V port.
3.2 Acendido/Apagado
To power on the projector, press and hold the power button located on the control panel until the device powers up. To power off, press and hold the power button again until the projector shuts down.
3.3 Conexión de fontes de entrada
O proxector admite varias fontes de entrada:
- HDMI: Use a mini-HDMI to HDMI cable to connect to laptops, gaming consoles, or other HDMI-enabled devices.
- Composite A/V: Use the 3.5mm Composite A/V cable to connect to older video sources.
- Tarxeta Micro SD: Insert a Micro SD card (up to 16GB) into the designated slot for direct media playback.
- USB: Plug a USB memory stick into the USB port for direct media playback.

Figura 3: Lateral view of the projector, illustrating the various input ports including HDMI, AV, USB, and Micro SD card slot.
3.4 Axuste do foco
Locate the focus wheel on the side of the projector. Rotate the wheel until the projected image appears clear and sharp on your desired surface. The optimal image size is up to 60 inches in low-light conditions.

Figure 4: The projector mounted on a small tripod, demonstrating how the focus wheel (located near the lens) is used to sharpen the image.
4. Instrucións de funcionamento
4.1 Navegación polo menú
Use the control buttons on the top of the projector to navigate through the on-screen menu. The central "OK" button confirms selections, while the arrow keys (up, down, left, right) move the cursor. The "Menu" or "Back" button (if present) allows you to return to the previous screen or main menu.
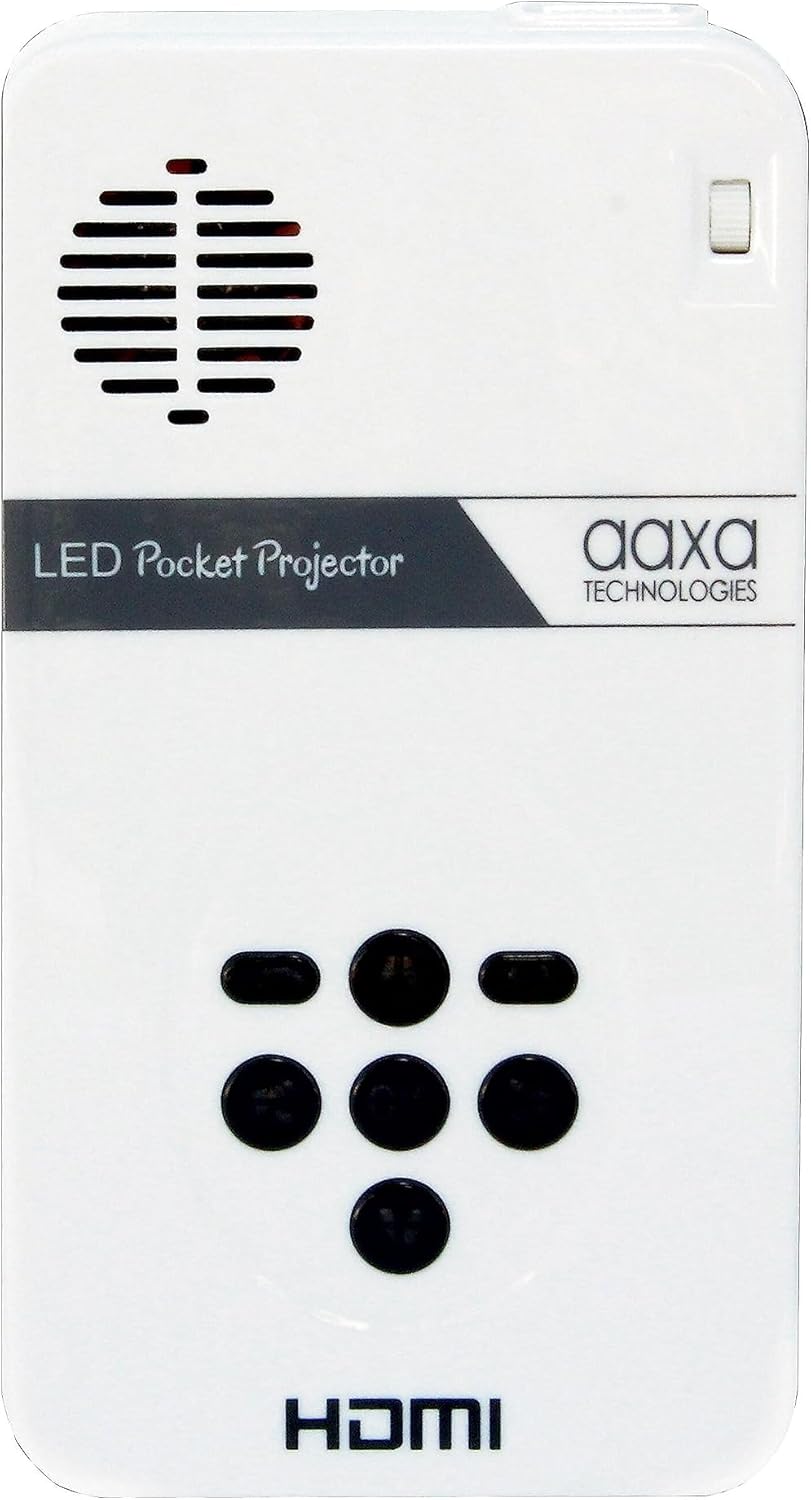
Figure 5: Close-up of the projector's top control panel, detailing the layout of the navigation buttons for menu interaction.
4.2 Reprodución multimedia
Once a Micro SD card or USB drive is inserted, the projector's built-in media player will typically detect it automatically. Navigate to the "Media" or "Files" section in the menu to browse and select videos, pictures, or text documents for playback.
4.3 Saída de audio
The projector has built-in speakers. For a more immersive audio experience, you can connect external speakers or headphones using the 3.5mm Aux Audio Out port.
5. Mantemento
- Limpeza: Use a soft, dry cloth to clean the projector's exterior. For the lens, use a specialized lens cleaning cloth and solution. Avoid abrasive materials.
- Coidado da batería: To prolong battery life, avoid fully discharging the battery frequently. Store the projector in a cool, dry place when not in use for extended periods.
- Ventilación: Ensure the projector's ventilation vents are not blocked during operation to prevent overheating.
6 Solución de problemas
| Problema | Causa posible | Solución |
|---|---|---|
| No image projected / Projector not turning on. | Low battery; Power cable not connected; Power button not held long enough. | Charge the projector; Ensure power cable is securely connected; Press and hold the power button for 3-5 seconds. |
| A imaxe está borrosa. | Out of focus; Projector too close/far from surface. | Adjust the focus wheel; Move the projector closer or further from the projection surface. |
| Sen audio. | Volume too low; External speakers/headphones not connected properly; Audio settings. | Increase volume; Check connections of external audio devices; Adjust audio settings in the projector menu. |
| No signal from input source. | Incorrect input selected; Cable not connected properly; Source device issue. | Select the correct input source in the menu; Ensure cables are securely connected to both projector and source device; Check if the source device is outputting a signal. |
7. Especificacións
| Característica | Detalle |
|---|---|
| Dimensións do produto | 4.25 x 2.36 x 0.7 polgadas |
| Peso do elemento | 6.4 onzas |
| Número de modelo do artigo | KP-101-01 |
| Baterías | 1 pilas de iones de litio necesarias (incluídas) |
| Resolución de visualización | 1280 x 720 (Nativo) |
| Tecnoloxía de conectividade | USB, Mini-HDMI, Composite A/V (3.5mm Jack), MicroSD AV |
| Característica especial | Pico, Speakers |
| Usos recomendados | Education, Personal Media Sharing |
| Fabricante | AAXA |
| Primeira data dispoñible | 15 de outubro de 2013 |
8. Garantía e soporte
For detailed warranty information and customer support, please refer to the official AAXA Technologies website or the documentation included with your purchase. You can also find additional resources and FAQs on the AAXA Technologies Store on Amazon.
Tamén pode estar dispoñible para a súa descarga unha versión en PDF do manual de usuario: Manual do usuario (PDF).


