1. Introdución
Thank you for choosing a Vortice product. This manual provides essential information for the safe and efficient installation, operation, and maintenance of your Vortice M 150/6” A 30 W Wall-Mounted Helical Extractor Fan. Please read these instructions carefully before installation and use, and keep them for future reference.
The Vortice M 150/6” A 30 W is a high-quality wall-mounted helical extractor fan designed for effective ventilation in domestic environments, particularly bathrooms. It features a robust design and is intended to improve air quality by extracting stale air and humidity.
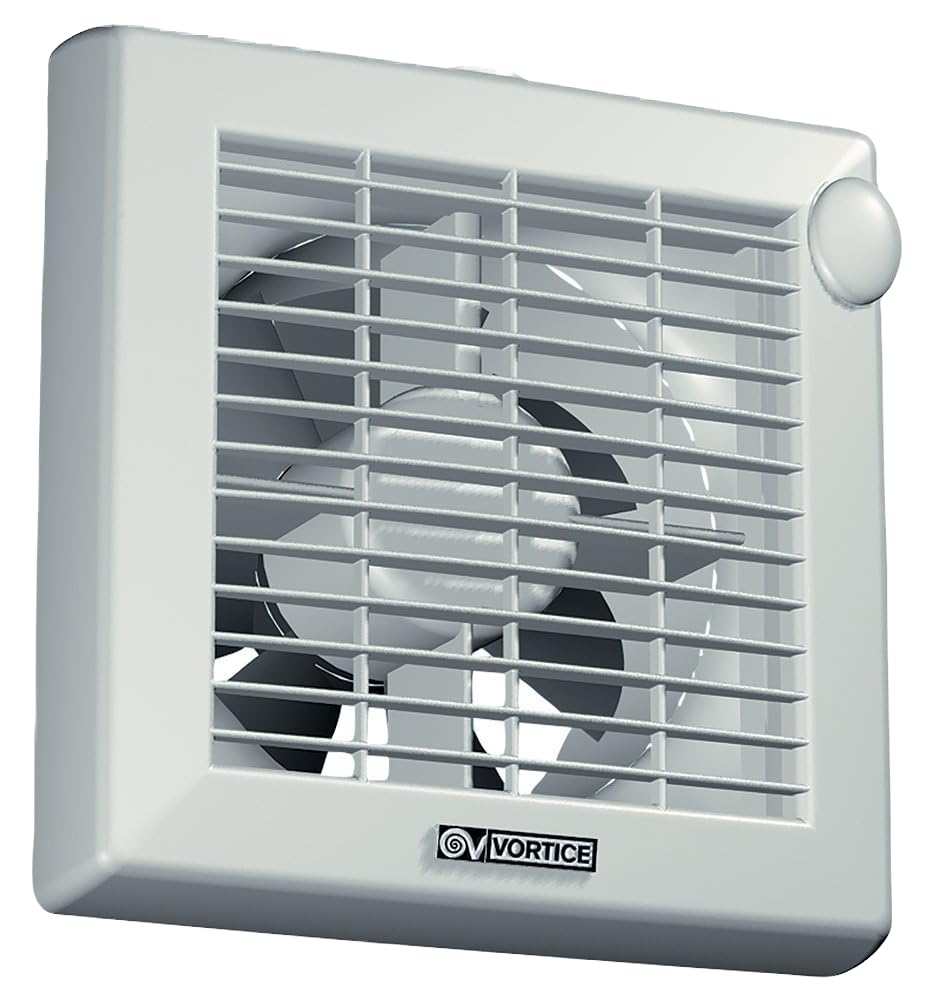
Imaxe 1.1: Fronte view of the Vortice M 150/6” A 30 W Wall-Mounted Helical Extractor Fan, showing the white square grille and circular exhaust port.
2. Información de seguridade
AVISO: Electrical appliances can be hazardous. To reduce the risk of fire, electric shock, or injury, always follow basic safety precautions.
- Asegúrese de desconectar a fonte de alimentación antes da instalación, mantemento ou limpeza.
- A instalación debe ser realizada por un electricista cualificado de acordo con todos os códigos eléctricos locais e nacionais.
- Verify compatibility with your electrical installation (230-240 V, 50 Hz).
- Non faga funcionar o ventilador cun cable ou enchufe danados.
- Non introduza os dedos nin obxectos estraños na grella do ventilador.
- Este aparello non está pensado para o seu uso por persoas (incluídos nenos) con capacidades físicas, sensoriais ou mentais reducidas, ou con falta de experiencia e coñecementos, a menos que teñan supervisión ou instrucións sobre o uso do aparello por unha persoa responsable da súa seguridade. .
- Os nenos deben ser supervisados para asegurarse de que non xoguen co aparello.
- Ensure adequate ventilation when the fan is used in conjunction with other fuel-burning appliances to prevent backflow of gases.
3. Configuración e instalación
The Vortice M 150/6” A 30 W fan is designed for wall mounting. Proper installation is crucial for optimal performance and safety.
3.1. Comprobacións previas á instalación
- Unpack the fan and inspect it for any damage.
- Confirm all components are present: fan unit, mounting hardware (if included).
- Ensure the installation location is suitable, typically a bathroom or utility room, with access to an appropriate electrical supply and an external vent.
- Verify the dimensions of the fan and the wall opening. Refer to the technical drawing below.

Image 3.1: Technical drawing illustrating the dimensions (A, B, C, D) of the Vortice M 150/6” A 30 W fan for installation planning.
3.2. Montaxe do ventilador
- Desconectar a enerxía: Desconecte a alimentación principal no disyuntor antes de comezar calquera traballo eléctrico.
- Preparar a apertura: Create or ensure an existing circular opening in the wall suitable for the fan's exhaust duct. The fan is designed for a 150mm (6-inch) duct.
- Posicionamento: Place the fan unit against the wall, ensuring it is level. Mark the drilling points for the mounting screws.
- Perforación: Perforar orificios piloto nas posicións marcadas.
- Ventilador seguro: Attach the fan securely to the wall using appropriate screws and wall plugs.

Imaxe 3.2: Traseira view of the Vortice M 150/6” A 30 W fan, highlighting the motor assembly and the four corner mounting points.
3.3. Conexión eléctrica
IMPORTANTE: Todas as conexións eléctricas deben ser realizadas por un electricista cualificado.
- Route the electrical cable to the fan's terminal block.
- Connect the live (L), neutral (N), and earth (E) wires according to the wiring diagram provided inside the fan's terminal cover.
- Asegúrese de que todas as conexións estean firmes e seguras.
- Close the terminal cover.

Image 3.3: The Vortice M 150/6” A 30 W fan seamlessly integrated into a modern bathroom, demonstrating a typical installation scenario.
4. Instrucións de funcionamento
Once properly installed and connected to the power supply, the Vortice M 150/6” A 30 W fan is ready for operation.
- Encendido: Restableza a corrente ao circuíto no disyuntor principal.
- Activación: The fan is typically controlled by a separate light switch or a dedicated fan switch in the room. Flip the switch to the "ON" position to activate the fan.
- Automatic Shutter: This model features an automatic shutter (veneziana) that opens when the fan is activated. It may take approximately 20 seconds for the shutter to fully open and the fan to reach full operational speed. This mechanism prevents air backflow when the fan is off.
- Desactivación: Flip the control switch to the "OFF" position to turn off the fan. The automatic shutter will close after a short delay.
The fan operates at a single speed, providing consistent extraction for effective ventilation.
5. Mantemento
Regular cleaning and maintenance will ensure the longevity and efficient operation of your Vortice extractor fan.
5.1. Limpeza do ventilador
- Desconectar a enerxía: Always turn off the power supply to the fan at the circuit breaker before cleaning.
- Eliminar reixa: Carefully remove the front grille of the fan. Refer to the installation diagram if unsure.
- Limpar a grella e a carcasa: Wipe the grille and the exterior housing with a soft, damp cloth. A mild detergent can be used if necessary. Avoid abrasive cleaners or solvents.
- Limpar as aspas do ventilador: Gently clean the fan blades with a soft brush or cloth to remove dust and debris. Be careful not to bend or damage the blades.
- Remontar: Once all parts are clean and dry, reattach the front grille securely.
- Restaurar enerxía: Restore power to the fan at the circuit breaker.
Perform cleaning at least once every three months, or more frequently in dusty or high-humidity environments.
6 Solución de problemas
If you encounter issues with your Vortice M 150/6” A 30 W fan, refer to the following common problems and solutions:
| Problema | Causa posible | Solución |
|---|---|---|
| O ventilador non se acende. | Sen fonte de alimentación. Interruptor defectuoso. Conexión de cableado solta. | Comprobar o interruptor automático. Proba o interruptor. Consulte cun electricista cualificado para comprobar o cableado. |
| O ventilador é ruidoso. | Accumulation of dust/debris on blades. Montaxe solta. Problema motor. | Clean fan blades (see Maintenance). Asegúrese de que o ventilador estea montado de forma segura. Se o ruído persiste, póñase en contacto co servizo de asistencia. |
| Poor air extraction. | Condutos obstruídos. Aspas do ventilador sucias. Shutter not opening fully. | Check and clear any obstructions in the duct. Limpar as aspas do ventilador. Ensure shutter mechanism is free of obstructions. |
| Shutter not opening/closing. | Obstrución. Mechanism fault. | Inspect for physical obstructions. If mechanism is faulty, contact support. |
If the problem persists after attempting these solutions, please contact Vortice customer support or a qualified technician.
7. Especificacións
Key technical specifications for the Vortice M 150/6” A 30 W Wall-Mounted Helical Extractor Fan:
| Marca | Vórtice |
| Número de modelo | 11421 |
| Serie | Votrice (M 150/6” A 30 W) |
| Cor | Branco |
| Fonte de enerxía | Eléctrico con cable |
| Voltage / Frecuencia | 230-240 V, 50 Hz |
| Consumo de enerxía | 30 W (implied from model name) |
| Dimensións do artigo (L x W x H) | 21.4 x 21.5 x 11.7 cm |
| Peso do produto | 1100 gramos |
| Deseño de ventiladores | Ventilador extractor |
| Estilo | Montado na parede |
| Uso recomendado | Aspiration, Ventilation (Bathroom) |
| Tipo de montaxe | Soporte de parede |
| Material | Plástico |
| Característica especial | Portable (likely refers to compact design/ease of installation) |
8. Garantía e soporte
Vortice products are manufactured to high standards. For warranty information, please refer to the documentation included with your purchase or visit the official Vortice websitio. Garda o comprobante de compra para reclamacións de garantía.
For technical assistance, spare parts, or service inquiries, please contact Vortice customer support. Contact details can typically be found on the product packaging or the official Vortice websitio.
Note: Information regarding spare parts availability and software updates is not explicitly provided in the product data.


