1. Introdución
This manual provides comprehensive instructions for the safe and effective operation of the KORAD KA3005P Programmable DC Power Supply. The KA3005P is a high-precision, variable, and adjustable linear power supply designed for laboratory, educational, and industrial applications. It offers stable and reliable DC power output with advanced features such as programmable control, memory storage, and multiple safety protections.

Figura 1.1: KORAD KA3005P Programmable DC Power Supply. This image shows the front and side view of the power supply unit, highlighting its compact design and the clear digital display.
2. Instrucións de seguridade
To ensure safe operation and prolong the life of your KORAD KA3005P power supply, please observe the following safety precautions:
- Always connect the power supply to a properly grounded AC outlet.
- Do not operate the unit in a wet or damp ambiente.
- Ensure adequate ventilation around the unit to prevent overheating. Do not block the ventilation openings.
- Non abras a c.asing of the power supply. There are no user-serviceable parts inside. Refer all servicing to qualified personnel.
- Verifique o vol de entradatage selector switch (110V/220V) on the rear panel is set correctly for your local power supply before connecting to AC mains.
- Disconnect the power cord before performing any maintenance or when the unit is not in use for extended periods.
- Avoid short-circuiting the output terminals. Although the unit has short-circuit protection, prolonged short circuits can cause damage.
- Use appropriate test leads and ensure they are rated for the voltage and current levels you intend to use.
3. Que hai na caixa
Upon unpacking your KORAD KA3005P, please verify that all the following items are included:
- 1 x KORAD KA3005P Power Supply Unit
- 1 x cable de alimentación de CA.
- 1 x cable USB
- 1 conxunto de 5 Amp Test Leads (Banana plug to Crocodile clip)
- 1 x Manual de usuario
- 1 x CD containing Remote Control Software
4. Características do produto
The KORAD KA3005P is equipped with a range of features designed for precision and ease of use:
- Saída de alta precisión: Provides stable and accurate 0-30V and 0-5A DC output.
- Pantalla LED de 4 díxitos: Bright and clear display for precise voltage (0.001V resolution) and current (0.001A resolution) readings.
- Programmable Control: USB and RS232 ports for remote control via PC software.
- Almacenamento de memoria: Four dedicated memory locations (M1-M4) to save and recall frequently used voltage e configuracións actuais.
- Vol. Constantetage (CV) & Constant Current (CC) Modes: Automatically switches between modes to maintain stable output.
- Proteccións integrales de seguridade: Includes Over-Current Protection (OCP), Over-Voltage Protection (OVP), and Short-Circuit Protection.
- Botón de activación/desactivación da saída: Allows safe connection and disconnection of loads without powering down the unit.
- Función de bloqueo: Evita cambios accidentais na configuración durante o funcionamento.
- Switchable Input Voltage: Supports 110V/220V AC input, making it suitable for international use.
- Ventilador de refrixeración silencioso: Built-in variable speed fan for efficient heat dissipation and reduced operational noise.

Figura 4.1: Key features of the KORAD KA3005P. This image illustrates the power and protection mechanisms, memory settings, the bright 4-digit LED display, and the switchable power input on the rear panel.
5. Panel superiorview
5.1 Panel frontal

Figura 5.1: Front Panel Layout of the KORAD KA3005P. This image provides a detailed view of the front panel with numbered labels indicating the function of each control and indicator.
- VoltagLectura de e (V): Mostra o volume de saídatage en voltios.
- Lectura de corrente (A ou mA): Displays the output current in Amperes ou miliamperes.
- Lectura de potencia (vatios): Displays the calculated output power in Watts.
- Vol. ConstantetagIndicador de modo (CV): Ilumínase cando a unidade funciona a Vol. ConstantetagModo e.
- Indicador de modo de corrente constante (CC): Ilumínase cando a unidade funciona no modo de corrente constante.
- Indicador de configuración da memoria (M1-M4): Indicates which memory preset is currently active.
- Indicador de protección contra sobrecorrente (OCP): Ilumínase cando a protección contra sobrecorrente está activa.
- Sobre VoltagIndicador de protección electrónica (OVP): Ilumínase cando hai sobrevolumetage Protection is active.
- Indicador de bloqueo do panel frontal (LOCK): Ilumínase cando os controis do panel frontal están bloqueados.
- Output On/Off Indicator (ON): Illuminates when the output is active.
- A/mA Button: Alterna entre Amperage and milliAmperage display, and also serves as the Panel Lock button when held.
- Botón OCP: Activa/desactiva a protección contra sobrecorrente.
- OCP SET Button: Used to set the Over-Current Protection limit.
- Botón OVP: Activates/deactivates Over-Voltage Protección.
- OVP SET Button: Used to set the Over-Voltage Protection limit.
- Botón ON/OFF: Toggles the output power ON or OFF.
- Memory Save/Recall Buttons (M1-M4): Used to save and recall voltage e configuracións actuais.
- Botón BEEP: Toggles the audible feedback (beeper) ON or OFF.
- SENSE Button: (Functionality may vary, typically for remote sensing).
- Dial de axuste de configuración: Codificador rotatorio para axustar o volumetage e valores actuais.
- Digit Selection Buttons (Left/Right Arrows): Used to select the digit to be adjusted by the Setting Adjustment Dial.
- Voltage/Current Adjustment Selector: Toggles between adjusting voltage e corrente.
- Terminais de saída: Red (+) and Black (-) terminals for connecting the load.
- Ground Terminal (GND): Green terminal for chassis ground connection.
- Botón de encendido: Interruptor de alimentación principal da unidade.
5.2 Panel posterior

Figura 5.2: Rear Panel Layout of the KORAD KA3005P. This image displays the rear panel, showing the AC input, voltage selector, cooling fan, and communication ports.
- Toma de entrada CA: Para conectar o cable de alimentación CA subministrado.
- Voltage Selector Switch (110V/220V): Allows selection of the appropriate input voltage para a súa rexión. Ensure this is set correctly before connecting to power.
- Ventilador de refrixeración: Automatically adjusts speed based on internal temperature to maintain optimal operating conditions.
- Porto USB: For connecting to a computer for programmable control.
- Porto RS232: For connecting to a computer or other devices for programmable control.
- Portafusibles: Contains the main AC input fuse.
6. Configuración
6.1 Inspección inicial
Before connecting the power supply, inspect the unit for any signs of physical damage that may have occurred during shipping. If any damage is found, contact your supplier immediately.
6.2 Setting Input Voltage
Localiza o voltage selector switch on the rear panel of the unit. Ensure it is set to match your local AC mains voltage (110V or 220V). Incorrect setting can damage the unit.

Figura 6.1: Rear panel showing the 110V/220V voltage selector switch. This switch must be correctly set to match the local AC power supply before operation.
6.3 Conexión de alimentación
Connect the supplied AC power cord to the AC input socket on the rear panel and then plug it into a grounded wall outlet.
6.4 Conexións de saída
Connect your load to the output terminals on the front panel using the provided test leads or other suitable leads. Ensure correct polarity: Red for positive (+), Black for negative (-). The green terminal is for chassis ground.
7. Instrucións de funcionamento
7.1 Acendido/Apagado
- Preme o POTENCIA button on the front panel to turn the unit ON. The display will illuminate.
- Preme o POTENCIA button again to turn the unit OFF.
7.2 Configuración Voltage e Actual
- Preme o VOLTAGE/ACTUAL button to select whether you are adjusting voltage or current. The corresponding display will flash.
- Usa o Frecha esquerda/dereita buttons to select the digit you wish to adjust. The selected digit will flash.
- Xire o Setting Adjustment Dial to change the value of the selected digit.
- Unha vez que o desexado voltage and current limit are set, press the ON/OFF button to enable the output. The ON o indicador acenderase.

Figura 7.1: Close-up of the bright 4-digit LED display. This display provides precise and clear readouts of voltage and current, essential for accurate power delivery.
7.3 Memory Functions (M1-M4)
The unit allows you to save and recall up to four sets of voltage e configuracións actuais.
- Salvar: Establece o voltage and current. Press and hold the desired memory button (M1, M2, M3 ou M4) until you hear a beep or the display indicates saving.
- Para recordar: Briefly press the desired memory button (M1, M2, M3 ou M4). The saved settings will be loaded.

Figura 7.2: Close-up of the memory save/recall buttons (M1-M4). These buttons allow users to quickly store and retrieve frequently used voltage e configuracións actuais.
7.4 Control de saída ON/OFF
O ON/OFF button controls the output power to the terminals independently of the main power switch.
- Preme ON/OFF to enable output. The ON o indicador acenderase.
- Preme ON/OFF again to disable output. The ON indicador apagarase.
- It is recommended to disable the output before connecting or disconnecting loads.
7.5 Función de bloqueo
To prevent accidental changes to settings during operation, you can lock the front panel controls.
- Manteña premido o A/mA botón durante uns segundos ata que o BLOQUEO indicator illuminates. All front panel controls will be disabled.
- Para desbloquear, manteña premido o botón A/mA botón de novo ata que o BLOQUEO indicador apágase.
7.6 Over-Current Protection (OCP) and Over-Voltage Protección (OVP)
These features protect your connected load and the power supply from damage due to excessive current or voltage.
- Configuración de OCP/OVP: Preme o OCP SET or OVP SET botón. Usa o Setting Adjustment Dial e Frecha esquerda/dereita buttons to set the desired protection limit.
- Activating OCP/OVP: Preme o OCP or OVP button to enable the protection. The corresponding indicator will light up.
- When an OCP or OVP event occurs, the output will automatically shut off, and the respective indicator will flash. To reset, disable the protection or resolve the fault, then press the ON/OFF button to re-enable output.

Figura 7.3: Close-up of the protection and control buttons. This image highlights the OCP, OVP, and Lock buttons, which are crucial for safe operation and preventing accidental changes.
8. Programmable Control
The KORAD KA3005P can be controlled remotely via a computer using the USB or RS232 ports located on the rear panel.
- Instalación de software: Insert the provided CD into your computer and follow the on-screen instructions to install the remote control software. Drivers for the USB/RS232 interface may also be included.
- Conexión: Connect the power supply to your computer using the supplied USB cable or an RS232 cable (not included for RS232).
- Operación de software: Launch the installed software. Select the correct COM port corresponding to your connected power supply. The software allows you to set voltage, current, enable/disable output, and configure protection limits from your computer. Some software versions may support programmable sequences or data logging.
- Protocolo de serie: For advanced users, the user manual and CD typically contain documentation on the serial communication protocol, allowing for custom software development or integration with other programming environments (e.g., LabVIEW, Python).
Figura 8.1: Rear panel showing USB and RS232 ports for programmable control. The image also displays the included user manual, USB cable, test leads, and software CD, which facilitate remote operation.
For software downloads or updates, please refer to the official KORAD website or the link provided in the manual (e.g., www.koradtechnology.com).
9. Mantemento
The KORAD KA3005P is designed for reliable operation with minimal maintenance. Follow these guidelines:
- Limpeza: Disconnect the power supply from the AC mains before cleaning. Use a soft, dry cloth to wipe the exterior. Do not use abrasive cleaners or solvents.
- Ventilación: Ensure the ventilation openings on the sides and rear of the unit are free from dust and obstructions. Periodically clean the fan vents with compressed air if necessary.
- Substitución de fusibles: If the unit does not power on, check the fuse located in the fuse holder on the rear panel. Replace only with a fuse of the same type and rating (e.g., 5A/250V for 110V input, 3A/250V for 220V input). Always disconnect the power cord before replacing the fuse.
- Almacenamento: Cando non se use durante períodos prolongados, garde a unidade nun lugar fresco e seco, lonxe da luz solar directa e de temperaturas extremas.
10 Solución de problemas
If you encounter issues with your KORAD KA3005P, refer to the following common problems and solutions:
| Problema | Causa posible | Solución |
|---|---|---|
| A unidade non se acende. | No AC power; Blown fuse; Incorrect voltage selector setting. | Check power cord connection and wall outlet. Replace fuse if blown. Verify voltage selector (110V/220V) on rear panel is correct. |
| Sen saída voltage/corrente. | Output is OFF; OCP/OVP triggered; Short circuit at output. | Preme o ON/OFF button to enable output. Check if OCP/OVP indicators are flashing; resolve fault and reset. Check for short circuits in the load or test leads. |
| Vol. De saídatagA corrente eléctrica é inestable. | Poor load connection; Overheating; Faulty test leads. | Ensure secure connections to the load. Check ventilation and allow unit to cool. Inspect and replace test leads if damaged. |
| Display shows incorrect readings. | Calibration issue; External interference. | If readings are consistently inaccurate, contact support for calibration. Minimize external electromagnetic interference. |
| Software communication issues. | Incorrect COM port; Driver issues; Software incompatibility. | Verify COM port selection in software. Reinstall USB/RS232 drivers. Ensure software version is compatible with your operating system. Refer to software documentation. |
If the problem persists after attempting these solutions, please contact KORAD customer support.
11. Especificacións
Technical specifications for the KORAD KA3005P Programmable DC Power Supply:

Figura 11.1: KORAD KA3005P Unit Specifications. This image provides a visual summary of the key technical parameters of the power supply.
| Parámetro | Valor |
|---|---|
| Voltage Alcance | 0-30 V |
| Rango actual | 0-5A |
| Regulación de carga (Vol)tage) | ≤0.01 %+2 mV |
| Regulación de carga (actual) | ≤0.1%+10mA |
| Regulación de liñas (Vol.tage) | ≤0.01 %+3 mV |
| Regulación de liña (actual) | ≤0.1%+3mA |
| Resolución de configuración (Volumen)tage) | 10mV |
| Resolución de configuración (actual) | 1 mA |
| Precisión de configuración (25 °C ± 5 °C) (Voltage) | ≤0.5 %+20 mV |
| Precisión de configuración (25 °C ± 5 °C) (Actual) | ≤0.5%+10mA |
| Ondulación (20-20M) (Vol.tage) | ≤2 mVrms |
| Ondulación (20-20M) (Actual) | ≤2 mArms |
| Coeficiente de temperatura (voltage) | ≤ 150 ppm |
| Coeficiente de temperatura (actual) | ≤ 150 ppm |
| Resolución de lectura posterior (Vol)tage) | 10mV |
| Resolución de lectura posterior (actual) | 1 mA |
| Tempo de reacción (Vol)tage Subida) | ≤100mS (Voltage Drop) |
| Interface | Programmable (USB, RS232) |
| Peso | 9.52 lbs / 4.32 kg |
| Dimensións (W x H x D) | 100 mm (ancho) x 156 mm (alto) x 260 mm (fondo) |
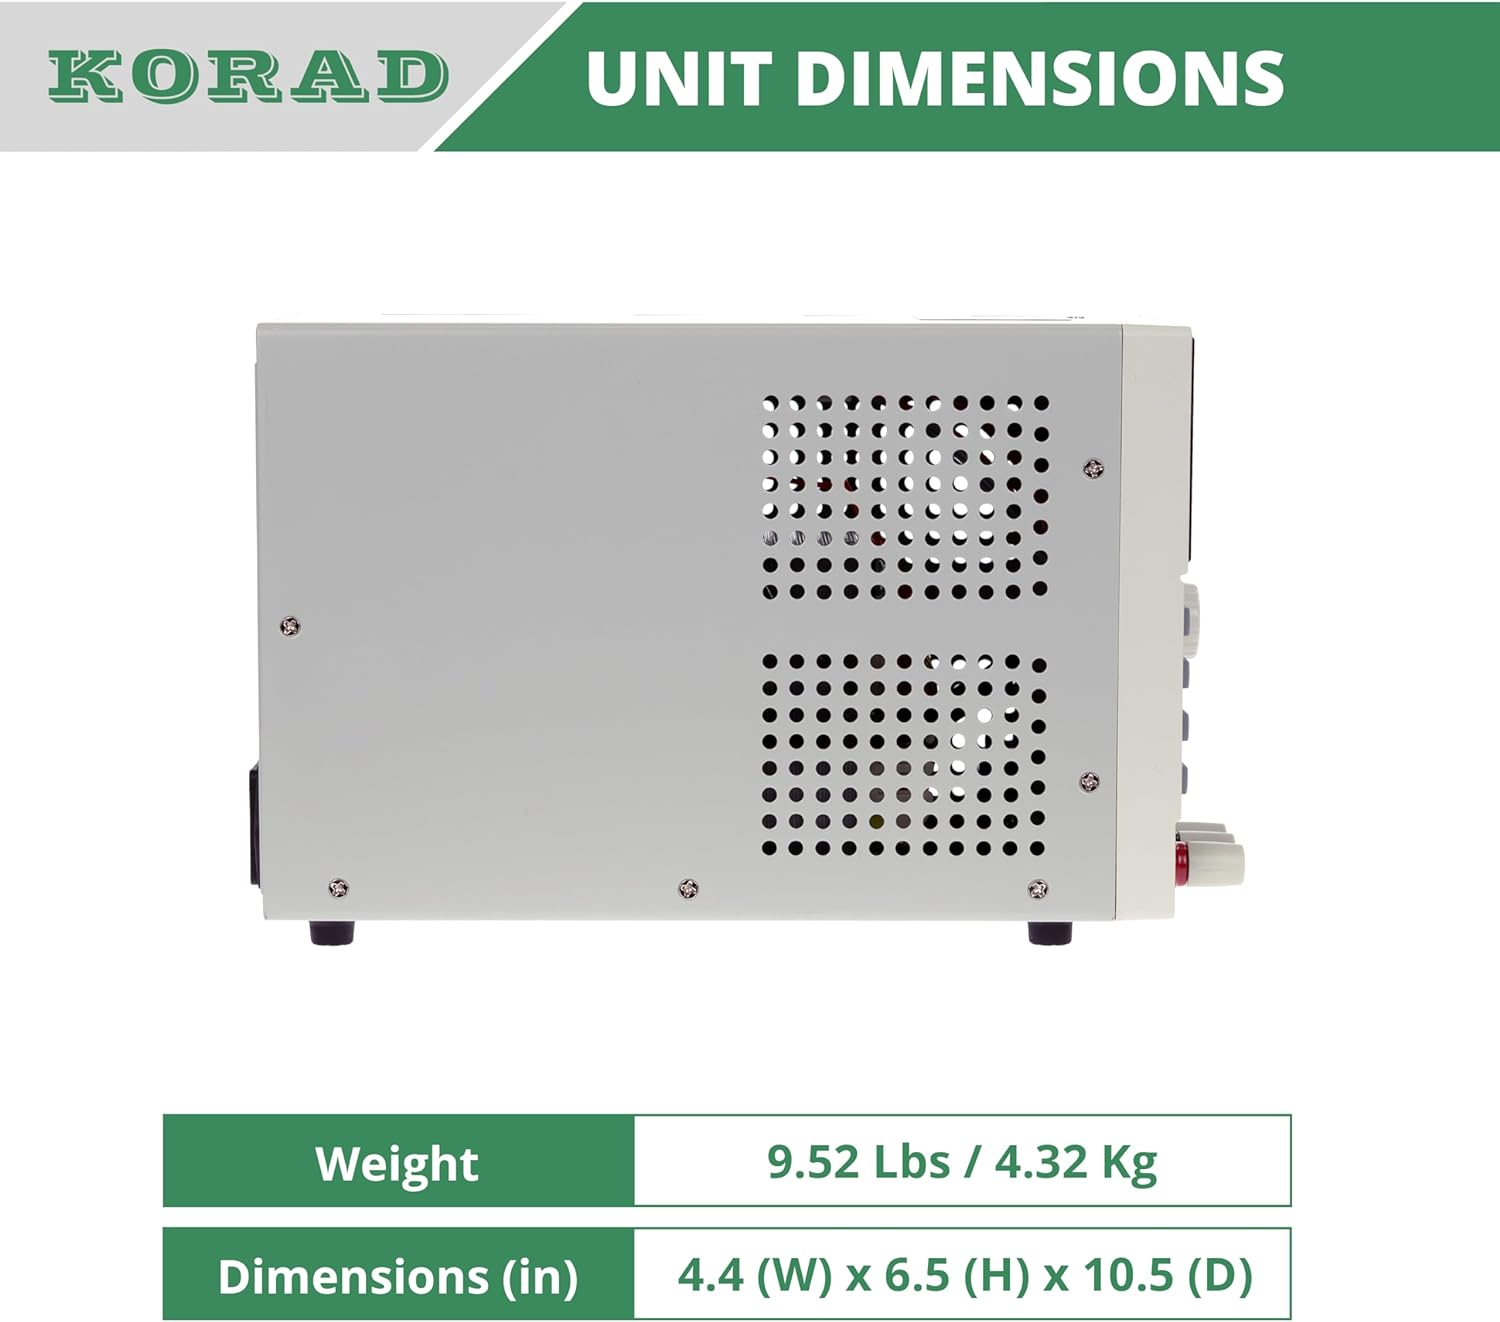
Figura 11.2: Lado view of the KORAD KA3005P, illustrating its physical dimensions. The unit measures 4.4 inches (W) x 6.5 inches (H) x 10.5 inches (D).
12. Garantía e soporte
KORAD products are manufactured to high quality standards. For warranty information and technical support, please refer to the documentation included with your purchase or visit the official KORAD websitio.
- Garantía: Please retain your proof of purchase for warranty claims. Warranty terms and conditions may vary by region.
- Soporte técnico: For technical assistance, troubleshooting beyond this manual, or service inquiries, please contact KORAD customer support through their official channels.
- Recursos en liña: Check the KORAD website for updated manuals, software, and FAQs.


