1. Introdución
This manual provides essential information for the safe and effective assembly, operation, and maintenance of your Keter Gulliver Low Cabinet. Please read these instructions carefully before use and retain them for future reference.
The Keter Gulliver Low Cabinet is a versatile storage solution designed for organizing household, utility, and garage items. Constructed from durable, watertight resin, it features a modern design with lockable double doors and two adjustable shelves.
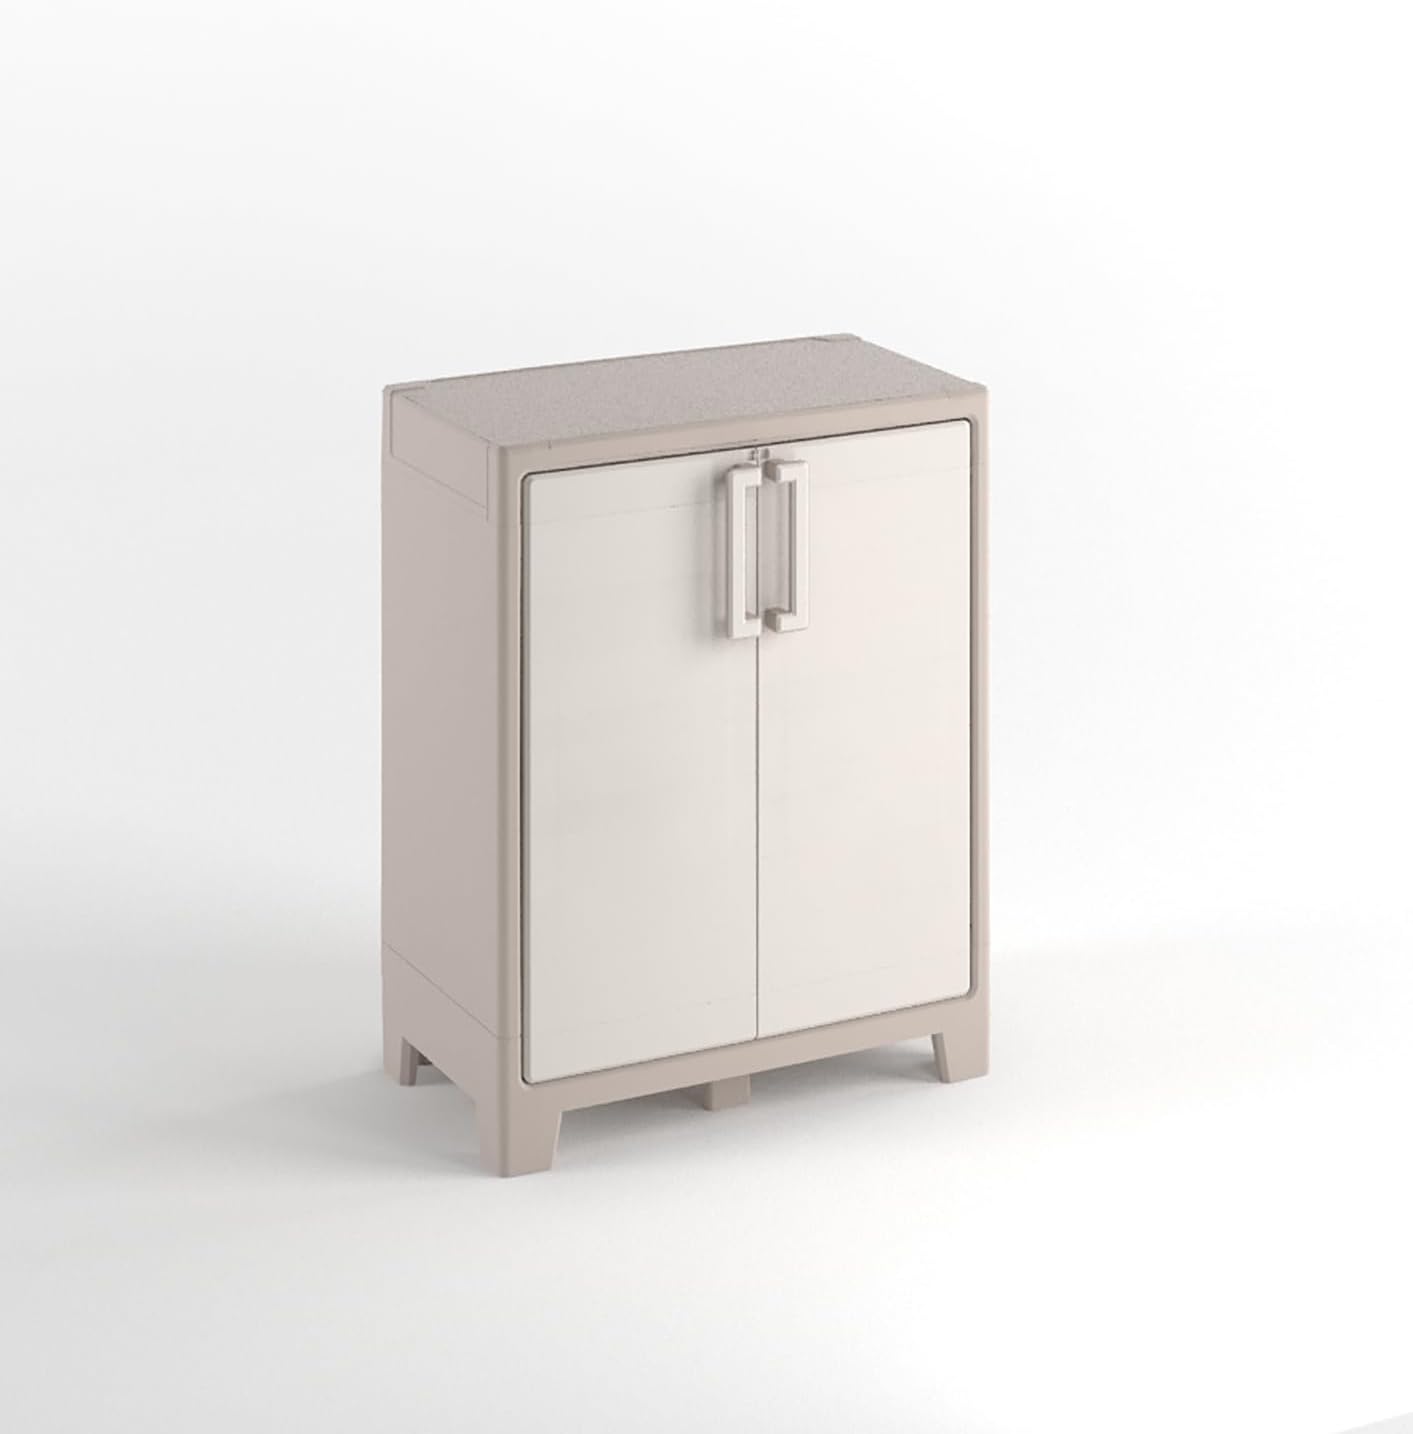
Image 1.1: Keter Gulliver Low Cabinet. This image displays the full cabinet, highlighting its compact and functional design suitable for various storage needs.
2. Información de seguridade
- Montaxe na parede: It is strongly recommended to fix the cabinet to a wall to ensure stability and safety, especially when storing heavy objects. This prevents accidental tipping.
- Capacidade de carga: Each shelf has a maximum load capacity of 30 kg (66 lbs). Do not exceed this weight limit per shelf. The total weight limit for the entire cabinet is 60 kg (132 lbs).
- Montaxe: Ensure all components are correctly assembled according to the provided instructions before use. Improper assembly can lead to instability.
- Colocación: This cabinet is suitable for both indoor and outdoor use. When placed outdoors, ensure it is on a level surface.
- Nenos: Keep children away from the cabinet during assembly. Do not allow children to climb on or play inside the cabinet.
3. Contido do paquete
Before beginning assembly, verify that all parts are present and undamaged. The package should contain the following:
- Cabinet panels (sides, top, bottom, back, doors)
- 2 x Adjustable Shelves
- Assembly hardware (screws, hinges, handles, feet, etc.)
- Manual de instrucións

Image 3.1: Product Packaging. This image shows the exterior of the Keter Gulliver cabinet packaging, indicating the product name and some key features.
4. Configuración e montaxe
Assembly of the Keter Gulliver Low Cabinet is required. Please follow the detailed step-by-step instructions provided in the separate assembly guide included in your package. Ensure you have adequate space and the necessary tools (typically a screwdriver) before starting.
Pasos clave de montaxe:
- Desempaquetar compoñentes: Retire con coidado todas as pezas da embalaxe e colóqueas sobre unha superficie limpa e suave para evitar rabuñaduras.
- Montaxe do cadro: Connect the side panels to the bottom and top panels as per the instructions.
- Instalar o panel traseiro: Secure the polypropylene back panel into the frame.
- Fixar portas: Mount the doors using the provided metal hinges. Ensure they open and close smoothly.
- Inserir estantes: Place the adjustable shelves at your desired height.
- Instalar os pés: Attach the cabinet feet to the base for stability.
- Wall Fixing (Recommended): For enhanced safety, secure the cabinet to a wall using appropriate hardware (not always included, check assembly guide).

Image 4.1: Cabinet Interior. This image shows the cabinet with its doors open, illustrating the two adjustable shelves and internal storage space.

Image 4.2: Cabinet Base. A detailed view of the cabinet's underside, showing the sturdy feet and structural design for stability.
5. Instrucións de funcionamento
5.1 Apertura e peche de portas
The cabinet features double doors with handles for easy access. To open, pull the handles outwards. To close, push the doors firmly until they latch securely.
5.2 Uso das estanterías
The two included shelves are adjustable. To change their height, carefully remove the shelf, reposition the support clips (if applicable, refer to assembly guide), and reinsert the shelf at the desired level. Ensure shelves are securely seated before placing items on them.
5.3 Mecanismo de bloqueo
The cabinet is designed with a padlock-compatible locking mechanism for added security. To lock the cabinet, align the holes on the doors and insert a standard padlock (not included).

Image 5.1: Locking Mechanism. This image provides a close-up view of the cabinet's handle and the integrated feature for attaching a padlock, enhancing security.
6. Mantemento
The Keter Gulliver Low Cabinet is made from durable, watertight polypropylene resin, requiring minimal maintenance.
- Limpeza: Clean the cabinet surfaces with a soft cloth, mild soap, and water. Avoid abrasive cleaners or harsh chemicals, as these can damage the material.
- Inspección: Periodically check all connections and hinges to ensure they remain secure. Tighten any loose screws if necessary.
- Uso exterior: While suitable for outdoor use, prolonged exposure to extreme weather conditions may affect its appearance over time.
7 Solución de problemas
- As portas non pechan correctamente: Check for any obstructions in the door path or hinges. Ensure the cabinet is on a level surface. Verify that the hinges are correctly installed and tightened.
- Inestabilidade do armario: Ensure all assembly screws are tightened. If not already done, fix the cabinet to a wall using appropriate hardware to prevent tipping.
- Pezas danadas: If any parts are damaged or missing upon arrival, do not proceed with assembly. Contact customer support for assistance.
8. Especificacións
| Característica | Detalle |
|---|---|
| Marca | Keter |
| Nome do modelo | Gulliver |
| Número de modelo do artigo | 9752000 |
| Dimensións do produto (P x A x A) | 10.04" x 19.69" x 32.05" (25.5 cm x 50 cm x 81.4 cm) |
| Peso do elemento | 9.45 kg (20.8 lb) |
| Material | plástico de polipropileno (PP) |
| Cor | Beixe |
| Número de estantes | 2 |
| Límite de peso en estantes | 30 kg (66 lbs) por estante |
| Límite de peso total | 60 kg (132 lb) |
| Requírese montaxe | Si |
| Tipo de bloqueo | Padlock compatible (padlock not included) |
| Usos recomendados | Interior, Exterior |
9. Garantía
For information regarding the product warranty, please refer to the documentation included with your purchase or visit the official Keter websitio. Os termos e condicións da garantía poden variar segundo a rexión e o vendedor.
10. Apoio
If you have any questions, require assistance with assembly, or need to report missing/damaged parts, please contact Keter customer support. You can often find support contact information on the Keter brand websitio web ou a través do vendedor onde adquiriu o produto.
Para máis información, visite o Tenda Keter en Amazon.


