1. Introdución
This manual provides essential information for the safe and effective use of your Leica M (Typ 240) Digital Rangefinder Camera, model 10770. The Leica M is engineered for superior image quality, precise focusing, and robust performance, featuring a 24-megapixel CMOS sensor and the Leica Maestro image processor.
As características principais inclúen:
- High-resolution 24-megapixel CMOS sensor for exceptional detail.
- Fast Leica Maestro image processor for rapid image handling.
- En directo View with 10x magnification and Focus Peaking for precise focusing.
- Splash-proof camera body for enhanced durability.
- 3-inch TFT LCD screen with 920,000 pixels and Corning Gorilla glass protection.
- Full 1080p HD video recording capabilities.
2. Configuración
2.1 Desembalaxe e comprobación do contido
Carefully unpack your camera and verify that all components are present. The standard package for model 10770 includes the camera body only. Inspect the camera for any signs of damage before proceeding.
2.2 Instalación da batería
The Leica M (Typ 240) uses one Lithium Metal battery (included). To install the battery:
- Localiza a tapa do compartimento da batería, que normalmente está na parte inferior da cámara.
- Abra a tapa xirando o mecanismo de bloqueo.
- Insira a batería segundo os indicadores de polaridade que aparecen no interior do compartimento.
- Pecha a tapa do compartimento da batería de forma segura.
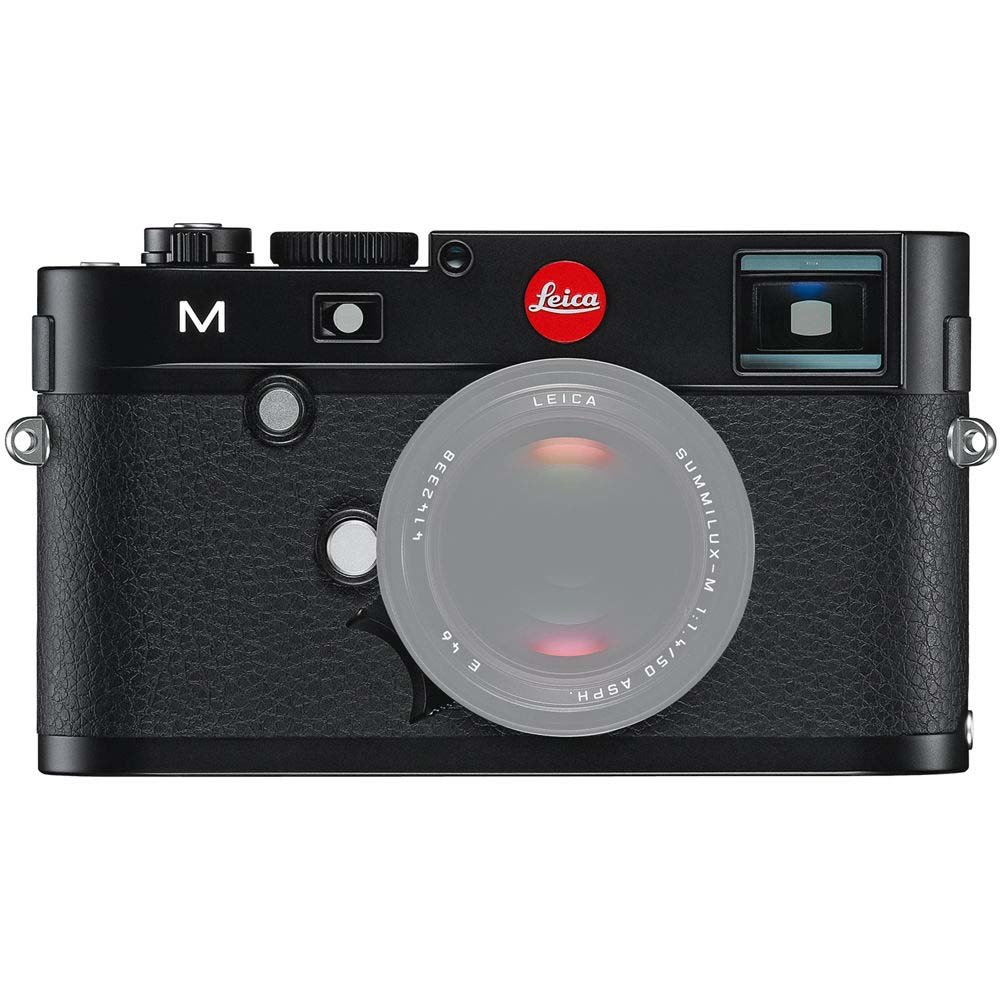
Fronte view of the Leica M (Typ 240) Digital Rangefinder Camera, showing the lens mount and body design. This image illustrates the camera's exterior, which houses the battery compartment and other controls.
2.3 Inserción da tarxeta de memoria
Insert a compatible SD card into the memory card slot. Ensure the card is inserted in the correct orientation until it clicks into place. Refer to the camera's display for confirmation of card recognition.
2.4 Conexión da lente
The Leica M (Typ 240) uses the Leica M mount. To attach a lens:
- Retire a tapa do corpo da cámara e a tapa traseira da lente.
- Aliña o punto vermello da lente co punto vermello da montura da lente da cámara.
- Gently insert the lens into the mount and turn it clockwise until it locks into place.
2.5 Acendido inicial e configuración básica
After installing the battery and memory card, turn on the camera using the power switch. The first time you power on, you may be prompted to set the date, time, and language. Follow the on-screen instructions to configure these basic settings.
3. Funcionamento da cámara
3.1 Controisview
The Leica M (Typ 240) features a classic rangefinder design with intuitive controls. Familiarize yourself with the shutter speed dial, aperture ring (on the lens), focus ring (on the lens), and the various buttons and dials on the camera body for menu navigation and function selection.
3.2 Focalización
The camera offers multiple focusing methods:
- Rangefinder System: The classic method for precise manual focusing. Align the split or superimposed images in the viewbuscador
- En directo View Zoom: When using Live View on the LCD screen, you can magnify the image up to 10x for critical focus assessment.
- En directo View Foco máximo: This feature automatically highlights sharp contours in red on the Live View display, providing visual confirmation of focus.
3.3 Configuración de exposición
The Leica M (Typ 240) provides comprehensive control over exposure. You can manually set aperture (via the lens), shutter speed (via the top dial), and ISO sensitivity. The camera also offers various metering modes, including Center Weighted, to assist in achieving correct exposure.
3.4 Shooting Still Images
Para capturar unha imaxe fixa:
- Compón a túa toma usando o viewfinder or Live View.
- Adjust focus using one of the methods described above.
- Set your desired exposure parameters (aperture, shutter speed, ISO).
- Press the shutter button halfway to activate the meter, then fully to capture the image.
3.5 Gravación de vídeos
The Leica M (Typ 240) supports 1080p full-HD video recording. To record a video:
- Switch the camera to video mode (if applicable, refer to the camera's menu).
- Compose your shot and adjust focus.
- Press the dedicated video recording button or the shutter button (depending on configuration) to start and stop recording.
3.6 Reprodución de imaxes
Para review imaxes e vídeos capturados:
- Preme o botón Reproducir.
- Use the navigation controls to scroll through your media.
- The 3-inch TFT LCD screen provides a clear display for reviewfacendo os teus tiros.
4. Mantemento
4.1 Limpeza da cámara
- Corpo da cámara: Usa un pano suave e seco para limpar o corpo da cámara. Para a sucidade persistente, usa un pano lixeiramenteamp Pódese usar un pano, pero evite a humidade excesiva.
- Lente: Use a lens brush or air blower to remove dust, then gently clean with a microfiber lens cloth and a specialized lens cleaning solution if necessary.
- Sensor: A limpeza do sensor debe realizarse con extremo coidado. Se aparecen manchas de po nas imaxes, recoméndase que un centro de servizo autorizado limpe o sensor profesionalmente.
- Pantalla LCD: Use a soft, lint-free cloth. Avoid harsh chemicals.
4.2 Almacenamento
When not in use, store the camera in a cool, dry place away from direct sunlight, high humidity, and extreme temperatures. Use a desiccant pack if storing in humid environments. Remove the battery if the camera will not be used for an extended period.
4.3 Coidado coa batería
Charge the battery fully before first use. For optimal battery life, avoid completely discharging the battery regularly. Store batteries in a cool, dry place. If storing for extended periods, charge them to approximately 50% capacity.
5 Solución de problemas
5.1 A cámara non se acende
- Asegúrese de que a batería estea inserida correctamente e completamente cargada.
- Check that the battery contacts are clean.
- Proba cunha batería cargada diferente se estás dispoñible.
5.2 Images Are Out of Focus
- Verify that the lens is correctly attached and the focus ring is being adjusted properly.
- Ensure you are using the rangefinder or Live View focusing aids correctly.
- Check the diopter adjustment on the viewfinder if images appear blurry through it.
5.3 Image Quality Issues (e.g., Noise, Color Cast)
- Ruído: High ISO settings can introduce noise. Try lowering the ISO or using a brighter aperture/slower shutter speed.
- Cast de cor: Check the white balance settings. Adjust to match the lighting conditions. Firmware updates may also address color rendition issues.
- Dust Spots: If dark spots appear on images, especially at smaller apertures, the sensor may require cleaning.
5.4 Memory Card Errors
- Ensure the memory card is fully inserted.
- Try formatting the card in the camera (note: this will erase all data).
- Proba cunha tarxeta de memoria diferente e compatible.
6. Especificacións
| Característica | Detalle |
|---|---|
| Marca | Leica |
| Número de modelo | 10770 |
| Dimensións do produto | 5.47 x 1.65 x 3.15 polgadas |
| Peso do elemento | 1.29 libras |
| Baterías | 1 batería de metal de litio (incluída) |
| Montaxes compatibles | Leica M |
| Tecnoloxía do sensor fotográfico | CMOS |
| Soportado File Formato | JPEG, RAW |
| Estabilización da imaxe | Dixital |
| Zoom óptico | 1x |
| Apertura máxima | 3.5 Millimeters (Note: This refers to the camera body's internal specification, actual lens aperture varies.) |
| ISO mínimo ampliado | 100 |
| Descrición da medición | Centro ponderado |
| Data de primeira dispoñibilidade | 2 de febreiro de 2010 |
7. Garantía e soporte
For detailed warranty information, please refer to the warranty card included with your product or visit the official Leica websitio. Garda o comprobante de compra para reclamacións de garantía.
For further assistance, technical support, or service, please contact Leica customer service or visit an authorized Leica service center. You can find more information and resources on the Tenda Leica en Amazon.


