1. Introdución
The Mastech MS6612 is a digital luxmeter designed for measuring illuminance. It features a large LCD display with backlight and a bar graph for easy reading. This device offers automatic and manual range switching, data hold, peak value measurement, relative value measurement, and zero calibration functions. It is capable of measuring up to 200,000 Lux or 20,000 Foot-Candles (Fc).
2. Información de seguridade
Please read and understand all safety instructions before operating the device. Failure to follow these instructions may result in injury or damage to the meter.
- Do not operate the meter in environments with explosive gas, vapor, or dust.
- Avoid exposing the meter to extreme temperatures or high humidity.
- Remove batteries if the meter is not used for an extended period to prevent leakage.
- Non intente reparar nin modificar o contador. Encargue calquera mantemento a persoal cualificado.
- Manteña o medidor limpo e seco.
3. Produto rematadoview
The Mastech MS6612 Digital Luxmeter consists of a main unit with an LCD display and control buttons, and a silicon photoelectric diode sensor for light detection.
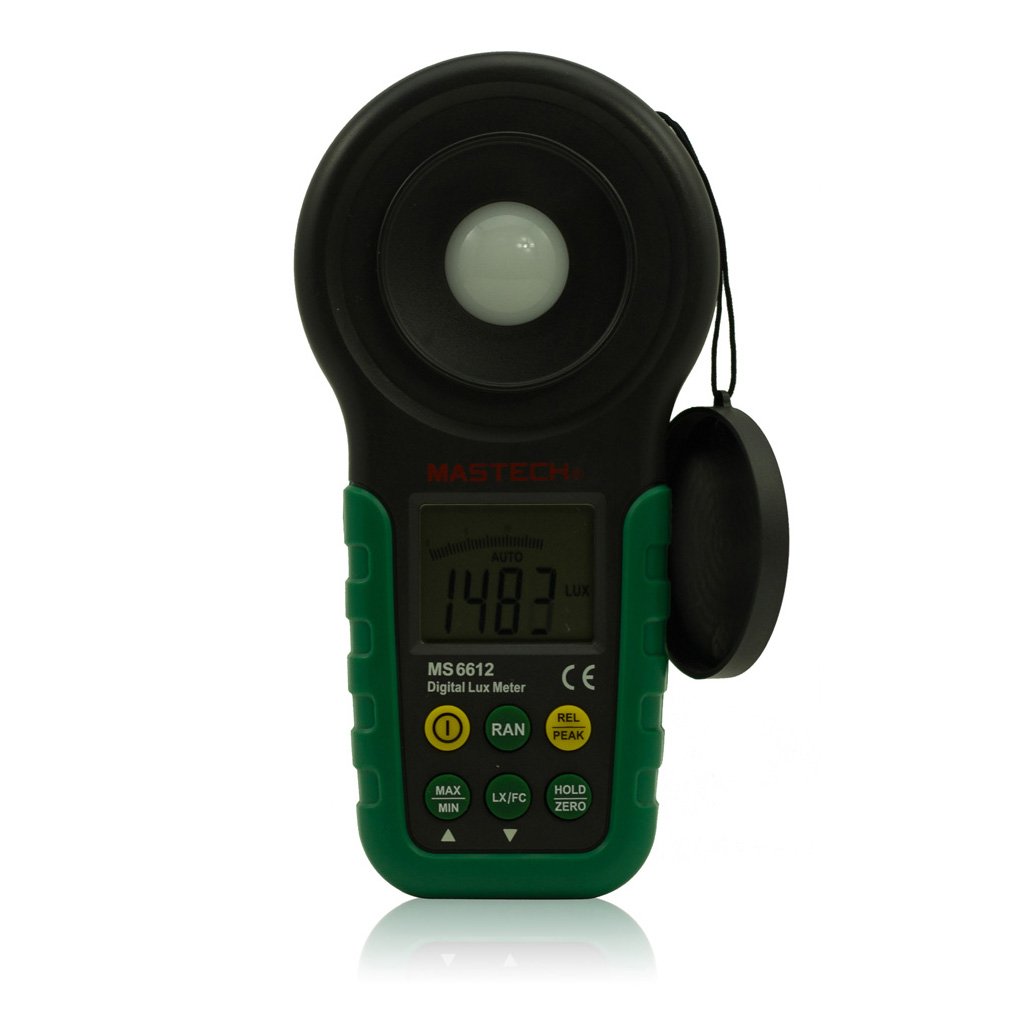
Figura 1: Fronte view of the Mastech MS6612 Digital Luxmeter. This image shows the main body of the device, including the large LCD screen, control buttons, and the light sensor located at the top.
Compoñentes clave:
- Pantalla LCD: 3½ digits with analog bar display for clear readings.
- Botóns de control: For various functions such as power, range, hold, peak, relative, zero, unit conversion, and mute.
- Sensor de luz: Silicon photoelectric diode for accurate light measurement.
- Compartimento de batería: Situado na parte traseira para unha batería de 9 V.
4. Configuración
4.1 Instalación da batería
- Localice a tapa do compartimento das baterías na parte traseira do medidor.
- Use un desaparafusador (se é necesario) para abrir o compartimento da batería.
- Insert one 9V (IEC 6LR61) battery, observing the correct polarity (+/-).
- Coloque a tapa do compartimento da batería e fíxaa.
Nota: Aparecerá un indicador de batería baixa na pantalla cando sexa necesario substituír a batería.
5. Instrucións de funcionamento
5.1 Encendido/apagado
- Preme o POTENCIA botón para acender o medidor.
- Preme o POTENCIA botón de novo para apagar o medidor.
- The meter features an automatic power-off function, which will turn off the device if no keys are operated for more than 10 minutes.
5.2 Medición básica
- Acende o contador.
- Point the light sensor towards the light source to be measured.
- The illuminance value will be displayed on the LCD. The meter automatically selects the appropriate range.
5.3 Range Switching (Auto/Manual)
The MS6612 supports both automatic and manual range switching.
- In auto-ranging mode, the meter automatically selects the best measurement range.
- Preme o GAMA button to switch between auto and manual ranging modes. In manual mode, you can cycle through available ranges.
- If the measured value exceeds the current range in manual mode, the LCD will display "OL" (Overload).
5.4 Función de retención de datos
Para conxelar a lectura actual na pantalla:
- Preme o ATENCIÓN button. The "HOLD" indicator will appear on the display.
- Preme o ATENCIÓN button again to release the data hold and resume live measurement.
5.5 Maximum/Minimum Value Measurement
Para view the maximum or minimum illuminance recorded during a measurement session:
- Preme o MAX/MIN button. The display will show the maximum recorded value.
- Preme MAX/MIN again to cycle to the minimum recorded value.
- Preme MAX/MIN a third time to exit this mode and return to live measurement.
5.6 Peak Value Measurement
This function captures the highest instantaneous illuminance value.
- Preme o PICO button to activate peak measurement. The "PEAK" indicator will appear.
- The display will show the highest illuminance detected since activating the function.
- Preme PICO de novo para saír deste modo.
5.7 Relative Value Measurement
This function allows you to set a reference point and measure the difference from that point.
- In a stable light environment, press the REL button. The current reading becomes the reference, and the display will show "0".
- Subsequent measurements will show the difference (positive or negative) from this reference value.
- Preme REL again to exit relative measurement mode.
5.8 Zero Calibration Function
To ensure accuracy, especially in low light conditions, perform a zero calibration.
- Place the light sensor in a completely dark environment (e.g., cover it with an opaque cap).
- Preme o CERO button. The display should read "0.00".
- This calibrates the meter to account for any residual sensor output in darkness.
5.9 Unit Conversion (Fc/Lux)
The meter can display measurements in Lux or Foot-Candles (Fc).
- Preme o UNIDADE button to toggle between Lux and Fc units.
- The selected unit will be indicated on the LCD.
- Conversión: 1 Fc = 10.764 Lux; 1 Lux = 0.09290 Fc.
5.10 Touch Tone and Mute Function
The meter may emit a touch tone when buttons are pressed. This can be muted.
- Refer to the specific button on your device for muting the touch tone.
6. Mantemento
6.1 Limpeza
- Limpar a superficie c do medidorasing cun suave, damp pano. Non use produtos de limpeza ou disolventes abrasivos.
- Keep the light sensor clean and free from dust or smudges to ensure accurate readings. Use a soft, lint-free cloth.
6.2 Substitución da batería
Replace the 9V battery when the low battery indicator appears on the display. Follow the steps in Section 4.1 for battery installation.
6.3 Almacenamento
- If storing the meter for an extended period, remove the battery to prevent leakage and potential damage.
- Garde o medidor nun lugar fresco e seco, lonxe da luz solar directa e de temperaturas extremas.
7 Solución de problemas
| Problema | Causa posible | Solución |
|---|---|---|
| O medidor non se acende. | Batería descargada ou instalada incorrectamente. | Comprobe a polaridade da batería, substitúa a batería. |
| "OL" displayed on screen. | Measurement value exceeds current range (manual mode). | Switch to a higher range or enable auto-ranging. |
| Lecturas inexactas. | Dirty sensor, uncalibrated zero, or incorrect range. | Clean sensor, perform zero calibration, ensure correct range. |
| Indicador de batería baixa. | A batería é baixa. | Substitúe a batería de 9V. |
8. Especificacións
| Parámetro | Valor |
|---|---|
| Rangos de medición | 20, 200, 2000, 20000, 200000 lux 20, 200, 2000, 20000 Fc |
| Mostrar | 3½ digits, max reading of 1999, with analog bar display |
| Sensor | díodo fotoeléctrico de silicio |
| Measured Spectral Range | 320 ~ 730 nm |
| Samptaxa de ling | ≥2 times/s |
| Temperatura de funcionamento | -10~50 °C, max 80% RH (Non-Condensed) |
| Temperatura de almacenamento | -10~50 °C, max 80% RH (Non-Condensed, removing batteries) |
| Entorno operativo | Uso en interiores |
| Altura | 2000 m máis alto |
| Fonte de alimentación | 1 x 9V, IEC 6LR61 battery |
| Duración da batería | Aprox. 200 horas |
| Dimensións (HxWxD) | 190 mm x 89 mm x 42.5 mm (7.48 x 3.50 x 1.67 polgadas) |
| Peso (sen pilas) | Aprox. 360 g (12.7 oz) |
| Peso (con pilas) | Aprox. 420 g (14.8 oz) |
Conversión de unidades de iluminancia:
- 1 Foot-Candle (Fc) = 10.764 Lux
- 1 Lux = 0.09290 Foot-Candle (Fc)
9. Garantía e soporte
Mastech products are designed for reliability and performance. For specific warranty information, please refer to the warranty card included with your purchase or visit the official Mastech website. For technical support or service inquiries, please contact Mastech customer service through their official channels.
Conserve o recibo de compra como xustificante de compra para reclamacións de garantía.


