Introdución
This manual provides detailed instructions for the installation and operation of the PAC RP4.2-HY12 RadioPRO Radio Replacement Interface. This all-in-one interface is designed to facilitate the replacement of a factory radio in select Hyundai vehicles while retaining essential vehicle features, including pre-programmed steering wheel controls, amplifier retention, and navigation-based output signals.
Información de seguridade
- Desconecte a batería do vehículo antes da instalación para evitar curtocircuítos.
- Ensure all connections are secure and properly insulated to avoid damage to the interface or vehicle electronics.
- Consult a professional automotive technician if you are unsure about any installation steps.
- This device is intended for use in specific Hyundai vehicles as indicated by the manufacturer. Verify compatibility before installation.
Contido do paquete
Verify that all items are present before beginning installation.
- PAC RP4.2-HY12 RadioPRO Interface Module
- Wiring Harnesses (vehicle-specific)
- Guía de instalación (este documento)
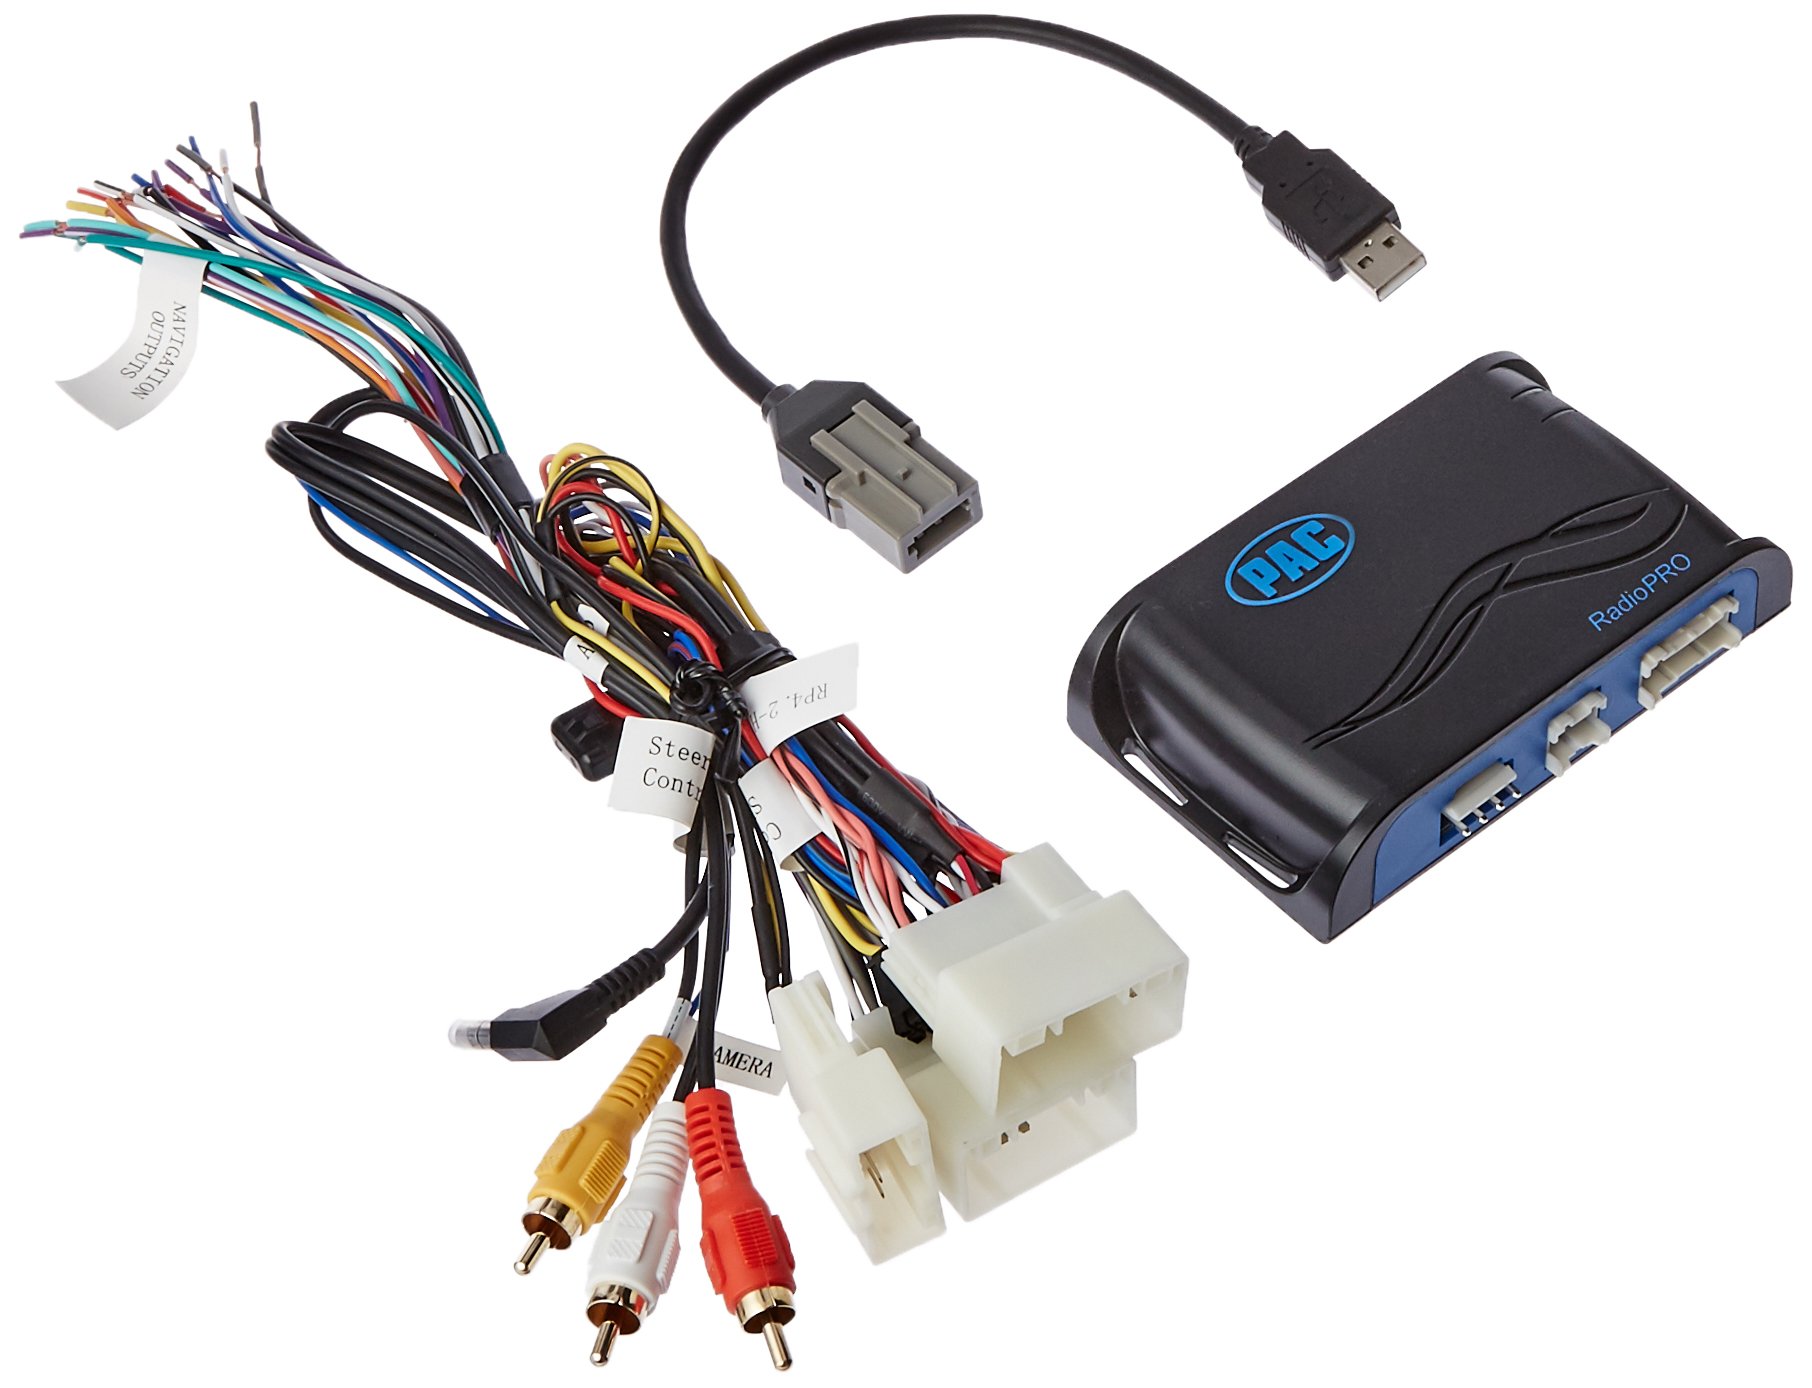
Image: The PAC RP4.2-HY12 RadioPRO interface module, typically a compact black box with various wiring connectors.
Configuración e instalación
The PAC RP4.2-HY12 is designed for select Hyundai Veloster vehicles. Refer to the vehicle-specific wiring diagram for your exact model.
Notas previas á instalación
- This interface does not retain Blue Link functionality. For Blue Link retention, the RP5.2-HY12 model is required.
- In vehicles equipped with auto climate controls, the fan mode, fan speed, auto status, and temperature display may not be visually confirmed on the new radio. The functions will still operate.
- The interface provides data-controlled accessory and navigation outputs.
- A 10A accessory output is provided.
Pasos xerais da instalación
- Desconectar batería: Before starting, disconnect the negative terminal of the vehicle's battery.
- Eliminar a radio de fábrica: Carefully remove the factory radio from the dashboard.
- Conectar os arneses de cableado:
- Connect the vehicle-specific harness from the RP4.2-HY12 module to the factory wiring harness in the vehicle.
- Connect the aftermarket radio harness to the RP4.2-HY12 module's output harness. Ensure all wires are matched correctly (e.g., power, ground, speakers, accessory, illumination).
- Connect Steering Wheel Control (SWC) Wire: Connect the SWC output wire from the RP4.2-HY12 to the appropriate SWC input wire on your aftermarket radio. Refer to your aftermarket radio's manual for SWC input location.
- Connect Navigation Outputs (if applicable): Connect the navigation outputs (e.g., VSS, Reverse, Parking Brake) from the RP4.2-HY12 to the corresponding inputs on your aftermarket navigation radio.
- Montar o módulo: Securely mount the RP4.2-HY12 module in a location that does not interfere with vehicle operation or reassembly of the dashboard.
- Volver conectar a batería: Volva conectar o terminal negativo da batería do vehículo.
- Sistema de proba: Turn on the vehicle and test all functions of the aftermarket radio, including audio, steering wheel controls, and navigation features.
Operación
The PAC RP4.2-HY12 interface is designed to seamlessly integrate your aftermarket radio with your vehicle's existing systems, primarily focusing on steering wheel control retention.
Control do volante (SWC)
The interface comes pre-programmed to retain the factory steering wheel controls. Once installed, the buttons on your steering wheel should operate the corresponding functions on your aftermarket radio (e.g., volume up/down, track up/down, mode).
- Control de volume: Use the volume buttons on your steering wheel to adjust the audio level.
- Pista/Busca: Use the track or seek buttons to change radio stations or music tracks.
- Modo/Fonte: Use the mode or source button to switch between audio sources (e.g., AM/FM, CD, Bluetooth, USB).
Note: Specific button functions may vary slightly depending on the aftermarket radio model and vehicle configuration. Refer to your aftermarket radio's manual for custom programming options if available.
Resolución de problemas
- Sen alimentación á radio de posvenda
- Check the vehicle's fuse box for blown fuses.
- Verify all power and ground connections from the RP4.2-HY12 harness to the aftermarket radio and vehicle.
- Asegúrate de que a batería do vehículo estea completamente cargada e conectada correctamente.
- Os controis do volante non funcionan
- Confirm the SWC wire from the RP4.2-HY12 is correctly connected to the aftermarket radio's SWC input.
- Check the aftermarket radio's settings to ensure SWC is enabled and configured for a PAC interface, if applicable.
- Some aftermarket radios require a specific programming sequence for SWC; consult your radio's manual.
- Usuario Review Note: One user reported losing steering controls when using the audio jack provided with a similar kit. If experiencing issues, try disconnecting any auxiliary audio jacks if present and re-test SWC.
- Sen saída de audio
- Verify all speaker wire connections are secure and correctly matched.
- Ensure the aftermarket radio's amplifier turn-on wire is connected to the RP4.2-HY12's amplifier turn-on output (if applicable for factory amplifier retention).
- Check the aftermarket radio's volume and mute settings.
Especificacións
| Característica | Detalle |
|---|---|
| Número de modelo | RP4.2-HY12 |
| Compatibilidade | Select Hyundai Veloster Vehicles |
| Saída de accesorios | 10A |
| Blue Link Retention | Not retained (RP5.2-HY12 required) |
| Climate Control Display | Visual confirmation of fan mode, speed, auto status, and temperature may be lost. Functions remain operational. |
| Dimensións | 8.5 x 8.4 x 2 polgadas (produto) |
| Peso | 11 onzas (artigo) |
Garantía e Soporte
For warranty information and technical support, please contact PAC customer service directly. Keep your purchase receipt as proof of purchase.
Recursos en liña: Visit the official PAC website for the latest product information, firmware updates, and additional support resources.
Información de contacto: Refer to the PAC websitio web ou a embalaxe do produto para obter os datos de contacto actuais.


