1. Introdución
This manual provides essential information for the safe and efficient operation of your InFocus IN112a SVGA DLP Projector. Please read it thoroughly before using the projector and retain it for future reference. The InFocus IN112a is designed to deliver clear and bright projections for various applications, featuring SVGA resolution, HDMI connectivity, and 3D support.
2. Información de seguridade
Observe as seguintes precaucións de seguridade para evitar danos no proxector e garantir a seguridade do usuario:
- Do not look directly into the projector lens cando o lamp está acendido. A luz intensa pode causar danos nos ollos.
- Asegúrese de que haxa unha ventilación axeitada. Non bloquee as aberturas de ventilación.
- Only qualified service personnel should open the projector casing. Non hai pezas que o usuario poida reparar no interior.
- Empregue só o cable de alimentación subministrado co proxector.
- Manteña o proxector lonxe da auga ou de ambientes húmidos.
- O proxector lamp contains mercury. Dispose of lamps according to local regulations. Visit www.lampreciclar.org para máis información.

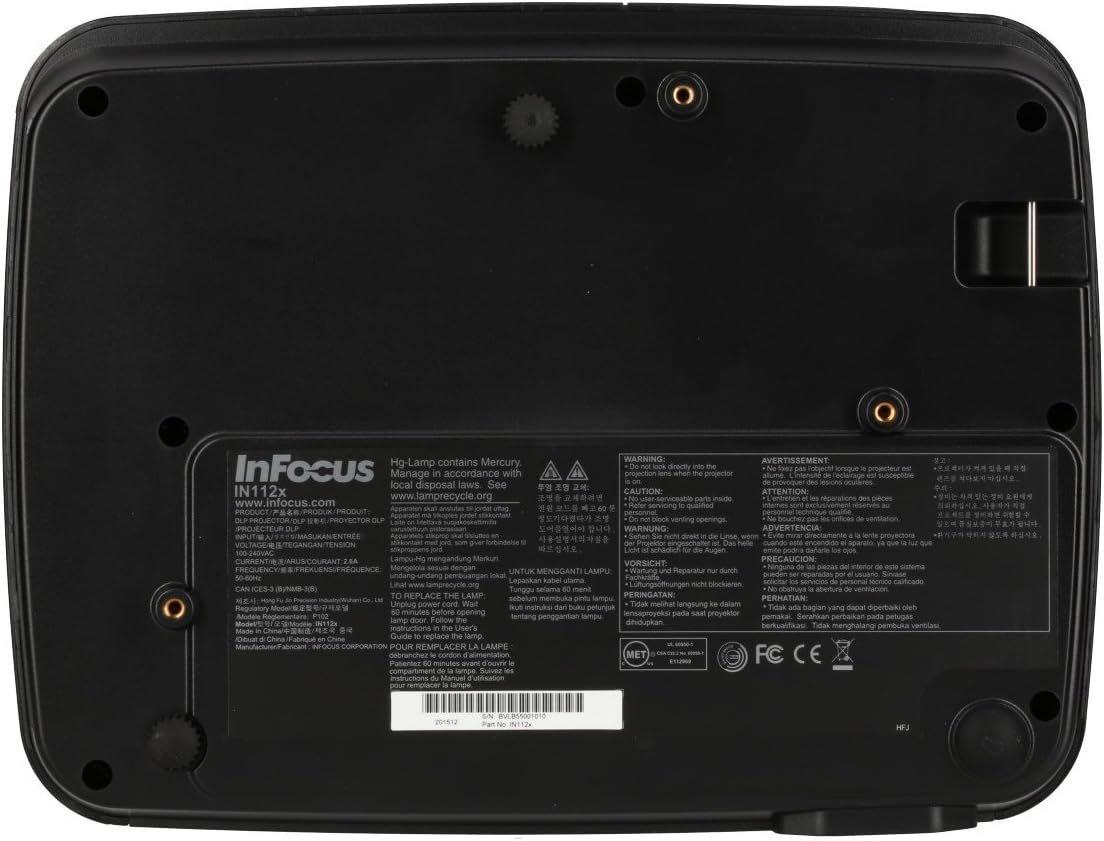
Imaxe: Parte inferior view of the InFocus IN112a projector, displaying various warning labels, regulatory compliance marks (like CE, FCC), and information regarding the mercury content in the lamp and recycling instructions.
3. Produto rematadoview
3.1. Projector Dimensions

Imaxe: Fronte view of the InFocus IN112a projector, illustrating its physical dimensions. The projector measures approximately 292 mm in width, 220 mm in depth, and 108 mm in height.
3.2. Controis do panel superior
Imaxe: Arriba view of the InFocus IN112a projector, highlighting the control panel. This panel includes buttons for power, menu access, source selection, and directional navigation for menu adjustments.
The top panel features buttons for power on/off, menu access, input source selection, and navigation arrows for adjusting settings within the on-screen display (OSD) menu. The focus and zoom rings are located near the lens.
3.3. Conexións do panel traseiro

Imaxe: Traseira view of the InFocus IN112a projector, displaying its comprehensive array of connectivity ports. These include HDMI 1.4, two VGA inputs (Computer 1, Computer 2), a VGA monitor output, S-Video, Composite video, two 3.5mm stereo audio inputs, one 3.5mm stereo audio output, an RS232C control port, and a USB-B port.
The rear panel provides a variety of connection options:
- HDMI 1.4: Para entrada de vídeo e audio dixital.
- VGA (Computer 1, Computer 2): Two inputs for analog computer signals.
- VGA Monitor Out: For connecting an external monitor.
- Vídeo composto: For standard definition video input.
- Vídeo S: For enhanced standard definition video input.
- Audio In (3.5mm x 2): For stereo audio input.
- Saída de son (3.5 mm): For stereo audio output to external speakers.
- RS232C: Para o control do proxector a través dun ordenador ou sistema de control.
- USB-B: Para actualizacións de servizo ou firmware.
4. Configuración
4.1 Colocación
Position the projector on a stable, flat surface or mount it securely to a ceiling. Ensure there is adequate space around the projector for ventilation. The distance from the screen will determine the image size. Refer to the specifications section for throw ratio details.
4.2. Potencia de conexión
Connect the supplied power cord to the projector's power inlet and then to a grounded electrical outlet. The power LED will illuminate, indicating standby mode.
4.3. Conexión de fontes de vídeo
Connect your video source (e.g., computer, Blu-ray player, cable box) to the appropriate input port on the projector's rear panel using a compatible cable. For best quality, use the HDMI input.
- HDMI: Connect an HDMI cable from your source to the projector's HDMI port.
- VGA: Connect a VGA cable from your computer to either the Computer 1 or Computer 2 port.
- Vídeo composto/S-Vídeo: Connect the respective cable for older video sources.
4.4. Conexión do son
If using VGA, Composite, or S-Video inputs, connect an audio cable from your source's audio output to one of the projector's 3.5mm Audio In ports. HDMI carries both video and audio, so a separate audio connection is not typically needed for HDMI sources.
4.5. Adjusting Focus and Zoom
After powering on the projector and displaying an image, rotate the Anel de enfoque around the lens until the image is sharp and clear. Use the Anel de zoom para axustar o tamaño da imaxe á pantalla.
5. Funcionamento
5.1. Acendido/apagado
- Para acender: Press the Power button on the projector's top panel or the remote control. The power indicator will turn green.
- Para apagar: Press the Power button twice. The projector will enter a cooling cycle, and the power indicator will turn red (standby) once complete.
5.2. Selección da fonte de entrada
Press the "Source" button on the projector or remote control repeatedly to cycle through available input sources (HDMI, VGA1, VGA2, S-Video, Video). The projector will automatically detect an active signal if "Auto Source" is enabled in the menu.
5.3. Navegación por menús
Press the "Menu" button to access the On-Screen Display (OSD) menu. Use the directional arrows to navigate through menu options and the "Enter" button to select. Press "Menu" again to exit.
5.4. 3D Content Playback
The IN112a supports 3D content from Blu-ray players, cable boxes, dish services (over HDMI), and PC-based 3D content at 120Hz. To view 3D content, you will need 144 Hz DLP Link 3D glasses (sold separately).
- Ensure your 3D source is connected via HDMI.
- Play 3D content from your source.
- Turn on your 144 Hz DLP Link 3D glasses. The projector should automatically detect the 3D signal.
6. Mantemento
6.1. Limpeza da lente do proxector
Gently wipe the lens with a soft, lint-free cloth specifically designed for optical surfaces. Do not use abrasive cleaners or excessive force, as this can scratch the lens.
6.2. Lamp Substitución
O proxector lamp has a lifespan of up to 10,000 hours. When the lamp a vida está a piques de rematar, pode aparecer unha mensaxe de aviso ou a lamp indicator LED may illuminate. Refer to the full service manual for detailed lamp instrucións de substitución. Aviso: O lamp contén mercurio. Eliminar o usado lamps according to local environmental regulations.
6.3. Cleaning Air Filters
Regularly clean the air filters to ensure proper ventilation and prevent overheating. Dust and debris can accumulate, reducing cooling efficiency. Gently remove the filter cover and clean the filter with a soft brush or vacuum cleaner. Replace the filter cover securely.
7 Solución de problemas
| Problema | Causa posible | Solución |
|---|---|---|
| Non se mostra ningunha imaxe |
|
|
| A imaxe está borrosa |
|
|
| Sen audio |
|
|
| O proxector sobrequéntase e apágase |
|
|
8. Especificacións
| Característica | Detalle |
|---|---|
| Número de modelo | IN112X |
| Tecnoloxía de visualización | DLP |
| Resolución nativa | SVGA (800 x 600) |
| Brillo | Ata 3200 Lumens |
| Relación de contraste | 15,000:1 |
| Lamp A vida | Ata 10,000 horas |
| Conectividade | HDMI 1.4, VGA x 2, Composite video, S-Video, 3.5 mm stereo in x 2, 3.5mm stereo out, VGA monitor out, RS232C, USB-B |
| Soporte 3D | Yes (requires 144 Hz DLP Link 3D glasses) |
| Relación de lanzamento | 1.9-2.09 |
| Dimensións do produto | 14.25 x 12 x 7.75 polgadas (aprox. 36.2 x 30.5 x 19.7 cm) |
| Peso do elemento | 5.4 libras (aprox. 2.45 kg) |
| Uso recomendado | Interior/Exterior |
| Característica especial | Altofalantes incorporados |
9. Garantía e soporte
For warranty information and technical support, please refer to the documentation included with your purchase or visit the official InFocus websitio. Garda o comprobante de compra para reclamacións de garantía.


