1. Introdución
This manual provides essential instructions for the proper setup, operation, and maintenance of your JMK 007 Mini Pinhole Wireless Colour Camera Surveillance Kit. Please read this manual thoroughly before using the product to ensure optimal performance and safety.
2. Contido do paquete
Verifique que todos os elementos que se indican a continuación estean presentes no seu paquete:
- 1 x Mini Pinhole Wireless Camera
- 1 x Radio AV Receiver
- 2 x AC/DC Power Adapters
- 1 x Audio/Video (AV) Cable Set
3. Información de seguridade
Observe as seguintes precaucións de seguridade para evitar danos no dispositivo ou lesións a vostede mesmo:
- Do not expose the camera or receiver to water or excessive moisture.
- Emprega só os adaptadores de corrente fornecidos. O uso de adaptadores non autorizados pode danar o dispositivo e anular a garantía.
- Manteña o dispositivo lonxe de temperaturas extremas e da luz solar directa.
- Non intente abrir nin reparar o dispositivo vostede mesmo. Encargue calquera mantemento a persoal cualificado.
- Ensure proper ventilation for the receiver during operation.
4. Instrucións de configuración
Follow these steps to set up your wireless surveillance system:
- Conecta a cámara:
Connect the mini pinhole camera to one of the provided AC/DC power adapters. An optional 9V battery (not included) can be used with the battery clip for portable power. - Coloca a cámara:
Place the camera in the desired surveillance location. Its compact size allows for discreet placement. Ensure the camera lens has a clear view da zona que desexa controlar. - Conecta o receptor:
Connect the Radio AV Receiver to its dedicated AC/DC power adapter. - Connect Receiver to Display:
Using the Audio/Video (AV) cable set, connect the 'VIDEO OUT' and 'AUDIO OUT' ports on the receiver to the corresponding 'VIDEO IN' and 'AUDIO IN' ports on your television or monitor. Match the yellow connector for video and the white/red connectors for audio. - Encendido:
Plug both power adapters into electrical outlets. The power indicator on the receiver should illuminate. - Seleccione entrada:
On your television or monitor, select the correct AV input channel (e.g., AV1, Video In, Line In) to view a alimentación da cámara.
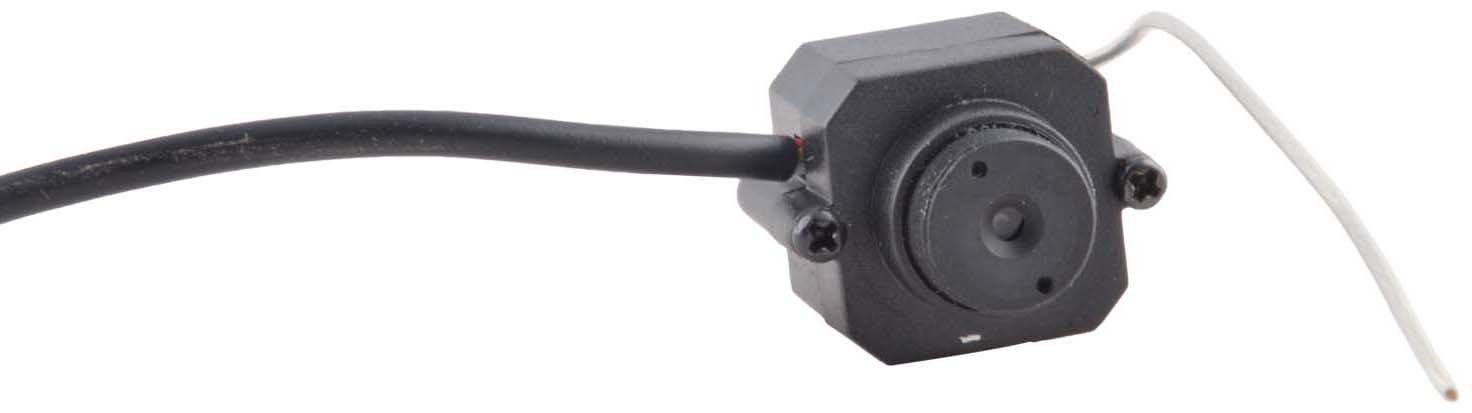
Image 1: The compact JMK mini pinhole camera unit.

Image 2: The mini pinhole camera connected to its AV output cable.

Image 3: The JMK Radio AV Receiver with antenna and AV output ports.
5. Instrucións de funcionamento
Once the system is set up and powered on, the camera will automatically transmit video and audio to the receiver. The effective wireless range is approximately 30-60 feet (9-18 meters) indoors, and up to 50 meters (164 feet) in open, unblocked spaces.
- Viewing the Feed: Ensure your display device is set to the correct AV input channel. The camera's live feed will be displayed.
- Monitorización de audio: The camera features a built-in microphone for audio monitoring. Ensure your display device's volume is adjusted appropriately.
- Adjusting Receiver: The 'TUNE' knob on the receiver can be used to fine-tune the signal for the clearest picture, especially if experiencing interference.
6. Mantemento
To ensure the longevity and optimal performance of your surveillance kit, follow these maintenance guidelines:
- Limpeza: Use a soft, dry cloth to clean the camera lens and receiver surfaces. Do not use liquid cleaners or abrasive materials.
- Almacenamento: When not in use for extended periods, disconnect the power adapters and store the kit in a cool, dry place, away from direct sunlight.
- Batería (opcional): If using a 9V battery, ensure it is replaced when depleted to maintain continuous operation. Remove the battery if the camera will not be used for a long time to prevent leakage.
7 Solución de problemas
If you encounter issues with your surveillance kit, refer to the following common problems and solutions:
- Sen imaxe/sinal:
- Check if both the camera and receiver are properly powered on.
- Ensure the AV cable connections between the receiver and display are secure and correctly matched (video to video, audio to audio).
- Verify that your television/monitor is set to the correct AV input channel.
- Adjust the 'TUNE' knob on the receiver.
- Reduce the distance between the camera and receiver, or remove any obstructions that might be blocking the signal.
- Poor Picture Quality/Interference:
- Adjust the 'TUNE' knob on the receiver for better signal reception.
- Ensure the camera and receiver are not too close to other wireless devices (e.g., Wi-Fi routers, cordless phones) that might cause interference.
- Comprobe se hai campos electromagnéticos fortes nas proximidades.
- Sen audio:
- Check the audio cable connection between the receiver and display.
- Ensure your display device's volume is turned up and not muted.
8. Especificacións
| Característica | Especificación |
|---|---|
| Número de modelo | KRN121 |
| Dimensións do produto (LxWxH) | 18.4 x 15 x 6.3 cm |
| CMOS Total Pixels | 510 x 492 (NTSC) |
| Resolución Horizontal | 380 liñas de TV |
| Alcance inalámbrico efectivo | 15m (Blocked) / 50m (Unblocked) |
| Entrada de enerxía | DC +9~12V |
| Temperatura de funcionamento | -10 °C ~ +40 °C |
| Tecnoloxía de conectividade | Sen fíos |
| Características especiais | Built-in Microphone for Audio Monitoring |
| Usos recomendados | Baby Monitoring, Surveillance |
9. Información da garantía
Specific warranty details for the JMK 007 Mini Pinhole Wireless Colour Camera Surveillance Kit are typically provided at the point of purchase or by the manufacturer. Please retain your proof of purchase for any warranty claims. For detailed warranty terms and conditions, contact your retailer or the manufacturer directly.
10. Apoio
If you require further assistance or have questions not covered in this manual, please contact the retailer from whom you purchased the product or refer to the manufacturer's official support channels. Ensure you have your product model number (KRN121) and proof of purchase available when seeking support.


