1. Introdución e presentación do produtoview
The Einhell TC-CD 18-2 Li is a versatile cordless drill/screwdriver designed for a wide range of drilling and screwdriving applications in domestic, workshop, and garage environments. This tool offers convenience and efficiency without the need for a power cord.
As características principais inclúen:
- Ergonomic design with a soft grip for comfortable handling.
- 2-speed gearbox for powerful screwdriving and efficient drilling.
- Automatic spindle lock for quick and easy bit changes.
- Integrated bright LED light to illuminate the work area.
- Supplied with two 18V Lithium-Ion batteries, a charger, and a robust carrying case.

Figure 1: Einhell TC-CD 18-2 Li Cordless Drill with battery installed.
2. Instrucións de seguridade
Always observe the following safety precautions when operating the cordless drill/screwdriver to prevent electric shock, injury, and fire.
Avisos xerais de seguridade das ferramentas eléctricas
- Seguridade na zona de traballo: Manteña a súa área de traballo limpa e ben iluminada. As zonas desordenadas ou escuras invitan aos accidentes. Non manexe ferramentas eléctricas en atmosferas explosivas, como en presenza de líquidos, gases ou po inflamables.
- Seguridade eléctrica: Evite o contacto corporal con superficies conectadas a terra, como tubos, radiadores, cociñas e frigoríficos. Hai un maior risco de descarga eléctrica se o seu corpo está conectado a terra ou a terra.
- Seguridade persoal: Usa sempre protección ocular. Usa equipos de seguridade como máscaras antipo, calzado de seguridade antideslizante, cascos ou protección auditiva cando sexa apropiado. Vístete axeitadamente; non uses roupa folgada nin xoias. Manteña o cabelo, a roupa e as luvas lonxe das pezas móbiles.
- Uso e coidado da ferramenta: Non force a ferramenta eléctrica. Empregue a ferramenta eléctrica axeitada para a súa aplicación. Non empregue a ferramenta eléctrica se o interruptor non a acende nin a apaga. Desconecte a batería da ferramenta eléctrica antes de facer axustes, cambiar accesorios ou gardar ferramentas eléctricas.
- Uso e coidado da ferramenta da batería: Recargue só co cargador especificado polo fabricante. Use ferramentas eléctricas só con baterías designadas especificamente. Cando a batería non estea en uso, manteña lonxe doutros obxectos metálicos.
- Servizo: Fai reparar a túa ferramenta eléctrica por un reparador cualificado que utilice só pezas de substitución idénticas. Isto garantirá que se manteña a seguridade da ferramenta eléctrica.
3. Compoñentes do produto
Familiarize yourself with the parts of your Einhell TC-CD 18-2 Li cordless drill/screwdriver.
- Chuck sen chaves
- Anel de ajuste de par
- Gear Selector Switch (2-speed)
- Interruptor de rotación cara adiante/retroceso
- Trigger Switch (with electronic speed control)
- Tirador suave
- Luz de traballo LED
- Paquete de baterías
- Cargador de batería
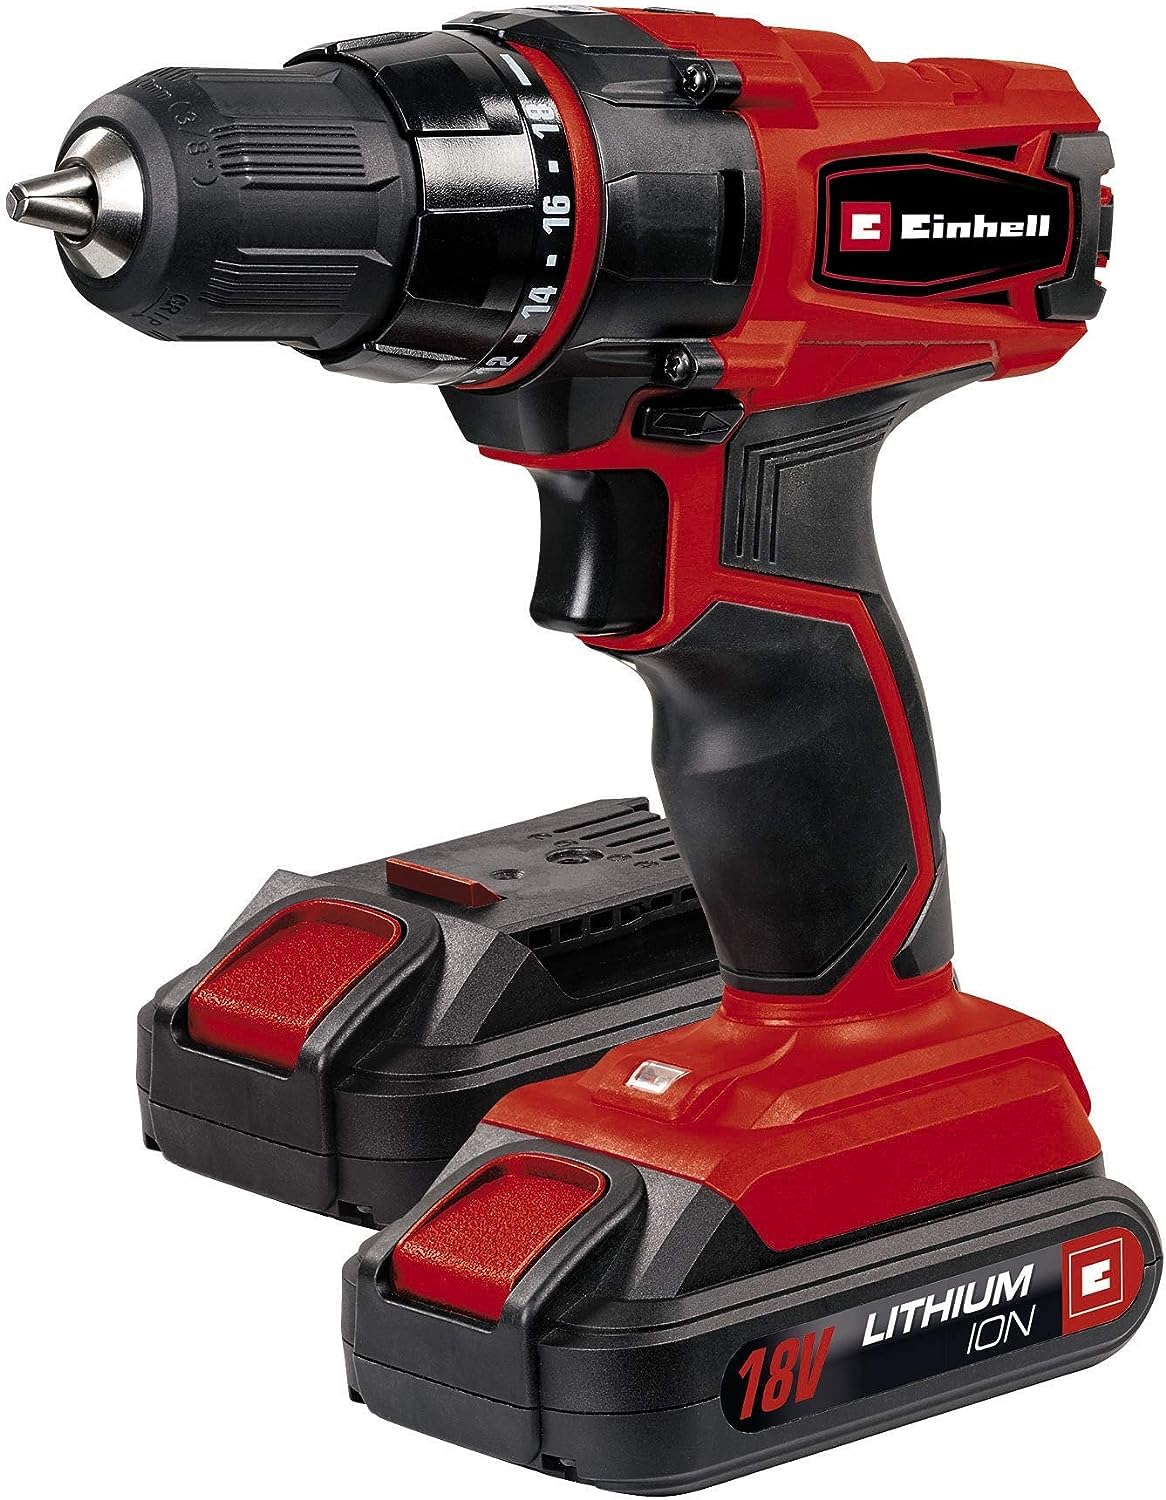
Figure 2: Two 18V Lithium-Ion batteries and charger.

Figure 3: Ergonomic soft grip handle for comfortable operation.
4. Configuración
4.1 Carga da batería
Before first use, fully charge the battery pack. Connect the charger to a suitable power outlet. Insert the battery pack into the charger. The charging indicator lights on the charger will show the charging status. Once fully charged, disconnect the battery from the charger.

Figure 4: Typical charging time for a 1.5 Ah battery is 3-5 hours.
4.2 Instalación e extracción da batería
- Instalación: Slide the charged battery pack into the base of the drill until it clicks securely into place.
- Eliminación: Press the release button on the battery pack and slide it out from the drill.
4.3 Instalación e extracción das puntas de furadeira/desaparafusador
A broca inclúe un mandril sen chave para facilitar o cambio de brocas.
- Instalación: Rotate the chuck counter-clockwise until the jaws are open wide enough to insert the bit. Insert the bit fully and then rotate the chuck clockwise to tighten it securely. The automatic spindle lock assists in this process.
- Eliminación: Xire o mandril en sentido antihorario para afrouxar as mordazas e retirar a broca.
5. Instrucións de funcionamento
Selección de 5.1 velocidades
The drill has a 2-speed gearbox. Use the gear selector switch on top of the drill to choose between:
- Marcha 1 (baixa velocidade, alto par): Ideal for screwdriving and drilling large diameters.
- Marcha 2 (alta velocidade, baixo par): Suitable for drilling small diameters and faster work.

Figure 5: The drill features a 2-speed gearbox.
5.2 Torque Setting
The torque setting ring allows you to adjust the amount of torque applied before the clutch disengages. This prevents overtightening screws or damaging the workpiece.
- Select a lower setting for smaller screws and softer materials.
- Select a higher setting for larger screws and harder materials.
- Para furar, axuste o anel no símbolo da fura para obter o par máximo.

Figure 6: The drill provides up to 38 Nm of torque.
5.3 Rotación cara adiante/cara atrás
The forward/reverse switch located above the trigger controls the direction of rotation. Push the switch to the left for forward rotation (screwing in/drilling) and to the right for reverse rotation (unscrewing).
5.4 Trigger Switch and LED Work Light
Press the trigger switch to start the drill. The electronic speed control allows you to vary the speed by applying more or less pressure to the trigger. The integrated LED work light automatically illuminates the work area when the trigger is pressed, improving visibility in dimly lit spaces.

Figure 7: Electronic speed control for precise operation.
6. Mantemento
6.1 Limpeza
Keep the ventilation slots of the drill clean to prevent overheating. Wipe the tool housing with a soft, damp cloth. Do not use abrasive cleaners or solvents. Regularly clean the chuck jaws to ensure proper gripping of bits.
6.2 Coidado e almacenamento da batería
- Almacene as baterías nun lugar fresco e seco lonxe da luz solar directa e de temperaturas extremas.
- Do not store fully discharged batteries for extended periods. Charge them periodically.
- If the battery pack is not used for a long time, recharge it every 3-6 months.
6.3 Inspección xeral
Periodically inspect the tool for any signs of damage, loose screws, or worn parts. If any damage is found, have the tool repaired by a qualified service technician before further use.
7 Solución de problemas
| Problema | Causa posible | Solución |
|---|---|---|
| A furadeira non arranca. | Battery discharged or not properly inserted. | Charge the battery. Ensure battery is securely clicked into place. |
| Insufficient power during operation. | Battery low or incorrect gear/torque setting. | Recharge battery. Select a lower gear (Gear 1) or higher torque setting. |
| A broca esvara no mandril. | O mandril non está o suficientemente axustado ou o vástago da broca está sucio/danado. | Tighten chuck firmly. Clean or replace the bit. |
| Sobrequecemento. | Ranuras de ventilación bloqueadas ou uso intenso continuo. | Limpar as rañuras de ventilación. Deixar arrefriar a ferramenta. Reducir a carga. |
8. Especificacións
| Modelo | TC-CD 18-2 Li |
| Fabricante | Einhell |
| Número de modelo | 4513820 |
| Voltage | 18 voltios |
| Tipo de batería | Litio-Ion |
| Capacidade da batería | 1300 mAh (1.3 Ah) |
| Número de engrenaxes | 2 |
| Par máximo | 38 Newton-Meters (Nm) |
| Velocidade máxima de rotación | 180 RPM |
| Peso do produto | 980 g |
| Dimensións do produto (L x W x H) | 31 x 9.63 x 29.3 cm |
| Características especiais | Integrated LED work light, Automatic spindle lock |

Figure 8: The product includes two 18V Lithium-Ion batteries.
9. Garantía e soporte
For warranty information and customer support, please refer to the official Einhell website or contact your local Einhell service center. Keep your purchase receipt as proof of purchase for any warranty claims.
Soporte en liña: Visita www.einhell.com for product registration, FAQs, and service contact details.


