1. Introdución
This manual provides detailed instructions for the installation, operation, maintenance, and troubleshooting of the Hikvision DS-9632NI-I8 32-Channel 4K Network Video Recorder (NVR). Please read this manual thoroughly before using the product to ensure proper and safe operation. Keep this manual for future reference.
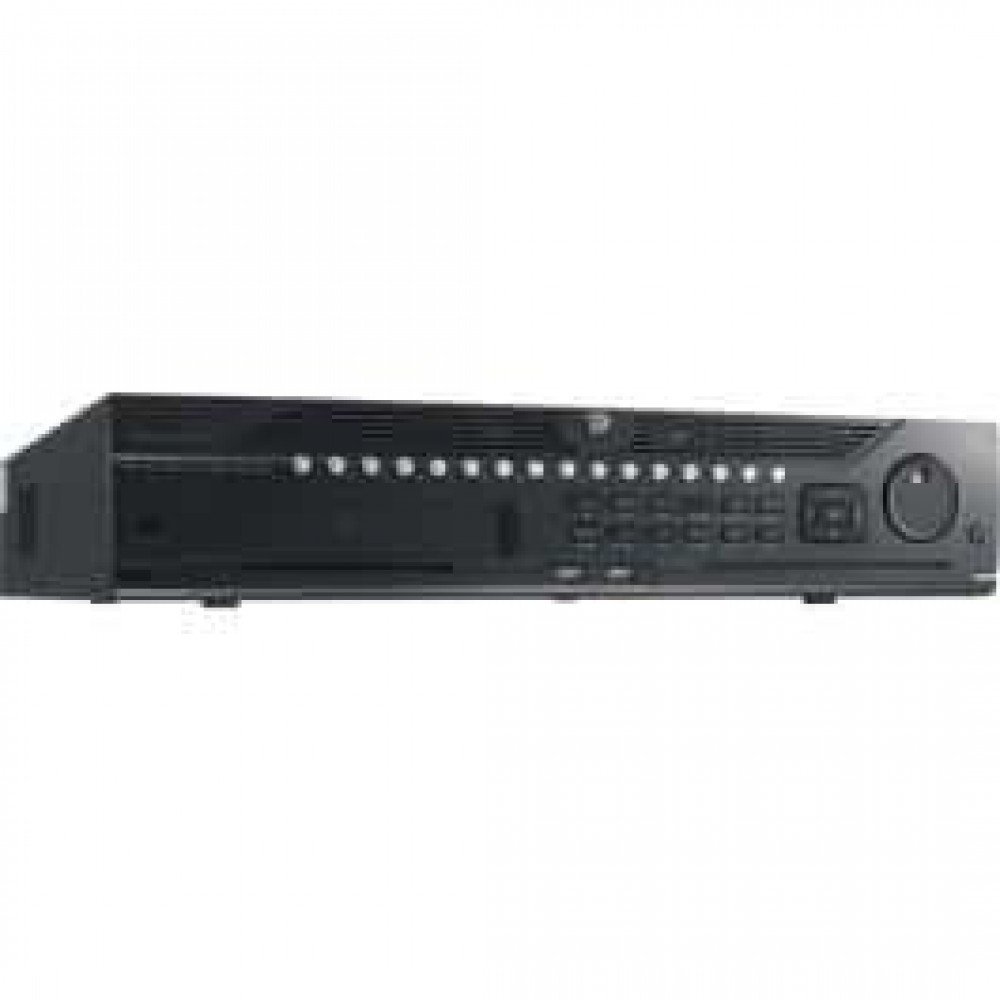
Figura 1: Fronte view of the Hikvision DS-9632NI-I8 NVR, showing its robust chassis and various interface ports.
2. Información de seguridade
Always follow basic safety precautions to reduce the risk of fire, electric shock, and injury to persons. This includes, but is not limited to:
- Use only the power adapter specified by the manufacturer.
- Garantir unha ventilación adecuada para evitar o sobrequecemento.
- Do not expose the NVR to water or moisture.
- Avoid placing the NVR near heat sources or in direct sunlight.
- Encargue toda a reparación a persoal de servizo cualificado.
3. Contido do paquete
Verify that all items are present and in good condition. If any item is missing or damaged, contact your dealer immediately.
- Hikvision DS-9632NI-I8 NVR Unit
- Adaptador/cable de corrente
- Rato USB
- Tornillos para a instalación do disco duro
- Guía de inicio rápido
- CD-ROM (que contén software e manual completo)
4. Configuración
4.1 Instalación de hardware
- Prepare Hard Disk Drives (HDDs): The DS-9632NI-I8 supports up to 8 SATA HDDs. Install HDDs into the NVR chassis using the provided screws. Ensure each HDD is securely mounted.
- Conectar periféricos:
- Conecta un monitor á porta de saída HDMI ou VGA.
- Connect the included USB mouse to a USB port.
- Conecte o NVR á súa rede mediante un cable Ethernet.
- Encendido: Connect the power adapter to the NVR and then to a power outlet. Press the power button on the front panel.
4.2 Configuración inicial
Ao primeiro arranque, o NVR guiarache a través dun asistente de configuración inicial.
- Definir contrasinal de administrador: Create a strong password for the 'admin' user.
- Configuración de rede: Configure network parameters (DHCP or Static IP). Ensure the NVR is accessible on your local network.
- Data e hora: Define a data, a hora e o fuso horario correctos.
- Inicialización do disco duro: The NVR will prompt you to initialize the installed HDDs. This process will format the drives for recording.
- Add IP Cameras: Use the wizard to search for and add compatible Hikvision IP cameras to the NVR.
5. Instrucións de funcionamento
5.1 En directo View
Despois de iniciar sesión, o NVR mostrará a imaxe en directo view interface, showing feeds from connected cameras. You can switch between different camera views and layouts.
- Cámara única View: Fai dobre clic nunha xanela da cámara para view en pantalla completa.
- Layout Selection: Use the layout icons at the bottom of the screen to choose different grid arrangements (e.g., 4-channel, 9-channel).
5.2 Xestión da gravación
The NVR supports continuous, scheduled, and event-triggered recording.
- Configure Recording Schedule: Navega ata Configuration > Storage > Schedule Settings to define recording times for each camera.
- Gravación manual: Fai clic na icona de gravación en directo view interface para iniciar/deter a gravación manual.
5.3 Reprodución
Para review gravado footage:
- Vaia ao Reprodución menú.
- Seleccione a(s) cámara(s) desexada(s) e o intervalo de data/hora.
- Usa a liña de tempo para navegar polas gravacións.
- Playback controls (play, pause, fast forward, rewind) are available.
5.4 Acceso remoto
The NVR can be accessed remotely via a web browser or Hik-Connect mobile app.
- Web Navegador: Enter the NVR's IP address into a web navegador.
- Hik-Connect: Download the Hik-Connect app, register an account, and add your NVR by scanning its QR code or entering its serial number.
6. Mantemento
6.1 Actualizacións de firmware
Regularly check for and install firmware updates to ensure optimal performance and security. Firmware can be downloaded from the official Hikvision websitio.
- Navega ata Configuration > System > Maintenance > Upgrade.
- Follow the on-screen instructions to perform the upgrade. Do not power off the NVR during the update process.
6.2 Xestión do disco duro
Monitor the health of your HDDs and manage storage space.
- Estado do disco duro: Check HDD status in Configuration > Storage > HDD Management.
- Modo de sobrescritura: Configure the NVR to overwrite old recordings when storage is full (default behavior).
6.3 Limpeza
Keep the NVR clean to prevent dust buildup, which can affect performance and lifespan.
- Power off and unplug the NVR before cleaning.
- Use un pano suave e seco para limpar o exterior.
- Use aire comprimido para eliminar o po das aberturas de ventilación.
7 Solución de problemas
| Problema | Causa posible | Solución |
|---|---|---|
| Sen saída de vídeo no monitor. | Conexión do cable solta, fonte de entrada incorrecta no monitor, NVR non acendido. | Check HDMI/VGA cable connections. Ensure monitor is set to correct input. Verify NVR power. |
| Non se pode acceder ao NVR de forma remota. | Network configuration issues, firewall blocking, incorrect port forwarding. | Verify NVR network settings. Check router firewall and port forwarding rules. Ensure Hik-Connect is properly configured. |
| Cameras not recording. | HDD not initialized, recording schedule not set, HDD full. | Initialize HDDs. Configure recording schedule. Check HDD status and capacity. |
| Esquecín o contrasinal do administrador. | Contrasinal perdido. | Refer to the full manual or Hikvision support for password reset procedures. This often involves a security code or a physical reset button. |
8. Especificacións
| Característica | Detalle |
|---|---|
| Modelo | DS-9632NI-I8 |
| Entrada de vídeo | 32-Channel IP Video Input |
| Saída de vídeo | HDMI (ata 4K), VGA |
| Formato de descodificación | H.265 + / H.265 / H.264 + / H.264 |
| Entrada/Saída de audio | 1-ch, RCA (2.0 Vp-p, 1 kΩ) / 2-ch, RCA (Linear, 1 kΩ) |
| SATA | 8 interfaces SATA para 8 discos duros |
| Capacidade | Up to 10 TB for each HDD (example, actual capacity may vary) |
| Interface de rede | 2 RJ-45 10M/100M/1000M self-adaptive Ethernet interfaces |
| Interface USB | Panel frontal: 2 × USB 2.0; Panel traseiro: 1 × USB 3.0 |
| Dimensións (ancho x profundo x alto) | 23 x 22 x 8 polgadas (aproximado) |
| Fonte de alimentación | 100 a 240 VCA, 50 a 60 Hz |
9. Garantía e soporte
9.1 Garantía limitada
Hikvision products are covered by a limited warranty. The specific terms and duration of the warranty may vary by region and product type. Please refer to the official Hikvision websitio web ou na documentación da súa compra para obter información detallada sobre a garantía.
- Conserve o seu comprobante de compra para reclamacións de garantía.
- As reparacións ou modificacións non autorizadas poden anular a garantía.
9.2 Soporte técnico
For technical assistance, product inquiries, or service requests, please contact Hikvision support through the following channels:
- Oficial Websitio: Visita www.hikvision.com para obter recursos de asistencia, preguntas frecuentes e información de contacto.
- Atención ao cliente: Refer to the contact details provided on the Hikvision websitio para a túa rexión específica.
- Distribuidores autorizados: Your authorized Hikvision dealer can also provide support and service.


