1. Introdución e finalview
This manual provides detailed instructions for the setup, operation, and maintenance of your Xprinter XP-Q200 80mm Thermal Printer. The XP-Q200 is a high-speed thermal receipt printer designed for various operating systems including Windows, Android, and iOS. It offers versatile connectivity options such as USB, Bluetooth, and Ethernet, making it suitable for a wide range of business environments.

Figura 1.1: Fronte view of the Xprinter XP-Q200 Thermal Printer.
2. Información de seguridade
Please read the following safety precautions carefully before using the printer to ensure safe and proper operation:
- Non toques o cabezal de impresión térmica inmediatamente despois de imprimir, xa que pode estar quente.
- Use only the power adapter supplied with the printer. Using an incorrect adapter may damage the printer or cause fire.
- Do not disassemble or modify the printer. Refer all servicing to qualified personnel.
- Manteña a impresora lonxe da auga, da humidade e da luz solar directa.
- Asegúrese de que a impresora estea colocada sobre unha superficie estable e nivelada.
3. Contido do paquete
Comprobe que todos os elementos que se indican a continuación estean incluídos no paquete da súa impresora:
- Xprinter XP-Q200 Thermal Printer Unit
- Adaptador de alimentación
- Cable USB
- Thermal Paper Roll (initial)
- Manual de usuario
4. Características do produto
The Xprinter XP-Q200 offers a range of features designed for efficient and reliable thermal printing:
- Impresión de alta velocidade: Achieves print speeds of up to 260mm/sec with an integrated auto cutter.
- Múltiples interfaces: Equipped with USB, Bluetooth, and Ethernet connectivity for flexible integration.
- Compatibilidade ampla: Supports Windows, Linux, and Android operating systems.
- Logo and Barcode Support: Allows for downloading and printing of store logos (BMP file format) and various barcode types on thermal paper.
- Manipulación do papel: Designed to handle thermal paper rolls up to 80x80mm.
- International Language Support: Supports a variety of international languages and scripts.
- Alarmas de erro: Features print job tips and error alarm functions for operational awareness.
- Black Mark Detection: Includes a black mark detection function for specific printing applications.
- Missing Orders Function: Incorporates a feature to help avoid "missing orders."
- Capacidades de monitorización: Supports Ethernet and Serial port monitoring functions.
- NV Logo Storage: Provides 256K Bytes of NV Logo download storage.
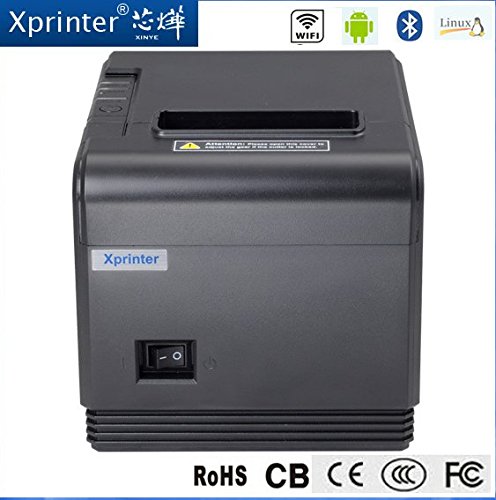
Figura 4.1: Fronte view highlighting connectivity options.
5. Configuración
5.1 Configuración física
- Unpack the printer and remove all protective packaging materials.
- Place the printer on a stable, flat surface near a power outlet and your host device.
- Connect the power adapter to the printer's power port and then plug it into a wall outlet.
5.2 Cargar papel térmico
- Press the cover open button (usually located on the side or front) to open the printer's top cover.
- Insert the thermal paper roll into the paper compartment with the printing side facing the thermal print head. Ensure the roll unwinds from the bottom.
- Tire dunha pequena cantidade de papel para sacalo do cortador.
- Close the top cover firmly until it clicks into place. The printer will automatically feed the paper to the correct position.
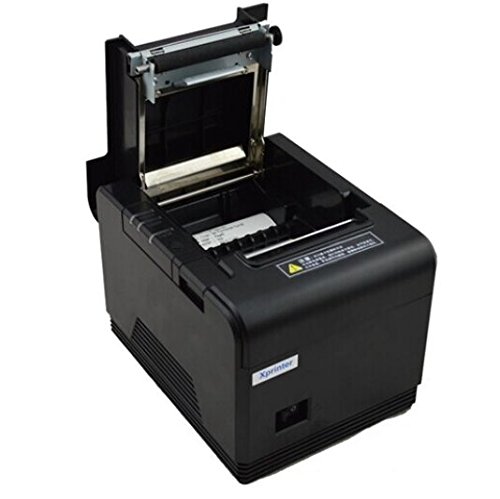
Figure 5.1: Loading thermal paper into the printer.
5.3 Conectarse a un dispositivo
The XP-Q200 supports USB, Bluetooth, and Ethernet connections.

Figura 5.2: Traseira view of the printer with connectivity ports.
5.3.1 Conexión USB
- Connect one end of the USB cable to the printer's USB port and the other end to your computer's USB port.
- The computer should detect the printer automatically.
5.3.2 Bluetooth Connection (for Android/iOS)
- Asegúrese de que a impresora estea acendida.
- On your Android or iOS device, go to Bluetooth settings and enable Bluetooth.
- Busca available devices. The printer should appear as "XP-Q200" or similar.
- Select the printer to pair. The default PIN is usually "0000" or "1234".
- Once paired, you can select the printer from your application's print settings.
5.3.3 Conexión Ethernet
- Conecta un cable Ethernet desde o porto Ethernet da impresora ao enrutador ou conmutador de rede.
- The printer will obtain an IP address automatically via DHCP. For static IP configuration, refer to the advanced settings utility provided with the printer drivers.
5.4 Instalación do controlador
For Windows and Linux systems, you will need to install the appropriate printer drivers. Drivers are typically available on the Xprinter official website or on a CD included with the printer. Follow the on-screen instructions during installation.
6. Instrucións de funcionamento
6.1 Impresión básica
Once the printer is connected and drivers are installed (if applicable), you can send print jobs from your application. Ensure the printer is powered on and has paper loaded.
- From your application (e.g., POS software, web browser), select the print option.
- Choose "Xprinter XP-Q200" from the list of available printers.
- Adjust any print settings as needed (e.g., paper size, copies).
- Fai clic en "Imprimir" para enviar o traballo á impresora.
6.2 Logo and Barcode Printing
The XP-Q200 supports custom logo and barcode printing. Refer to the printer's utility software (usually provided with drivers) for instructions on how to upload logos (BMP format) to the printer's NV memory and configure barcode printing settings.
7. Mantemento
7.1 Limpeza da impresora
Unha limpeza regular axuda a manter a calidade de impresión e prolonga a vida útil da impresora.
- Cabezal de impresión: Use un hisopo de algodón lixeiramenteampened with isopropyl alcohol to gently wipe the thermal print head. Allow it to dry completely before closing the cover. Clean the print head regularly, especially if print quality degrades.
- Rolo de placa: Clean the rubber platen roller with a soft cloth dampcon alcohol isopropílico.
- Exterior: Limpe o exterior da impresora cun pano suave e seco. Non empregue produtos de limpeza abrasivos nin disolventes.
7.2 Eliminación de atascos de papel
Se se produce un atasco de papel:
- Apague a impresora.
- Abre a tapa superior.
- Carefully remove any jammed paper. Ensure no small pieces of paper remain inside.
- Close the top cover firmly.
- Turn the printer back on.
8 Solución de problemas
This section addresses common issues you might encounter with your XP-Q200 printer.
| Problema | Causa posible | Solución |
|---|---|---|
| A impresora non se acende | Power cable loose; Power outlet faulty; Power adapter faulty | Comprobe as conexións de alimentación; probe cunha toma de corrente diferente; póñase en contacto co servizo de asistencia se o adaptador está avariado. |
| Sen saída de impresión | No paper; Paper loaded incorrectly; Printer offline; Driver issue | Load paper correctly; Check printer status; Reinstall drivers. |
| Mala calidade de impresión | Print head dirty; Low quality paper; Print head worn out | Clean print head; Use recommended thermal paper; Contact support for service. |
| Atasco de papel | Paper loaded incorrectly; Foreign object inside | Refer to Section 7.2 for clearing jams. |
| Bluetooth/Ethernet connection fails | Incorrect pairing; Network issue; IP address conflict | Re-pair device; Check network cables/settings; Verify IP address. |
9. Especificacións
| Característica | Especificación |
|---|---|
| Nome do modelo | XP-Q200 |
| Tecnoloxía de impresión | Térmica |
| Velocidade de impresión | 260 mm/seg |
| Saída da impresora | Monocromo |
| Tecnoloxía de conectividade | Bluetooth, USB, Ethernet |
| Tamaño da folla | Thermal (80mm) |
| Impresión a dúas caras | Si |
| Cor | Negro |
| Tipo de controlador | iOS, Android |
| Compoñentes incluídos | Papel |
| Característica especial | USB |
| Tipo de escáner | Portátil |


