Introdución
This manual provides detailed instructions for the safe installation, operation, and maintenance of your Progress Lighting Verdae Collection 3-Light Clear Seeded Glass New Traditional Outdoor Large Wall Lantern Light. This fixture features a traditional design with clear seeded glass and an Antique Bronze finish, suitable for various exterior settings. The open bottom design facilitates easy lamp substitución.
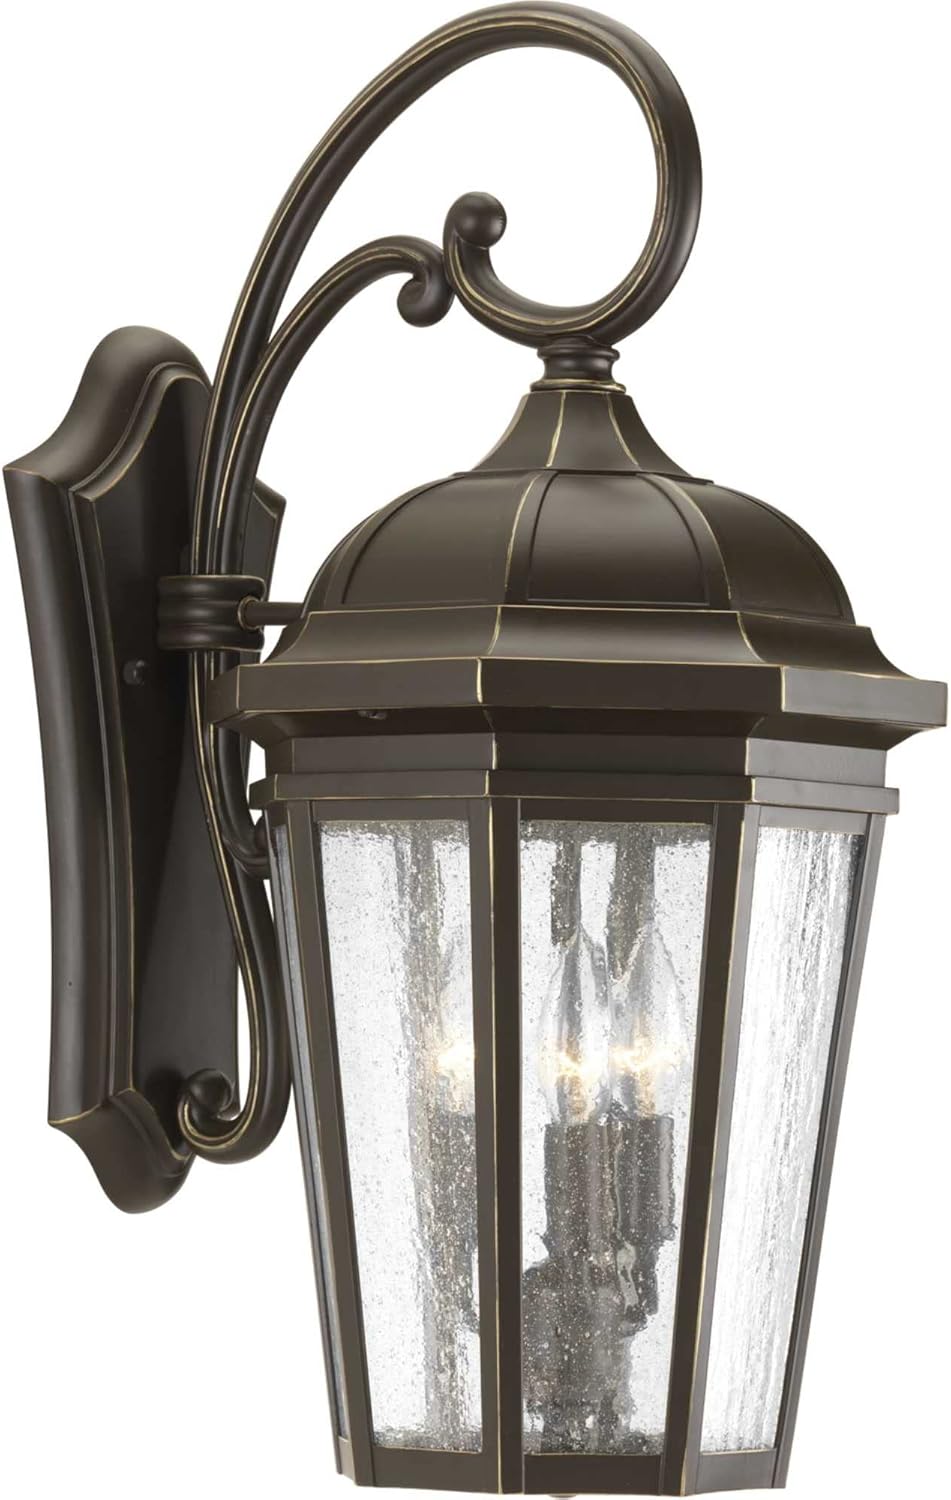
Image 1: The Verdae Collection Outdoor Wall Lantern, showcasing its Antique Bronze finish and clear seeded glass panels.
Información de seguridade
AVISO: Risco de descarga eléctrica. Desconecte a alimentación na caixa de fusibles ou no disyuntor antes da instalación ou do mantemento.
- Todas as conexións eléctricas deben estar de acordo cos códigos e as ordenanzas locais ou co Código Eléctrico Nacional (NEC).
- Consulte cun electricista cualificado se non está familiarizado coa instalación eléctrica.
- Use lentes de seguridade e equipo de protección axeitado durante a instalación.
- Manexa os compoñentes de vidro con coidado para evitar que se rompan.
- Ensure the fixture is securely mounted to a structural element.
- Non exceda a potencia máximatage especificado para as lámpadas.
Contido do paquete
Comprobe que todos os compoñentes estean presentes antes de comezar a instalación:
- Outdoor Wall Lantern Fixture (1)
- Kit de hardware de montaxe (1)
- Installation Sheet (1)
Nota: Light bulbs are not included and must be purchased separately.
Especificacións
| Característica | Detalle |
|---|---|
| Número de modelo | P560016-020 |
| Marca | Iluminación de progreso |
| Material | Aluminio, vidro |
| Remate | Bronce Antigo |
| Material de sombra | Vidro transparente con sementes |
| Número de luces | 3 |
| Base de bulbo | E12 (Candelabro) |
| Max Wattage por bulbo | 60 vatios |
| Voltage | 120 voltios |
| Uso interior/exterior | Ao aire libre |
| Tipo de instalación | Hardware-mounted |
| Nivel de resistencia á auga | Resistente á auga |
| Peso do elemento | 6.3 libras |

Image 2: Dimensional drawing of the Verdae Outdoor Wall Lantern, indicating a height of 21-3/4 inches and a width of 10-3/8 inches.
Configuración e instalación
Follow these general steps for installation. Refer to the included installation sheet for detailed, model-specific instructions.
- Preparación para a instalación: Turn off power at the circuit breaker or fuse box. Ensure the power is completely disconnected before proceeding.
- Instalación do soporte de montaxe: Fixe o soporte de montaxe á caixa de conexións eléctricas cos parafusos proporcionados. Asegúrese de que estea ben fixado.
- Conexións eléctricas: Connect the fixture's wires to the house wiring according to standard electrical codes (black to black, white to white, ground to ground). Use approved wire connectors and ensure all connections are secure.
- Montaxe do aparello: Carefully align the fixture with the mounting bracket and secure it in place using the provided hardware. Ensure the fixture is flush against the wall and stable.
- Instalar lámpadas: Insert three E12 base bulbs (max 60W each, not included) into the sockets. The open bottom design allows for easy access.
- Restaurar enerxía: Once installation is complete and all components are secure, restore power at the circuit breaker.
Imaxe 3: Primeiro plano view of the lantern's base, illustrating the open bottom design for convenient bulb replacement.
Instrucións de funcionamento
This outdoor wall lantern operates via a standard wall switch or a remote-compatible switch (if installed). Once the fixture is properly installed and power is restored:
- Flip the wall switch to the 'ON' position to illuminate the fixture.
- Flip the wall switch to the 'OFF' position to turn off the fixture.
- If a remote-controlled switch is used, refer to the instructions provided with your specific remote control system.
Mantemento
- Limpeza: To clean the fixture, ensure power is off. Wipe with a soft, dry cloth. Do not use abrasive cleaners or solvents, as they may damage the finish or glass.
- Substitución da lámpada: Turn off power at the circuit breaker. Allow bulbs to cool completely. Unscrew old bulbs and replace with new E12 base bulbs (max 60W each). The open bottom design provides easy access for this task.
- Inspección: Inspeccione periodicamente a instalación para detectar calquera signo de desgaste, danos ou conexións soltas. Solucione calquera problema canto antes.

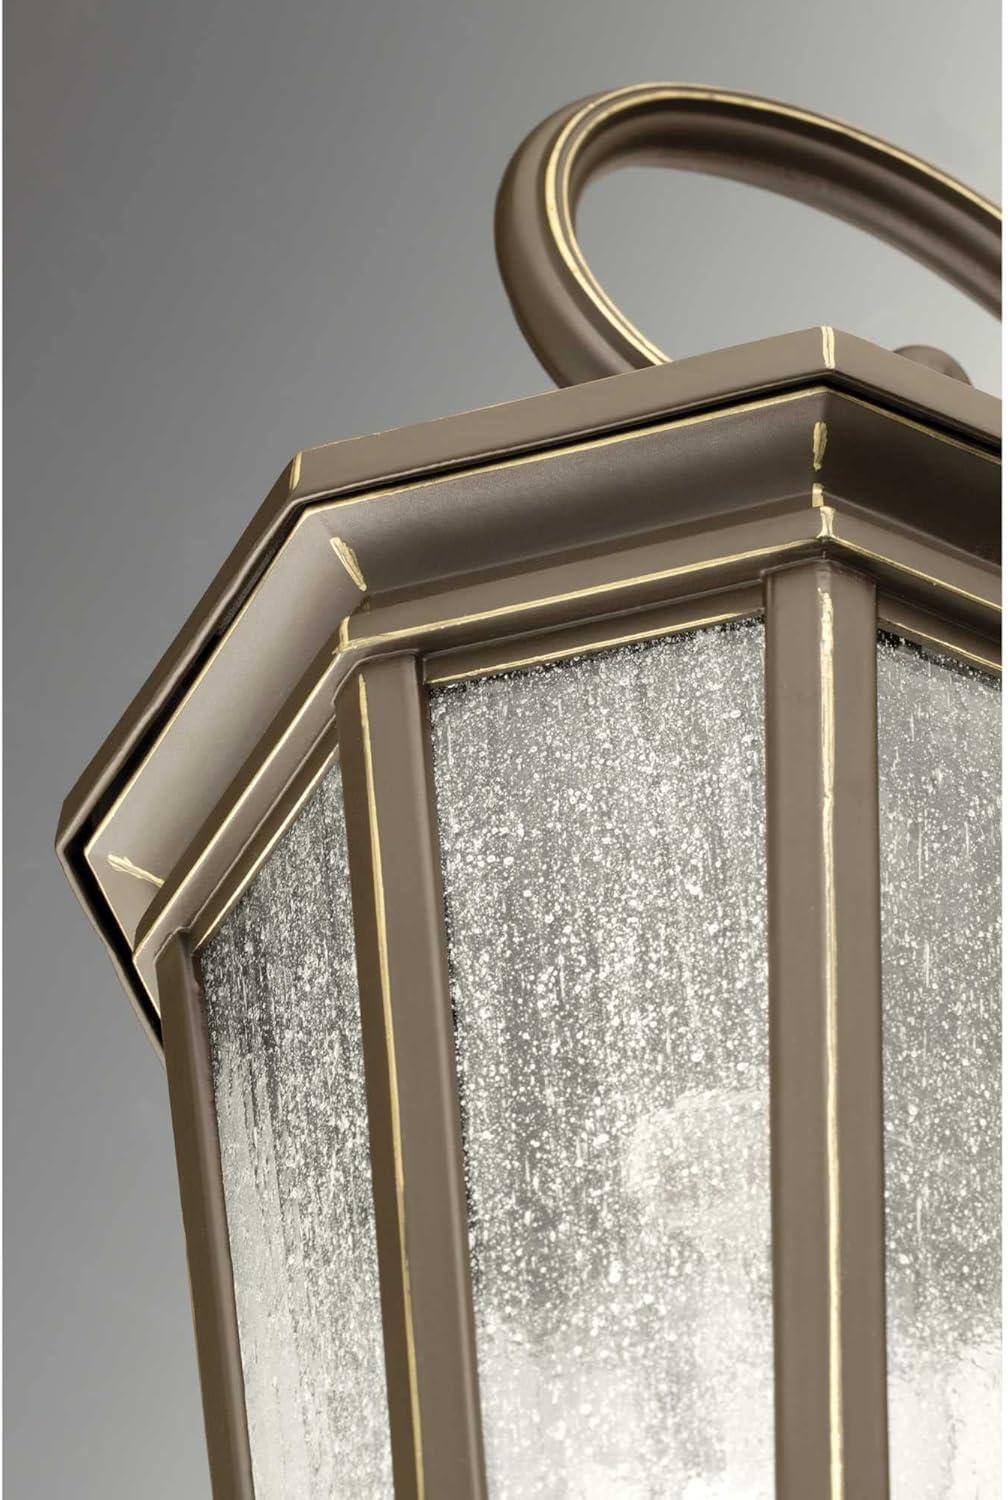
Imaxe 4: Detallada view of the clear seeded glass, which provides a traditional aesthetic and diffuses light.
Resolución de problemas
If you encounter issues with your outdoor wall lantern, refer to the following common problems and solutions:
| Problema | Causa posible | Solución |
|---|---|---|
| A luz non se acende | Non hai enerxía para o dispositivo Conexións de fíos soltas Bombilla defectuosa | Comprobar o disxuntor/fusible Verificar que todas as conexións dos cables estean seguras (apagar a alimentación) Substituír bombillas |
| Luz parpadea | Bombilla solta Conexión de cable solta Tipo/potencia de lámpada incorrectotage | Apretar a lámpada Check wire connections (power off) Ensure bulbs meet specifications |
| Glass is broken or cracked | Danos por impacto | Póñase en contacto co servizo de atención ao cliente para obter pezas de recambio |
If the problem persists after attempting these solutions, contact a qualified electrician or Progress Lighting customer support.
Garantía e Soporte
This Progress Lighting product is covered by a Garantía limitada de 1 anos from the date of purchase. This warranty guarantees your complete satisfaction with your purchase and includes professional after-sales customer service support.
The warranty covers defects in materials and workmanship under normal use. It does not cover damage resulting from improper installation, accident, misuse, abuse, or unauthorized modifications.
For warranty claims, technical assistance, or to inquire about replacement parts, please contact Progress Lighting customer service. Refer to the contact information provided on the original packaging or the official Progress Lighting websitio.


