1. Introdución
This user manual provides comprehensive instructions for the AABCOOLING 120mm Plastic Dust Filter. This product is designed to effectively prevent dust accumulation inside computer cases, protecting sensitive components and maintaining optimal system performance. Please read this manual thoroughly before installation and use.
2. Produto rematadoview
The AABCOOLING 120mm Plastic Dust Filter consists of a durable plastic frame and a high-permeability foam filter mesh. It is specifically designed for 120mm computer fans and features a removable cover for easy maintenance.

Figure 2.1: Assembled AABCOOLING 120mm Plastic Dust Filter. This image shows the complete filter unit, ready for installation, with its black plastic frame and visible internal mesh.

Figura 2.2: Lateral view of the assembled dust filter. This perspective highlights the slim profile of the filter, demonstrating how it can be integrated into a PC case without significant bulk.
3. Configuración e instalación
The AABCOOLING 120mm Plastic Dust Filter is designed for easy installation on any standard 120mm fan intake or exhaust port. The filter's hole spacing is 105 x 105 mm, compatible with most 120mm fan mounting points.
Pasos de instalación:
- Identify Fan Location: Determine the 120mm fan location on your computer case where you wish to install the dust filter. This is typically an intake fan.
- Position the Filter: Align the dust filter with the mounting holes of the 120mm fan or the fan mounting points on your PC case. Ensure the filter mesh faces the direction from which dust is expected (usually outwards if it's an intake fan).
- Fixar o filtro: Use appropriate screws (not included) to secure the filter to the fan or case. The filter features four corner holes for mounting. Do not overtighten screws to avoid damaging the plastic frame.

Figure 3.1: Disassembled filter showing the outer frame and the inner foam filter. This illustrates the two main components of the filter, highlighting its simple design for easy assembly and disassembly.
4. Mantemento
Regular cleaning of the dust filter is crucial for maintaining optimal airflow and dust prevention. The filter's design allows for easy removal and cleaning of the foam mesh.
Pasos de limpeza:
- Eliminar o filtro: If the filter is screwed into place, carefully unscrew it from the fan or case.
- Compoñentes separados: Gently pry open the plastic frame to separate the outer cover from the main body, exposing the foam filter.
- Remove Foam Filter: Carefully remove the foam filter mesh from its housing.
- Clean the Foam:
- For light dust, simply tap the foam against a hard surface or use compressed air to blow off the dust.
- For heavier dust or grime, rinse the foam under lukewarm water. You may use a mild soap if necessary.
- Secar ben: Ensure the foam filter is completely dry before reassembling. Air drying is recommended. Do not use heat sources that could deform the foam.
- Remontar: Place the dry foam filter back into the main body of the plastic frame, then snap the outer cover back into place.
- Reinstalar: Reattach the cleaned filter to your computer case or fan.

Figure 4.1: The foam filter being removed from the plastic frame. This image demonstrates the ease with which the filter can be disassembled for cleaning or replacement of the foam element.
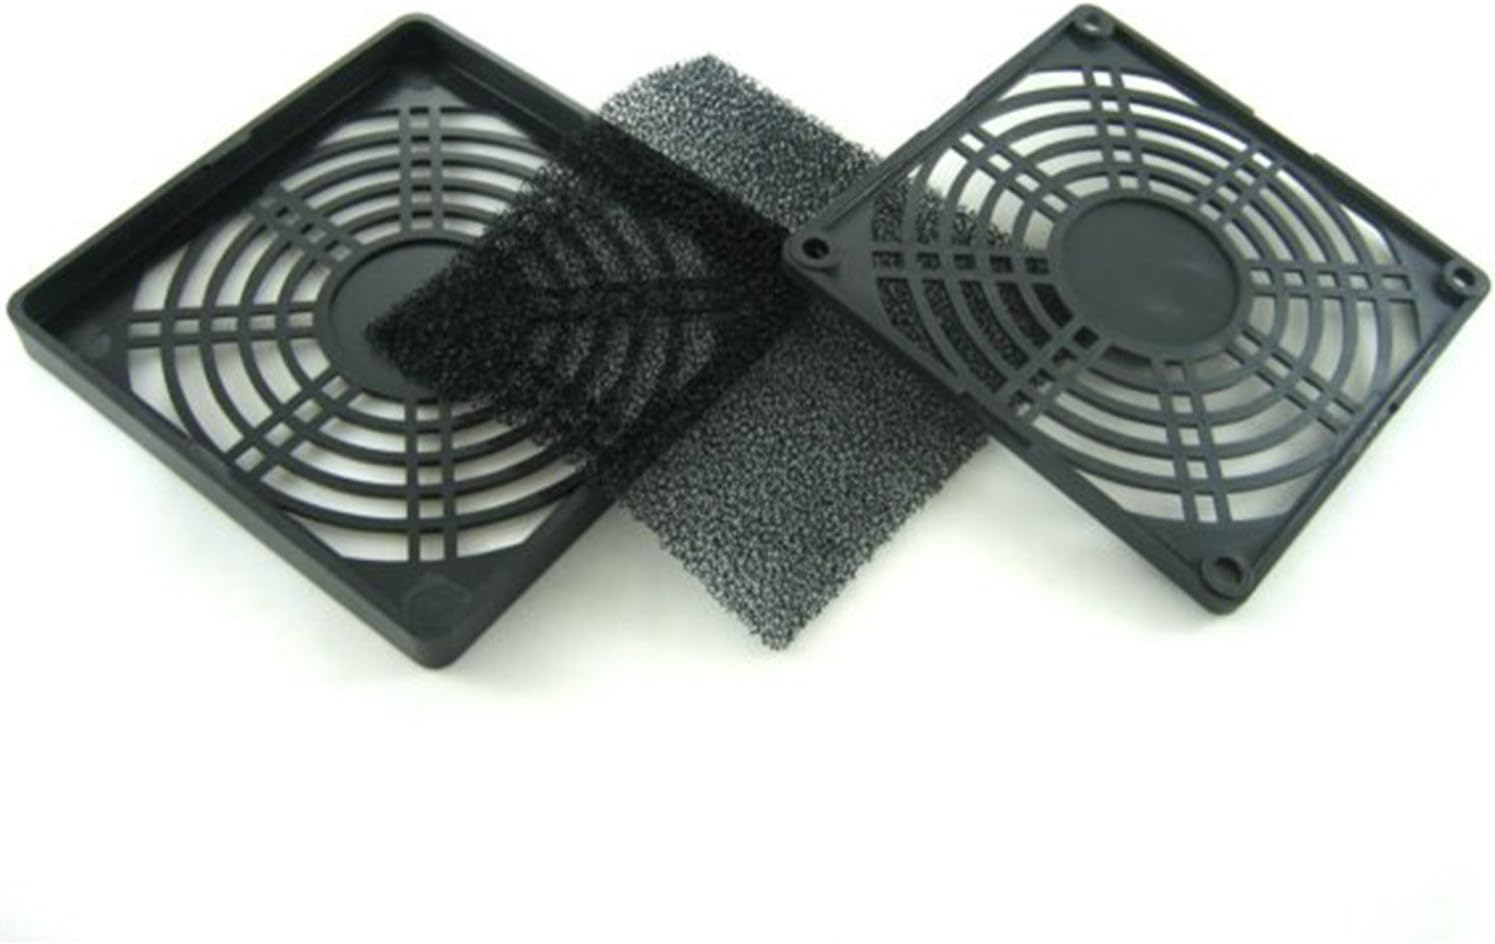
Figure 4.2: Two disassembled filter units, showcasing the separate plastic frames and foam inserts. This view emphasizes the modular design, simplifying maintenance and component replacement.
5 Solución de problemas
If you encounter issues with your dust filter, consider the following common problems and solutions:
- Fluxo de aire reducido:
Causa: The most common cause is a clogged filter due to excessive dust accumulation.
Solución: Refer to Section 4, "Maintenance," and clean the foam filter thoroughly. Ensure the foam is completely dry before reinstallation.
- Filter Not Fitting Properly:
Causa: Incorrect size filter or misalignment during installation.
Solución: Verify that your fan is indeed 120mm. Ensure the filter is correctly aligned with the mounting holes before securing it. Do not force the filter into place.
- Cheiro inusual:
Causa: New product odor or accumulation of certain types of dust/debris.
Solución: For new product odor, allow the filter to air out in a well-ventilated area for a few hours before installation. For accumulated odors, clean the filter thoroughly as per Section 4. If the odor persists, consider replacing the foam filter.
6. Especificacións
| Marca | AABCOOLING |
| Número de modelo | OFG016 |
| Compatible Fan Size | 120 mm x 120 mm |
| Espazo de buratos | 105 mm x 105 mm |
| Material | Plastic (Frame), Foam (Filter Mesh) |
| Cor | Negro |
| Dispositivos compatibles | Computer (PC Case Fans) |
7. Información da garantía
Specific warranty details for the AABCOOLING 120mm Plastic Dust Filter are not provided in the product information. Please refer to the retailer's return policy or contact AABCOOLING directly for warranty inquiries.
8. Atención ao cliente
For further assistance or technical support regarding your AABCOOLING product, please visit the official AABCOOLING website or contact their customer service department. Contact information may vary by region.
Nota: Always refer to the latest information provided by the manufacturer or your point of purchase for the most accurate and up-to-date support details.