1. Introdución
This manual provides instructions for the setup, operation, and maintenance of your Seiko SQ784A Digital Alarm Clock. This clock features a simple design with a natural wood grain finish, a comfort display function, and automatic time correction via radio waves.
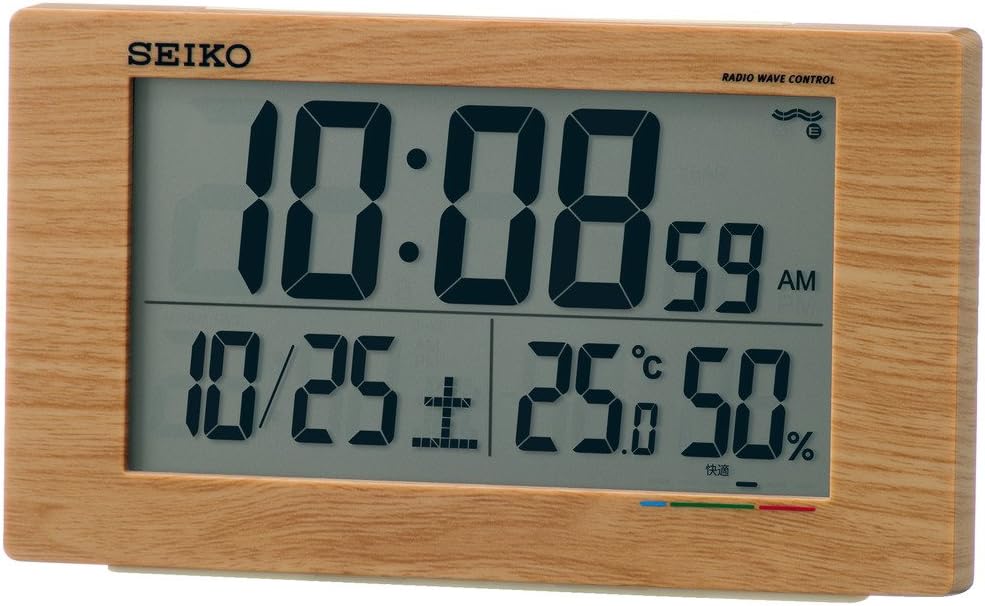
Figura 1: Fronte view of the Seiko SQ784A Digital Alarm Clock, showing its dimensions (14.8cm width, 8.5cm height, 5.3cm depth) and key features such as electronic sound, snooze, light, full auto calendar, temperature, humidity, and low battery warning. The clock weighs 220g and requires two AA alkaline batteries.
2. Características clave
- Radio Wave Time Correction: Automatically receives standard radio waves to correct the display time, ensuring accuracy. Operates with quartz accuracy if radio waves are not received.
- Digital Calendar: Mostra a data actual.
- Visualización de temperatura e humidade: Provides real-time indoor temperature and humidity readings.
- Indicador de confort: Displays a comfort level in 6 stages, based on temperature and humidity, to help maintain a comfortable environment. This is particularly useful for households with small children or elderly individuals.
- Función de alarma: Includes an alarm with electronic sound and snooze feature.
- Retroiluminación: Para fácil viewing en condicións de pouca luz.
- Aviso de batería baixa: Indica cando as pilas precisan substituír.

Figura 2: detallada view of the clock's digital display, highlighting the time (10:08), date (10/25), temperature (25.0°C), humidity (50%), and the multi-colored comfort indicator bar at the bottom.
3. Configuración
3.1 Instalación da batería
- Abra a tapa do compartimento da batería situada na parte traseira do reloxo.
- Introduza dúas pilas AA, asegurándose de manter a polaridade correcta (+/-).
- Pecha a tapa do compartimento da batería de forma segura.
3.2 Initial Time Setting (Radio Wave Reception)
The clock is designed to automatically receive standard radio waves to set the correct time. For optimal reception:
- Place the clock near a window where it can easily receive radio signals.
- Avoid locations that generate strong radio interference, such as:
- Inside buildings, deep within rooms, or basements.
- Preto de alto voltage power lines, TV towers, or train tracks.
- Close to electronic appliances like TVs, refrigerators, air conditioners, air purifiers, computers, or fax machines.
- In vehicles (cars, trains, airplanes).
- Over or near metal furniture like steel desks.
If radio waves are not received, the clock will operate with standard quartz accuracy. Manual time adjustment may be necessary in areas with poor reception.

Figure 3: Illustration of radio wave clock reception, indicating optimal placement for receiving time signals from standard radio wave transmitters. The map shows coverage from Fukushima (40kHz) and Kyushu (60kHz) stations in Japan.
4. Instrucións de funcionamento
4.1 Mostrar información
The digital display shows the following information:
- Tempo: Current time in HH:MM format, with AM/PM indicator.
- Data: Month and day.
- Temperatura: Indoor temperature in Celsius.
- Humidade: Humidade relativa interior porcenttage.
- Indicador de confort: A visual representation of the "uncomfortable index" in 6 stages.
4.2 Understanding the Comfort Indicator
The comfort indicator provides a quick reference for indoor environmental comfort. It is divided into 6 stages:
- Zona Verde: Indicates a "comfortable" environment.
- Blue Zone: Indicates a "cold" environment.
- Zona Vermella: Indicates a "hot" environment.
Note: Individual perception of comfort may vary. Please use this indicator as a general guide.

Figure 4: Comfort indicator chart showing the relationship between temperature, humidity, and perceived comfort levels. It categorizes conditions from 'Cold' (discomfort index below 60) to 'Very Hot' (above 81), with 'Comfortable' in the 65-70 range.
4.3 Axustar a alarma
Specific buttons for alarm setting are typically located on the back or side of the clock. Refer to the button labels for "Alarm Set" or similar functions. Follow these general steps:
- Press the "Alarm Set" button to enter alarm setting mode.
- Use the adjustment buttons (e.g., Up/Down, +/–) to set the desired alarm time.
- Press "Alarm Set" again or wait for the display to exit setting mode.
- Ensure the alarm is activated using the "Alarm ON/OFF" switch or button.
4.4 Uso da función de pospoñer
When the alarm sounds, press the large "Snooze/Light" button (usually located on top of the clock) to temporarily stop the alarm. The alarm will sound again after a few minutes (typically 5-10 minutes).
4.5 Manual Time Adjustment
If the clock fails to receive radio signals or if you are outside a reception area, you can manually set the time. Look for "Time Set" or "Manual Set" buttons on the clock and follow the on-screen prompts to adjust hours, minutes, and date.

Figure 5: Visual guide illustrating how the temperature and humidity display aids in health management and indoor environment control. It highlights benefits such as preventing mold and viruses, avoiding indoor heatstroke, encouraging regular checks of environmental conditions, and promoting comfortable sleep for children.
5. Mantemento
5.1 Substitución da batería
When the low battery indicator appears on the display, replace both AA batteries promptly. Old batteries should be disposed of according to local regulations.
5.2 Limpeza
Limpa o reloxo cun pano suave e seco. Non empregues produtos de limpeza abrasivos, solventes nin aerosoles químicos, xa que poden danar o acabado ou os compoñentes internos.
6 Solución de problemas
6.1 No Display or Faint Display
- Comprobe se as baterías están instaladas correctamente coa polaridade correcta.
- Substitúe as pilas antigas por outras novas.
6.2 Visualización incorrecta da hora
- Radio Wave Reception: Ensure the clock is placed in an optimal location for radio wave reception (near a window, away from interference). Try moving the clock to a different spot.
- Axuste manual: If automatic reception consistently fails, manually set the time as described in Section 4.5.
6.3 Alarm Not Sounding
- Verify that the alarm function is activated (Alarm ON/OFF switch).
- Check if the alarm time is set correctly.
7. Especificacións
| Característica | Detalle |
|---|---|
| Número de modelo | SQ784A |
| Marca | Seiko |
| Tipo de visualización | Dixital |
| Cor | Light brown wood grain |
| Dimensións do produto | 14.8 cm de ancho x 8.5 cm de alto |
| Peso do elemento | 0.22 quilogramos |
| Fonte de enerxía | Alimentado por batería |
| Pilas necesarias | Si |
| Tipo de batería | AA (x2) |
| Características especiais | Radio Control, Digital Calendar, Temperature, Humidity, Comfort Display, Alarm, Snooze, Backlight |
| Uso interior/exterior | Interior |
8. Garantía e soporte
8.1 Información da garantía
Your Seiko SQ784A Digital Alarm Clock is covered by a manufacturer's warranty. Please refer to the warranty card included with your product for specific terms, conditions, and duration. Retain your proof of purchase for warranty claims.
8.2 Atención ao cliente
For further assistance, technical support, or inquiries regarding your product, please contact Seiko customer service. Contact details can typically be found on the official Seiko websitio web ou na embalaxe do produto.


