Introdución
The DigiTech Multi-Function LCD Wall Clock (Model XC0225) is a versatile device designed to provide convenient time display along with additional environmental information. This clock features a large LCD screen displaying time, date, day of the week, indoor temperature, and humidity. It also includes alarm and snooze functions, making it suitable for various settings, whether mounted on a wall or placed on a desktop.
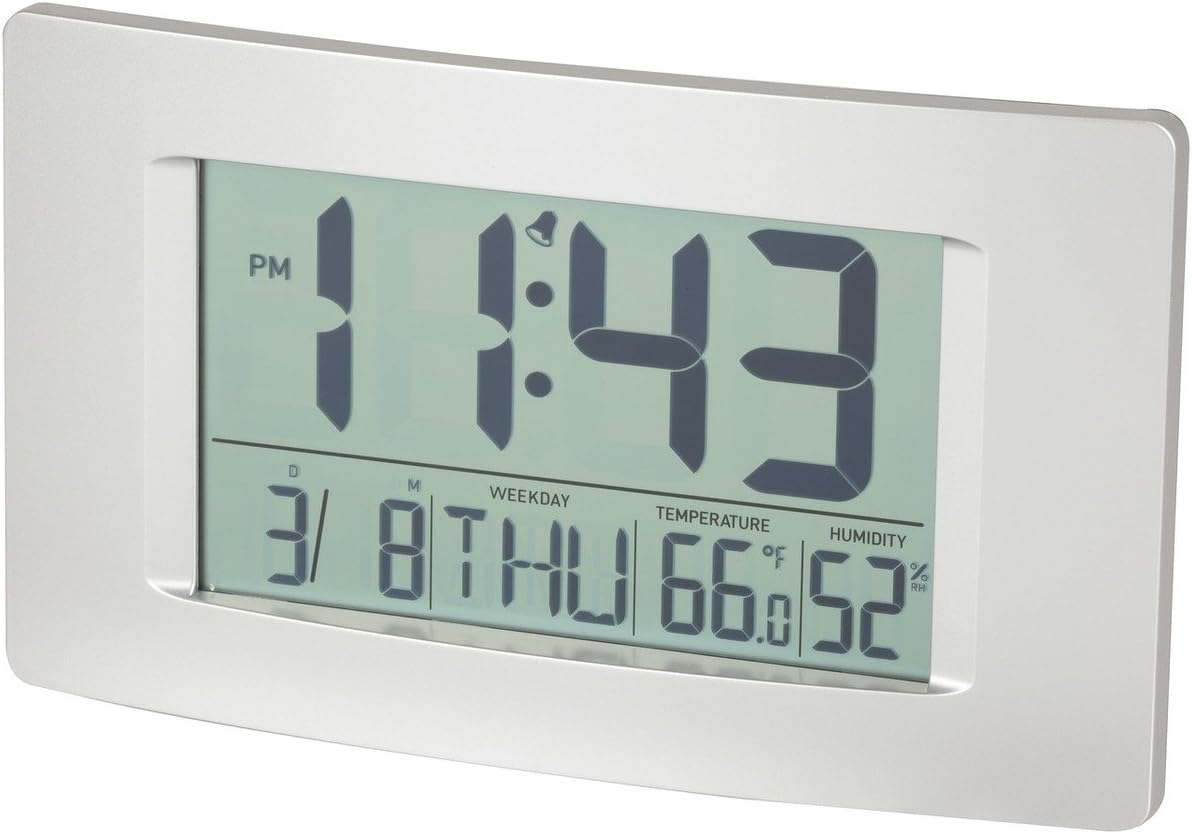
Figura 1: Fronte view of the Multi-Function LCD Wall Clock.
Contido do paquete
- DigiTech Multi-Function LCD Wall Clock (Model XC0225)
- Manual de usuario (este documento)
Nota: 3 x AA batteries are required for operation and are not included in the package.

Figure 2: Product packaging illustrating the clock and its features.
Configuración
1. Instalación da batería
- Localiza o compartimento da batería na parte traseira do reloxo.
- Abra a tapa do compartimento da batería.
- Insert 3 x AA batteries, ensuring correct polarity (+ and -) as indicated inside the compartment.
- Pecha a tapa do compartimento da batería de forma segura.
2. Acendido inicial
Upon battery installation, the clock will power on automatically and display default settings. You may need to adjust the time, date, and other settings as described in the "Operating Instructions" section.
3. Opcións de montaxe
- Colocación do escritorio: Utilize the integrated stand on the back of the clock to place it on any flat surface.
- Montaxe na parede: Use the integrated hang-hole on the back of the clock to mount it securely on a wall using a suitable screw or hook (not included).
Instrucións de funcionamento
The clock features several buttons on the back for setting and adjusting functions. Refer to the labels next to each button for their specific functions (e.g., MODE, UP, DOWN, ALARM, SNOOZE/LIGHT).
1. Axuste da hora e da data
- Preme o MODO button repeatedly until the time display starts flashing.
- Usa o UP or ABAIXO botóns para axustar a hora.
- Preme MODO again to move to minutes, then use UP or ABAIXO para axustar.
- Continúa presionando MODO para percorrer os axustes de ano, mes e día, axustando cada un con UP or ABAIXO.
- Preme MODO unha última vez para saír do modo de configuración.
2. Axustar a alarma
- Preme o ALARMA botón unha vez para mostrar a hora actual da alarma.
- Manteña premido o ALARMA botón ata que a hora da alarma comece a parpadear.
- Usa o UP or ABAIXO botóns para axustar a hora da alarma.
- Preme ALARMA again to move to alarm minutes, then use UP or ABAIXO para axustar.
- Preme ALARMA one last time to confirm and exit alarm setting mode.
- Para activar/desactivar a alarma, prema o botón ALARMA botón brevemente cando non estea no modo de configuración. Aparecerá/desaparecerá unha icona de alarma na pantalla.
3. Función de repetición da alarma
Cando soe a alarma, prema o botón SNOOZE / LUZ button to activate the snooze function. The alarm will temporarily stop and sound again after the set snooze interval (1-60 minutes, adjustable in settings).
4. Temperature Unit Selection (°C/°F)
Prema brevemente o UP button (or a dedicated °C/°F button if present) to toggle between Celsius (°C) and Fahrenheit (°F) temperature display.
5. Formato 12/24 horas
Prema brevemente o ABAIXO button (or a dedicated 12/24H button if present) to switch between 12-hour and 24-hour time formats.
Mantemento
1. Limpeza
- Limpa a superficie do reloxo cun pano suave e seco.
- Do not use abrasive cleaners, solvents, or chemical sprays, as these may damage the display or casing.
2. Substitución da batería
When the display becomes dim or functions become erratic, it is time to replace the batteries. Follow the "Battery Installation" steps in the Setup section to replace the 3 x AA batteries. Always replace all batteries at the same time with new ones.
Resolución de problemas
| Problema | Causa posible | Solución |
|---|---|---|
| A pantalla está en branco ou escura. | As baterías están agotadas ou están mal instaladas. | Substitúa as pilas por 3 pilas AA novas, asegurándose de manter a polaridade correcta. |
| A hora/data é incorrecta. | Not set correctly after battery installation or power interruption. | Siga as instrucións de "Configuración da data e da hora" para restablecer. |
| Non soa a alarma. | Alarm is not activated or alarm time is incorrect. | Ensure the alarm icon is displayed. Verify the alarm time setting. |
| As lecturas de temperatura/humidade parecen inexactas. | Clock placed near heat sources, vents, or in direct sunlight. | Relocate the clock to an area with stable ambient temperature and humidity. Allow time for readings to stabilize. |
Especificacións
| Característica | Detalle |
|---|---|
| Modelo | XC0225 |
| Tipo de visualización | LCD dixital |
| Tamaño LCD | 194 mm (ancho) x 110 mm (alto) |
| Funcións | Time, Date, Day of Week, Alarm, Snooze, Indoor Temperature, Indoor Humidity |
| Formato de tempo | 12 Hour / 24 Hour selectable |
| Rango de temperatura | -9.9 °C a +50 °C (14.1 °F a 122.0 °F) |
| Rango de humidade | 20% a 95% de humidade relativa (HR) |
| Duración do adiamento | 1 - 60 minutes (adjustable) |
| Fonte de enerxía | 3 pilas AA (non incluídas) |
| Dimensions (Overall, W x H x D) | 306 mm x 176 mm x 36 mm (aprox.) |
| Peso | 540g (without batteries) / 660g (shipping weight) |
| Opcións de montaxe | Integrated Stand, Wall Hang-hole |

Figure 3: Main display area dimensions of the clock for reference.
Garantía e Soporte
This DigiTech product comes with a 1 ano de garantía desde a data de compra. Esta garantía cobre defectos de materiais e fabricación en condicións de uso normal.
For technical support, warranty claims, or further assistance, please contact your retailer or the DigiTech customer service department. Please have your model number (XC0225) and proof of purchase ready when contacting support.


