1. Introdución
Thank you for choosing the Sygonix PYO-813 Wired Video Intercom System. This manual provides detailed instructions for the safe and efficient installation, operation, and maintenance of your new intercom system. Please read this manual thoroughly before use and retain it for future reference.
2. Instrucións de seguridade
- Ensure all electrical connections are made by a qualified electrician to prevent electric shock or fire hazards.
- Do not expose the outdoor unit to extreme temperatures, direct sunlight for prolonged periods, or heavy rain/snow beyond its water-resistant rating.
- Non abra o dispositivo casings. Refer all servicing to qualified personnel.
- Keep the indoor monitor away from water and high humidity.
- Use only the power adapter supplied with the system.
- Before cleaning, disconnect the power supply. Use a soft, dry cloth for cleaning.
3. Contido do paquete
Comprobe o contido do paquete para asegurarse de que todos os elementos estean presentes e non estean danados:
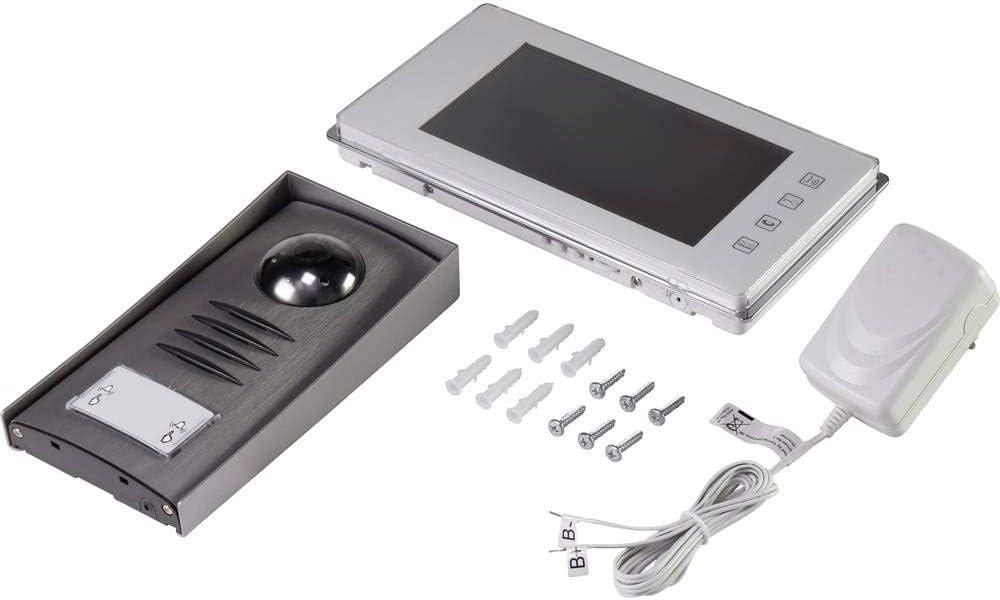
- 1x Outdoor Camera Unit
- 1x Indoor Monitor Unit (7" TFT LCD)
- 1 x adaptador de alimentación
- Parafusos de montaxe e tacos de parede
- Manual de usuario (este documento)
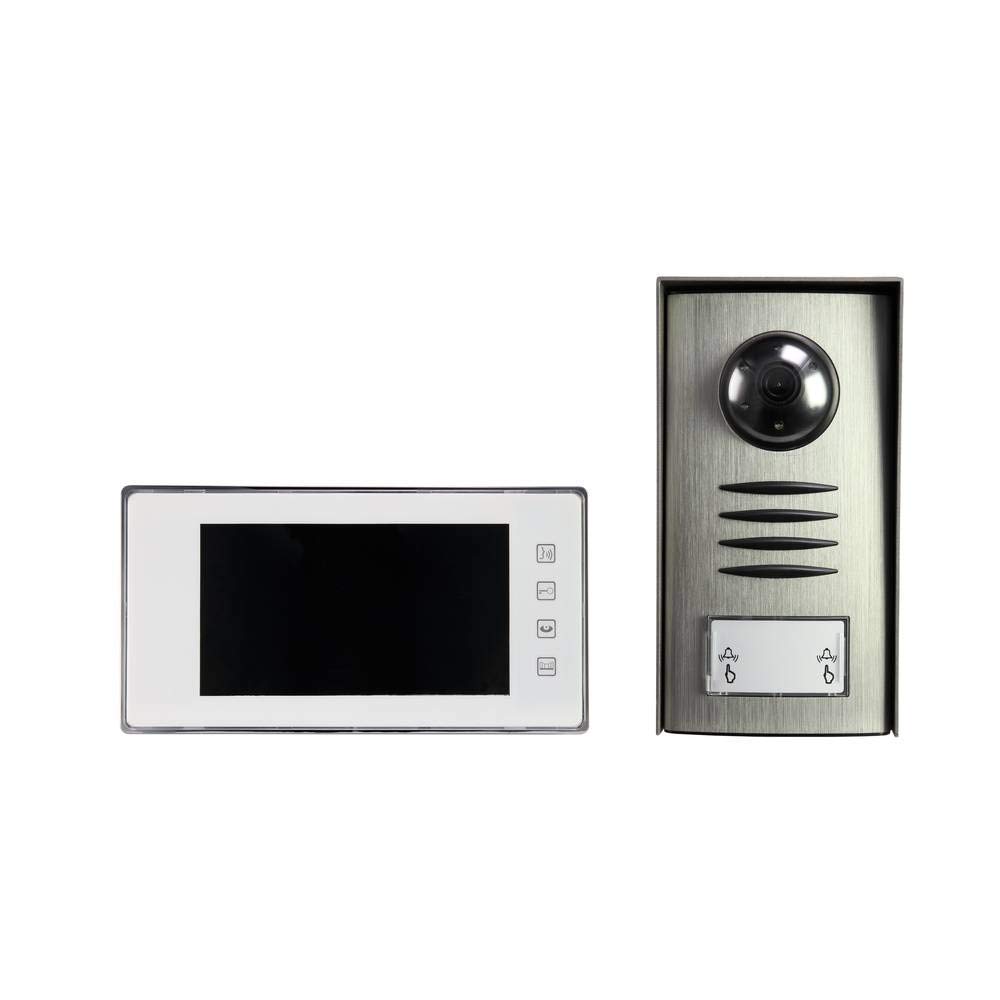
Image: Complete package contents of the Sygonix PYO-813 intercom system.
4. Produto rematadoview
The Sygonix PYO-813 is a wired video intercom system designed for secure and convenient communication with visitors at your door. It features a hands-free system for clear two-way communication.
Unidade de cámara exterior 4.1
- Cámara de ángulo axustable: Allows for optimal viewacollida de visitantes.
- Integrated Speaker and Microphone: Permite a comunicación de audio bidireccional.
- Water-Resistant Casing: Protects components from splashes.
- LED integrados: Automatically illuminate in low light conditions for night vision.
- Botón de chamada: For visitors to initiate a call to the indoor monitor.
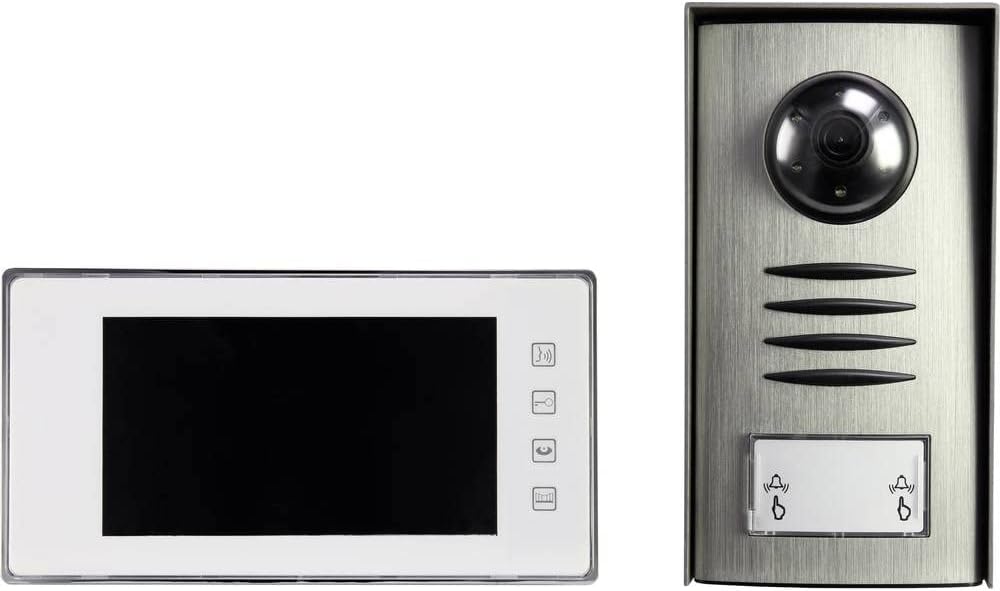
Image: The outdoor camera unit (right) and indoor monitor (left) of the Sygonix PYO-813.
4.2 Unidade de monitor interior
- Pantalla LCD TFT de 7 polgadas: Provides a clear display of the visitor.
- Botóns táctiles: For intuitive control of the system functions.
- Integrated Speaker and Microphone: For hands-free two-way communication.
Imaxe: Primeiro plano view of the Sygonix PYO-813 indoor monitor and outdoor camera unit.
5. Configuración e instalación
Unha instalación axeitada é fundamental para un rendemento óptimo. Recoméndase que a instalación sexa realizada por un técnico cualificado.
5.1 Mounting the Outdoor Camera Unit
- Choose a suitable location near your entrance, ensuring it is protected from direct heavy weather and at an appropriate height for visitors.
- Mark the drilling points using the unit as a template.
- Perforar buratos e introducir tacos de parede.
- Secure the outdoor unit to the wall using the provided screws.
- Adjust the camera angle as needed for the best view of your entrance area.
5.2 Mounting the Indoor Monitor Unit
- Select a convenient indoor location, typically near the main entrance or in a central living area.
- Mark and drill holes, then insert wall plugs.
- Secure the mounting bracket (if separate) or the monitor directly to the wall.
5.3 Conexións de cableado
Connect the outdoor camera unit to the indoor monitor unit using appropriate wiring (not explicitly listed as included, but implied by "wired intercom"). Ensure all connections are secure and correctly polarized according to the wiring diagram in the full product manual (if available, otherwise general advice).
Connect the power adapter to the indoor monitor unit and then plug it into a suitable power outlet.
Importante: Ensure power is disconnected during all wiring procedures.6. Instrucións de funcionamento
6.1 Recepción dunha chamada
- When a visitor presses the call button on the outdoor unit, the indoor monitor will ring and display the visitor's image.
- Preme o Resposta button (typically a phone icon) on the indoor monitor to establish two-way communication.
6.2 Comunicación bidireccional
Once the call is answered, you can speak with the visitor hands-free through the integrated speakers and microphones on both units.
- Para finalizar a conversa, prema o botón Finalizar chamada button (typically a hang-up icon) or wait for the call to automatically disconnect after a set period.
6.3 Monitoring the Entrance
Podes manualmente view the outdoor camera feed at any time without a visitor pressing the call button.
- Preme o Monitor button (typically an eye or camera icon) on the indoor monitor to activate the outdoor camera view.
- The integrated LEDs on the outdoor unit will automatically activate in dark conditions to provide clear night vision.
6.4 Axustar a configuración
The indoor monitor may have touch buttons for adjusting settings such as ringtone volume, display brightness, and contrast. Refer to the icons on your monitor for specific functions.
7. Mantemento
- Limpeza: Use a soft, dry, lint-free cloth to clean the indoor monitor screen and the outdoor unit lens. Do not use abrasive cleaners or solvents.
- Inspección: Periodically check all wiring connections for wear or damage.
- Protección ambiental: Ensure the outdoor unit's water-resistant seals are intact.
8 Solución de problemas
| Problema | Causa posible | Solución |
|---|---|---|
| Sen imaxe no monitor interior. |
|
|
| Sen son durante a comunicación. |
|
|
| Mala calidade de imaxe pola noite. |
|
|
9. Especificacións
| Marca: | Sygonix |
| Número de modelo: | SY-3313340 (1656670) |
| Indoor Monitor Screen: | Pantalla LCD TFT de 7 polgadas |
| Cor: | Prata |
| Material: | Aluminio |
| Tipo de potencia: | Mains Powered (via included adapter) |
| Dimensións do paquete: | 32.5 x 32.5 x 7 cm |
| Peso: | 9.07 gramos |
10. Garantía e soporte
For warranty information, please refer to the documentation provided with your purchase or contact your retailer. For technical support or service inquiries, please contact Sygonix customer service or your local distributor.
Fabricante: Sygonix


