1. Introdución
The WMF Lono Sous Vide Garer Pro is a versatile 2-in-1 appliance designed for both precise low-temperature sous vide cooking and traditional slow cooking. This manual provides essential information for safe operation, setup, usage, maintenance, and troubleshooting to ensure optimal performance and longevity of your appliance.

Image 1.1: The WMF Lono Sous Vide Garer Pro in use, showcasing both sous vide and slow cooking functions.
2. Instrucións de seguridade
Lea atentamente todas as instrucións de seguridade antes de usar o aparello. O incumprimento destas instrucións pode provocar descargas eléctricas, incendios ou lesións graves.
- Asegúrese sempre de colocar o aparello sobre unha superficie estable e resistente á calor.
- Do not immerse the base unit (containing electrical components) in water or other liquids.
- Manteña o aparello fóra do alcance dos nenos e das mascotas.
- Unplug the appliance from the power outlet when not in use, before cleaning, and during assembly or disassembly.
- Do not operate the appliance if the power cord or plug is damaged, or if the appliance malfunctions or has been dropped. Contact authorized service personnel for repair.
- Empregue só accesorios e pezas de reposto orixinais de WMF.
- Asegurar unha ventilación adecuada ao redor do aparello durante o seu funcionamento.
- The water tank and stainless steel insert can become very hot during and after operation. Use caution and oven mitts when handling.
3. Produto rematadoview
Familiarize yourself with the components of your WMF Lono Sous Vide Garer Pro.

Imaxe 3.1: Explosión view showing all components of the WMF Lono Sous Vide Garer Pro.
Compoñentes:
- Unidade base: Contén o elemento calefactor e o panel de control.
- TRITAN Water Tank (6 Liters): Transparent, BPA-free tank for holding water. Features large transport handles.
- Tapa: Transparent lid for the water tank.
- Sous Vide Rack: Separator for vacuum-sealed bags to ensure even cooking.
- Stainless Steel Insert: For slow cooking functions.

Image 3.2: Detail of the transparent TRITAN water tank with integrated handles.
Panel de control:
The control panel features an LCD display and intuitive buttons for setting temperature and time.

Image 3.3: The digital control panel with LCD display, power button, start/pause, menu, and rotary dial.
- Botón de encendido (U): Acende/apaga o aparello.
- Botón de inicio/pausa (||): Inicia ou detén o proceso de cocción.
- Botón de menú (≡): Toggles between temperature and time settings.
- Dial rotativo: Used to adjust temperature and time values.
- Pantalla LCD: Shows current temperature, target temperature, and remaining cooking time.
4. Configuración
Before first use, ensure all packaging materials are removed and clean the water tank, lid, sous vide rack, and stainless steel insert with warm soapy water. Rinse thoroughly and dry.
Pasos de configuración inicial:
- Coloque a unidade base sobre unha superficie plana, estable e resistente á calor.
- Position the TRITAN water tank securely on top of the base unit.
- Fill the water tank with water. For sous vide, ensure the water level is between the MIN and MAX marks, covering the food you intend to cook. For slow cooking, refer to the recipe for appropriate liquid levels.
- Conecta o cable de alimentación a unha toma de corrente con conexión a terra. A pantalla iluminarase.

Imaxe 4.1: Fronte view of the appliance showing water level indicators on the TRITAN tank.
5. Instrucións de funcionamento
5.1. Cociña ao vacío
Sous vide cooking involves precise temperature control for perfectly cooked food.
- Prepare your food (e.g., meat, fish, vegetables) and season as desired.
- Place the food in a vacuum-sealable bag and remove all air using a vacuum sealer.
- Place the sous vide rack into the water tank. This helps keep bags submerged and separated.
- Fill the water tank with water to the appropriate level.
- Prema o botón de acendido (U) para acender o aparello.
- Use the Menu button (≡) to select the temperature setting. Rotate the dial to set the desired temperature (range: 35°C to 90°C).
- Press the Menu button again to select the timer setting. Rotate the dial to set the desired cooking time (up to 72 hours).
- Once temperature and time are set, press the Start/Pause button (||) to begin heating the water.
- When the water reaches the target temperature, carefully place the vacuum-sealed food bags into the water bath, ensuring they are fully submerged.
- Coloque a tapa no depósito de auga.
- The timer will begin counting down once the target temperature is reached.
- After the cooking time expires, the appliance will alert you. Carefully remove the food bags.

Image 5.1: The sous vide rack placed inside the water tank, ready for food bags.

Image 5.2: A person carefully placing a vacuum-sealed bag of meat into the water bath with the sous vide rack.
5.2. Cocción lenta
The slow cooking function is ideal for tenderizing tougher cuts of meat and developing rich flavors.
- Ensure the TRITAN water tank is placed on the base unit.
- Insert the stainless steel insert into the water tank.
- Add your ingredients and liquids directly into the stainless steel insert.
- Fill the water tank with water around the stainless steel insert, ensuring the water level is appropriate for the slow cooking process (refer to recipe or ensure sufficient water for heat transfer).
- Prema o botón de acendido (U) para acender o aparello.
- Use the Menu button (≡) to select the temperature setting. Rotate the dial to set the desired temperature (maximum 90°C for slow cooking).
- Press the Menu button again to select the timer setting. Rotate the dial to set the desired cooking time.
- Prema o botón Inicio/Pausa (||) to begin the slow cooking process.
- Coloque a tapa no depósito de auga.
- Monitor the cooking process as needed.
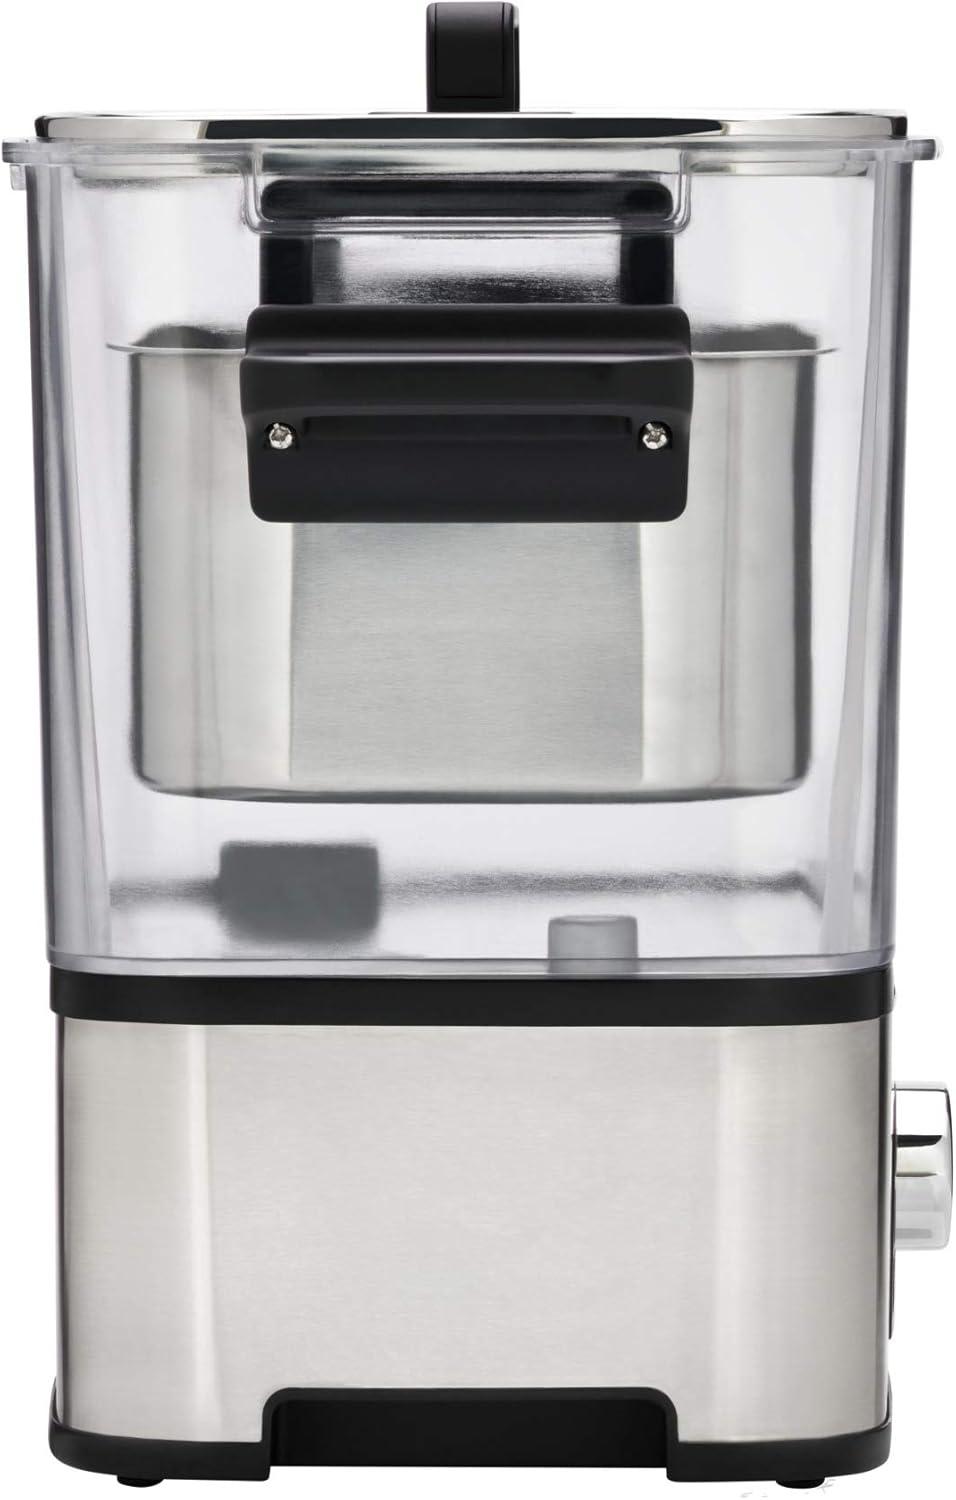
Image 5.3: The stainless steel insert positioned within the water tank for slow cooking.

Image 5.4: A meal prepared using the slow cooking function, served with pasta.
6. Mantemento e Limpeza
Regular cleaning and maintenance will prolong the life of your appliance.
Pasos de limpeza:
- Desenchufe sempre o aparello e deixe que se arrefríe completamente antes de limpalo.
- Remove the water tank, lid, sous vide rack, and stainless steel insert.
- Wash these removable parts with warm water and a mild dish soap. Rinse thoroughly and dry completely. These parts are generally dishwasher safe, but hand washing is recommended for longevity.
- Limpar o exterior da unidade base con publicidadeamp pano. Non empregue produtos de limpeza abrasivos nin estropaxos. Nunca mergulle a unidade base en auga.
- Ensure all parts are dry before reassembling or storing the appliance.
Descalcificación:
Depending on water hardness, mineral deposits may accumulate in the water tank and on the heating element. Descale the appliance regularly (e.g., every 1-3 months) using a commercial descaling solution suitable for kitchen appliances or a mixture of water and white vinegar. Follow the descaling product's instructions or run the appliance with the descaling solution for a short period, then rinse thoroughly multiple times with clean water.
7 Solución de problemas
If you encounter issues with your WMF Lono Sous Vide Garer Pro, refer to the table below for common problems and solutions.
| Problema | Causa posible | Solución |
|---|---|---|
| O aparello non se acende. | Non conectado; apagadotage; faulty power cord/outlet. | Check power connection; test outlet with another appliance; inspect power cord for damage. |
| A auga non quenta. | Start button not pressed; heating element malfunction. | Ensure the Start/Pause button is pressed; if problem persists, contact customer support. |
| A temperatura é inconsistente. | Insufficient water; mineral buildup on heating element. | Ensure water level is adequate; descale the appliance. |
| A pantalla mostra un código de erro. | Avaría interna. | Desconecte o aparello, agarde uns minutos e volva conécteo. Se o erro persiste, póñase en contacto co servizo de atención ao cliente. |
8. Especificacións
- Marca: WMF
- Número de modelo: 0415360011
- Cor: Cromargan Matte
- Dimensións do produto: 52.5 x 25.8 x 43 cm (aprox. 20.7 x 10.2 x 16.9 polgadas)
- Capacidade: 6 litros
- Potencia: 1500 vatios
- Material: Plastic (TRITAN, BPA-free) and Cromargan (Stainless Steel)
- Peso do produto: 2.59 kg (aprox. 5.7 lbs)
- Rango de temperatura: 35 °C a 90 °C (95 °F a 194 °F)
- Función de temporizador: Ata 72 horas
- Método de control: Touch and Rotary Dial
9. Garantía e soporte
WMF products are manufactured to high-quality standards and come with a manufacturer's warranty. Please refer to the warranty card included with your purchase for specific terms and conditions, including the warranty period and coverage details.
For technical support, spare parts, or warranty claims, please contact WMF customer service. Contact information can typically be found on the WMF official websitio web ou na documentación que se inclúe co aparello.
Ao contactar co servizo de asistencia, teña á man o número de modelo (0415360011) e o comprobante de compra.