1. Introdución
Thank you for choosing the BLAUPUNKT CLRD 30 DAB+ FM Clock Radio. This device combines a digital radio with an alarm clock and a convenient USB charging function. This manual will guide you through the setup, operation, and maintenance of your new clock radio to ensure optimal performance and longevity.
2. Información de seguridade
- Lea todas as instrucións atentamente antes do uso e gárdeas para futuras consultas.
- Non expoñas o dispositivo á choiva, á humidade nin a temperaturas extremas.
- Asegúrese de que haxa unha ventilación axeitada; non obstrua ningunha das aberturas de ventilación.
- Use só o adaptador de alimentación proporcionado.
- Non intente desmontar nin modificar a unidade. Encargue calquera mantemento a persoal cualificado.
- Manteña o dispositivo lonxe de campos magnéticos fortes.
3. Contido do paquete
Comprobe que todos os elementos estean presentes no paquete:
- BLAUPUNKT CLRD 30 DAB+ FM Clock Radio
- Adaptador de alimentación
- Manual de usuario
- Tarxeta de garantía

Image: Power adapter for the BLAUPUNKT CLRD 30 clock radio.
4. Características do produto
- Radio DAB+ e FM: Enjoy a wide range of digital and analog radio stations with clear reception.
- Porto de carga USB: Conveniently charge your smartphone or other USB-powered devices (5V, 2A output).
- Alarma dual: Set two independent alarm times with options to wake to radio or buzzer.
- Función de Snooze: Temporarily pause the alarm for a few extra minutes of sleep.
- Temporizador de sono: Program the radio to turn off automatically after a set duration (up to 90 minutes).
- Dimmable LCD Display: Large display shows time, date, and radio information with adjustable brightness.
- 6W RMS Audio Output: Delivers clear and balanced sound.
5. Controles e pantalla
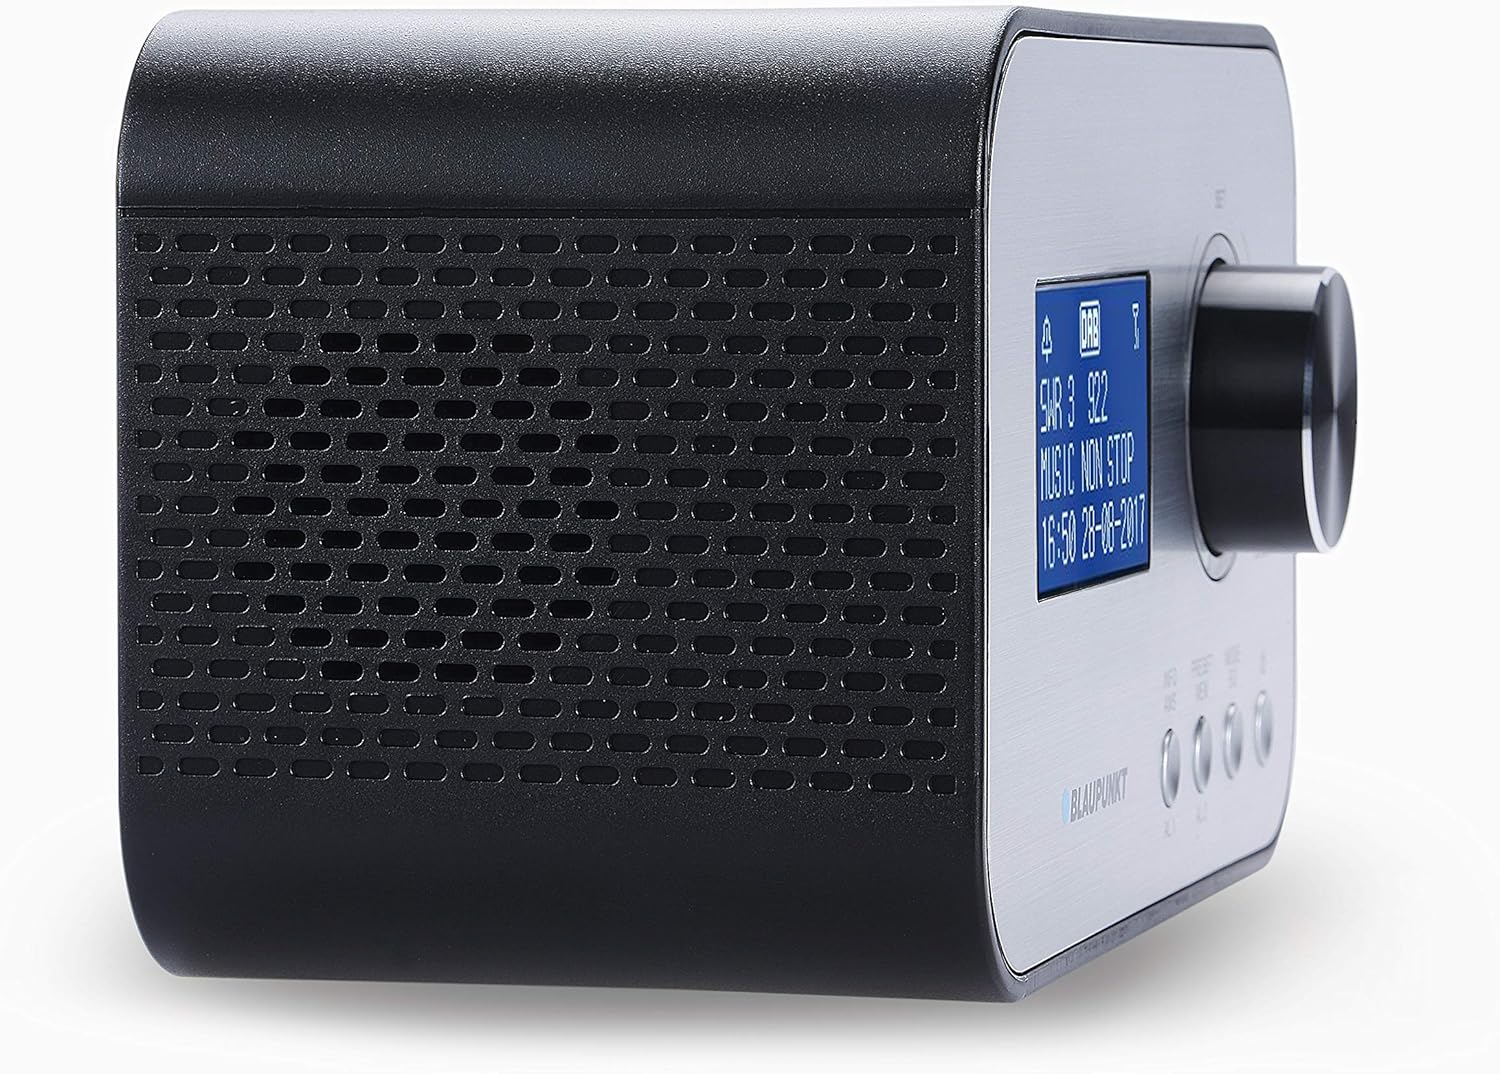
Imaxe: Fronte e lateral view of the BLAUPUNKT CLRD 30 clock radio, highlighting the display and main control knob.

Imaxe: Parte superior e lateral view of the BLAUPUNKT CLRD 30 clock radio, showing the 'SNOOZE / SLEEP / DIMMER' button and other front panel controls.
Controis do panel frontal:
- Visualización: Shows time, date, radio station information, and menu options.
- Control Knob (SET/SELECT/VOLUME): Xira para navegar polos menús ou axustar o volume. Preme para confirmar as seleccións.
- PRESET/MENU Button: Access preset stations or the main menu.
- MODE/INFO Button: Switch between DAB+, FM, and other modes; display additional information.
- Botóns AL1/AL2: Configura e activa a Alarma 1 e a Alarma 2.
Controis do panel superior:
- SNOOZE / SLEEP / DIMMER Button: Press to activate snooze, set sleep timer, or adjust display brightness.
Conexións do panel traseiro:

Imaxe: Traseira view of the BLAUPUNKT CLRD 30 clock radio, showing the DC 5V power input and the USB charging port.
- Entrada DC 5V: Conecte o adaptador de corrente fornecido.
- USB Output (CHARGING ONLY): Connect your mobile device for charging.
- Antena telescópica: Exténdeo para unha recepción de radio óptima.
6. Configuración
6.1 Conexión de alimentación
- Insert the DC plug of the provided power adapter into the DC 5V input jack on the rear of the clock radio.
- Conecte o adaptador de alimentación a unha toma de corrente estándar.
- A unidade acenderase e a pantalla iluminarase.
6.2 Antena
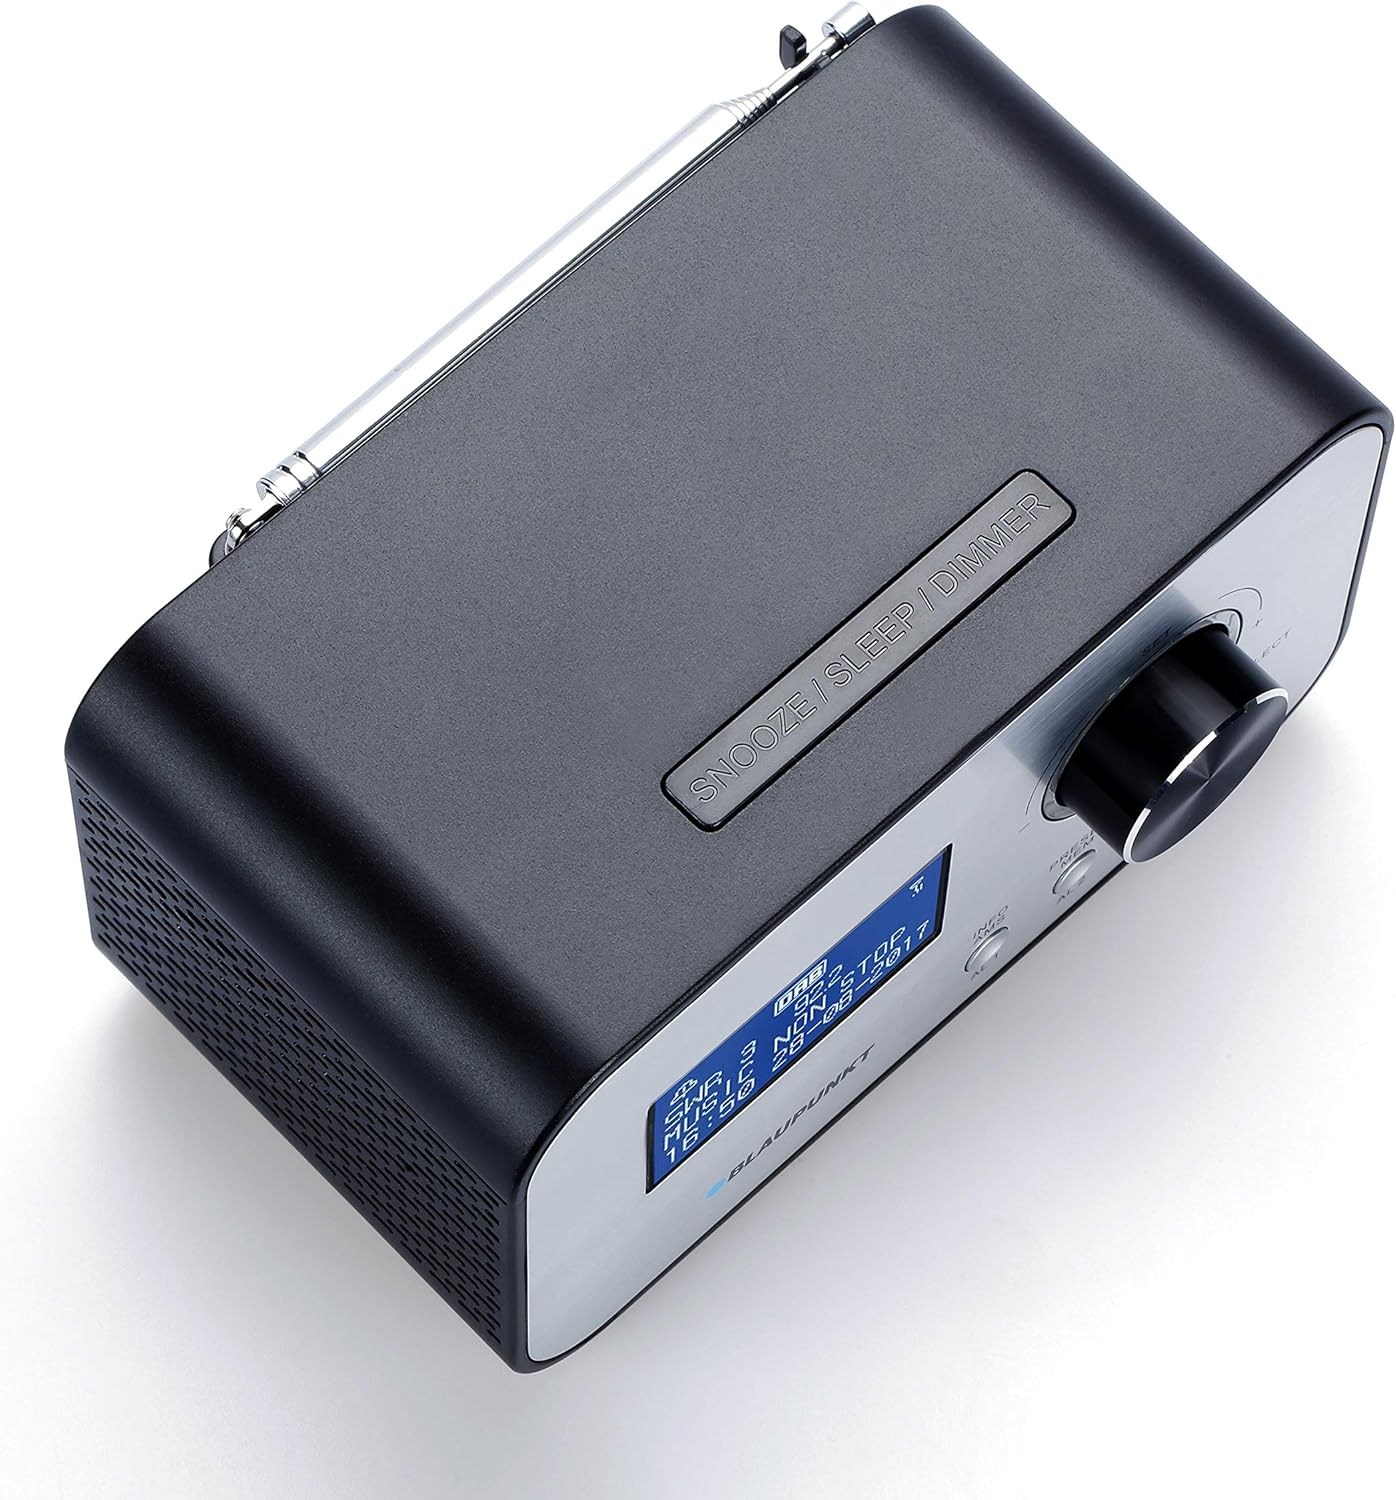
Imaxe: Arriba view of the BLAUPUNKT CLRD 30 clock radio with its telescopic antenna fully extended for improved reception.
For optimal DAB+ and FM radio reception, fully extend the telescopic antenna located on the rear of the unit. Adjust its position for the best signal quality.
6.3 Initial Setup (Time, Date, Language)
Upon first power-on, the unit may automatically scan for DAB+ stations and set the time/date. If not, or if you wish to adjust settings:
- Preme o PRESET/MENU botón para entrar no menú principal.
- Xire o Botón de control to navigate to 'System Settings' or 'Time/Date' and press the knob to select.
- Follow the on-screen prompts to set the time, date, and preferred language.
- For language, select English to ensure all menu options are understandable.
7. Instrucións de funcionamento
7.1 Funcionamento da radio (DAB+/FM)
- Preme o MODO/INFORMACIÓN button to switch between DAB+ and FM radio modes.
- Rádio DAB+: The radio will automatically scan for available DAB+ stations. Rotate the Botón de control to browse stations and press to select.
- Radio FM: Xire o Botón de control to manually tune to FM frequencies. Press and hold the knob for an automatic scan to the next available station.
- Axusta o volume xirando Botón de control durante a reprodución.
7.2 Setting Alarms (AL1/AL2)
- Preme o AL1 or AL2 button to enter alarm setup for the respective alarm.
- Xire o Botón de control to adjust the hour and minute, pressing the knob to confirm each setting.
- Select the alarm source (Buzzer or Radio). If Radio, select the desired station.
- Set the alarm volume. Note that the minimum volume setting might be louder than expected for some users.
- Choose the alarm frequency (Daily, Weekdays, Weekends, Once).
- Confirm settings to activate the alarm. An alarm icon will appear on the display.
7.3 Función Snooze
Cando soe unha alarma, prema o botón SNOOZE / SON / DIMMER button to temporarily silence the alarm. The alarm will sound again after a short interval (typically 9 minutes).
7.4 Temporizador de sono
- Mentres soa a radio, prema o botón SNOOZE / SON / DIMMER button repeatedly to cycle through sleep timer options (e.g., 15, 30, 45, 60, 90 minutes, OFF).
- A radio apagarase automaticamente despois da duración seleccionada.
7.5 Carga USB
Connect your smartphone or other USB-powered device to the USB output port on the rear of the clock radio using a compatible USB cable. The port provides 5V/2A output for charging.
7.6 Atenuador de pantalla
Preme o SNOOZE / SON / DIMMER button (when no alarm is active) to adjust the brightness of the LCD display. Cycle through available brightness levels to find your preferred setting. If the display appears too bright or too dim, adjust it using this button.
8. Mantemento
- Desconecte o adaptador de corrente antes de limpar.
- Limpe a unidade cun pano suave e seco. Non empregue produtos de limpeza abrasivos nin solventes.
- Keep the ventilation openings clear of dust.
9 Solución de problemas
- Sen enerxía: Ensure the power adapter is securely connected to both the unit and a working wall outlet.
- Mala recepción de radio: Fully extend and adjust the telescopic antenna. Try repositioning the unit to improve signal.
- A alarma non soa: Check that the alarm is activated (alarm icon on display) and the alarm volume is set appropriately. Ensure the time and alarm time are correct.
- Pantalla demasiado brillante/escura: Usa o SNOOZE / SON / DIMMER botón para cambiar polos niveis de brillo.
- A carga por USB non funciona: Ensure the device is properly connected and the USB cable is functional. The USB port is for charging only, not data transfer.
- Difficulty with Menu Navigation: The menu system is primarily controlled by the Botón de control (rotate to navigate, press to select) and the PRESET/MENU button to access. If the language is incorrect, navigate to 'System Settings' to change it to English.
10. Especificacións
| Marca: | BLAUPUNKT |
| Número de modelo: | CLRD 30 BK |
| Dimensións (L x W x H): | 17 x 11.5 x 10.2 cm |
| Peso: | 550 gramos |
| Material: | Plástico |
| Tecnoloxía de conectividade: | USB |
| Tecnoloxía do sintonizador: | DAB+ |
| Fonte de enerxía: | AC (Adapter included) |
| Bandas de radio admitidas: | DAB+/FM |
| Saída USB: | 5V, 2A (Charging Only) |
11. Garantía e soporte
This product comes with a warranty. Please refer to the included warranty card for details regarding coverage and duration. For technical support or service inquiries, you may contact:
- Liña de servizo: 00 800 1300 1400 (Free call)
- Correo electrónico: blaupunkt@gt-support.de
Please have your model number (CLRD 30 BK) and purchase information ready when contacting support.