1. Información importante de seguridade
Please read all instructions and safety warnings carefully before using the DOMAS TENS EMS Unit. Failure to follow these instructions may result in injury or device malfunction.
- Keep the device dry and away from water. Do not use while bathing or near water sources.
- Consult a healthcare professional before use, especially if you have pre-existing medical conditions, are pregnant, have a pacemaker, or any other implanted electronic device.
- Do not apply electrode pads over open wounds, rashes, swollen, red, infected, or inflamed skin areas.
- Do not apply electrode pads over the carotid sinus nerves (front of the neck), on the head, or directly over the heart.
- Manter fóra do alcance dos nenos.
- Discontinue use if you experience any adverse reactions such as skin irritation, discomfort, or dizziness.
- As declaracións relativas a este dispositivo non foron avaliadas pola FDA e non teñen como obxectivo diagnosticar, tratar, curar nin previr ningunha enfermidade ou problema de saúde.
2. Produto rematadoview
The DOMAS Touch Screen TENS EMS Unit is a dual-channel muscle stimulator designed for temporary relief of pain associated with sore and aching muscles due to strain from exercise or normal household and work activities. It features a touch screen interface, 24 modes, and adjustable intensity levels.

Figure 2.1: The DOMAS Touch Screen TENS EMS Unit, showing the main device, electrode pads, and charging adapter.
2.1 Características principais
- Pantalla táctil: Intuitive interface for easy navigation and selection.
- 24 modos de masaxe: A variety of pre-programmed modes for different types of stimulation.
- 20 niveis de intensidade: Customizable intensity to suit individual comfort and needs.
- Saída de dobre canle: Allows for simultaneous treatment of two different body areas or two people.
- Temporizador axustable: Sessions can be set from 10 to 60 minutes.
- USB recargable: Built-in lithium battery for convenient charging.
- Deseño portátil: Compact and lightweight for use at home or on the go.
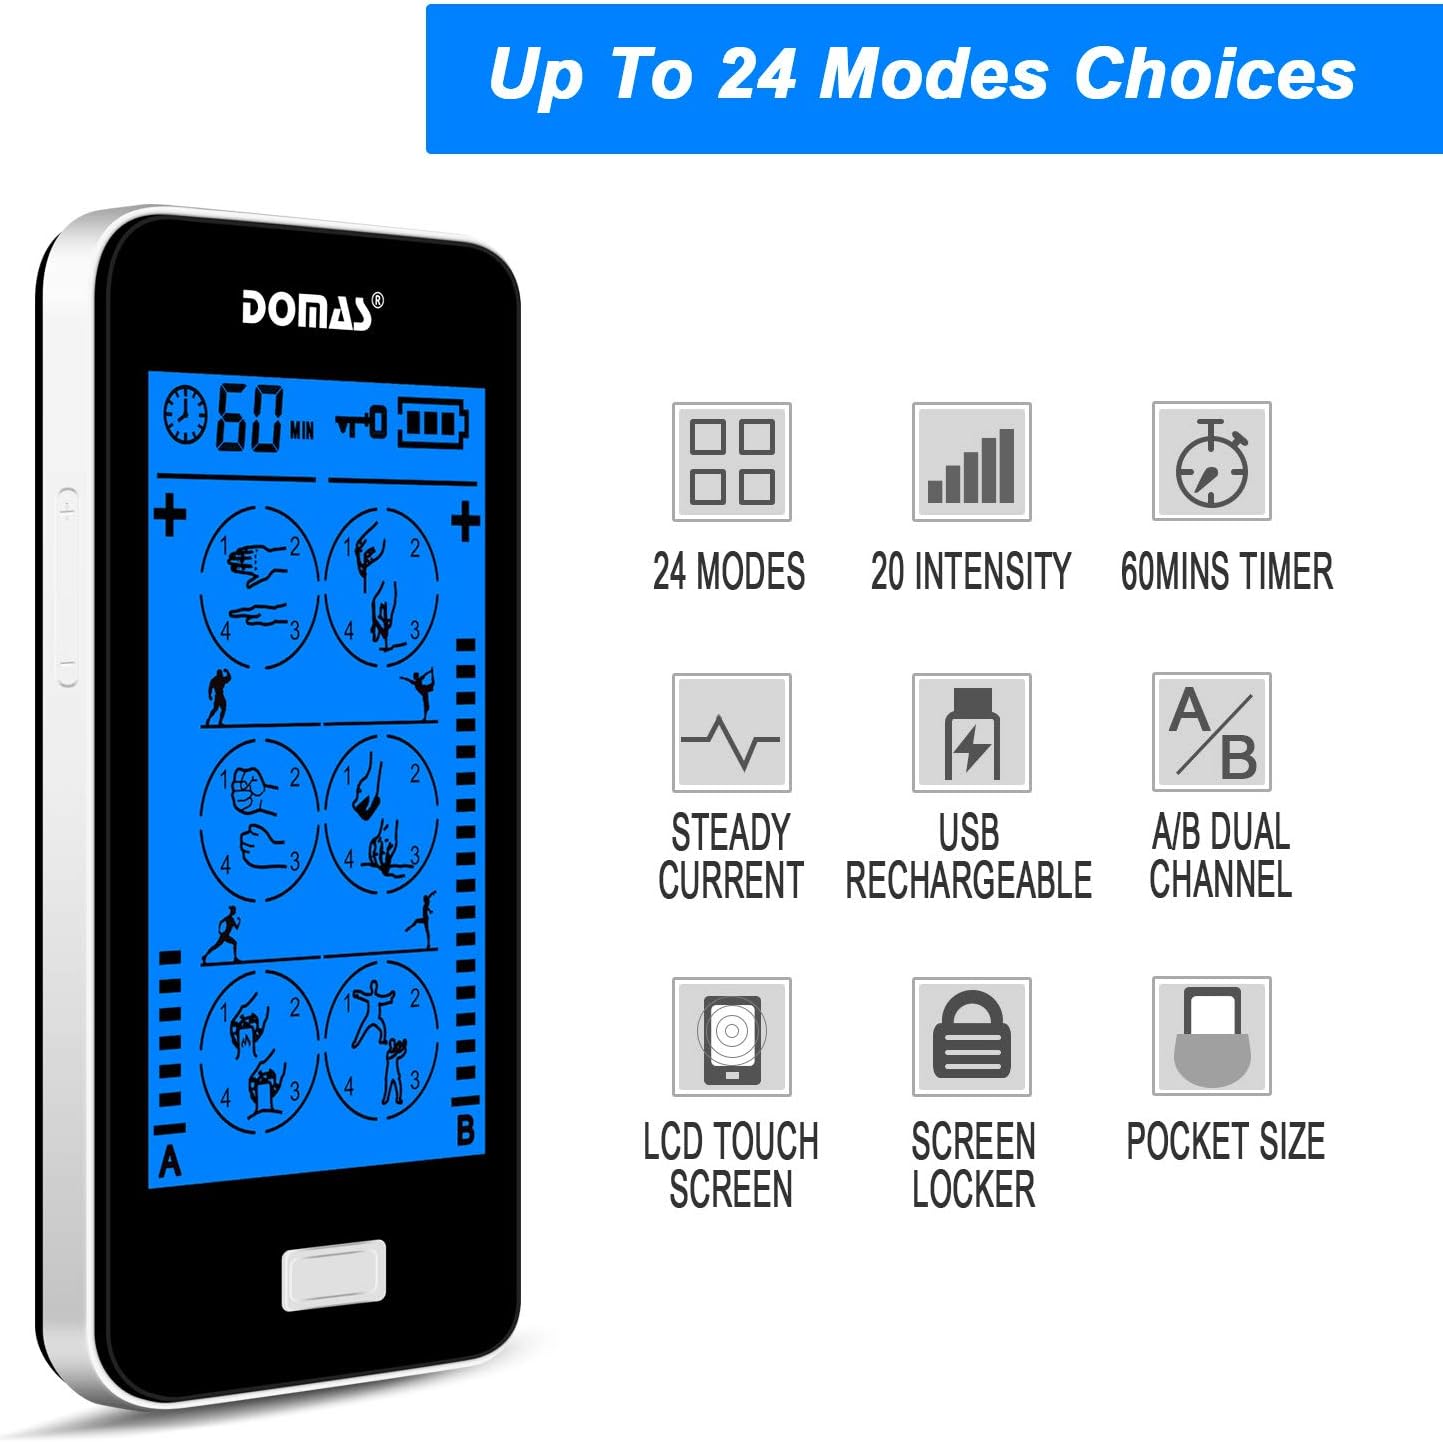
Figure 2.2: Visual representation of the unit's key features, including mode count, intensity levels, and portability.
2.2 Contido do paquete
Upon opening your DOMAS TENS EMS Unit package, please ensure all the following items are present:
- DOMAS Touch Screen TENS EMS Unit
- Electrode Pads (various sizes)
- Fíos de chumbo
- Cable de carga USB
- Adaptador de CA
- Pad Holder/Storage Pouch
- Manual de instrucións

Figure 2.3: All components included in the DOMAS TENS EMS Unit package.
2.3 Compoñentes do dispositivo
Familiarize yourself with the different parts of your TENS EMS unit:

Figure 2.4: Labeled diagram of the DOMAS TENS EMS Unit's external features.
- A & B Dual-output Channel: Ports for connecting lead wires to electrode pads.
- Visualización do temporizador: Shows remaining treatment time.
- Botón de ON / OFF: Para acender ou apagar o dispositivo.
- Intensity Adjustment Buttons (+/-): To increase or decrease stimulation intensity for each channel.
- Botón de bloqueo: To prevent accidental changes during use.
- Rechargeable USB Port: Para cargar o dispositivo.
- Pantalla táctil: Main interface for mode selection and settings.
3. Configuración
Follow these steps to prepare your DOMAS TENS EMS Unit for use:
3.1 Carga do dispositivo
- Conecta o cable de carga USB ao porto USB do dispositivo.
- Conecte o outro extremo do cable USB ao adaptador de CA.
- Insert the AC adapter into a standard wall outlet.
- The battery indicator on the screen will show charging status. Charge fully before first use.

Figure 3.1: Connecting the USB charging cable to the device.
3.2 Connecting Electrode Pads
- Asegúrate de que o dispositivo estea apagado.
- Connect the lead wires to the electrode pads by snapping them onto the metal studs.
- Plug the lead wires into the A and/or B output ports on the top of the device.

Figure 3.2: Attaching the lead wire to an electrode pad.
3.3 Applying Electrode Pads
- Clean and dry the skin area where you intend to place the pads.
- Carefully peel the transparent protective film from the adhesive side of the electrode pads. Retain the film for storage.
- Place the pads firmly on the desired treatment area. Ensure good skin contact.

Figure 3.3: Visual guide for connecting pads and applying them to the skin.
4. Instrucións de funcionamento
Once the device is set up, follow these steps to begin your therapy session:
- Activar: Press and hold the Power ON/OFF button located on the top of the device until the screen illuminates.
- Seleccionar modo: The touch screen will display various massage modes. Tap on your desired mode icon to select it. The device offers 24 different modes, each providing a unique stimulation pattern.
- Axustar a intensidade: Use the '+' and '-' buttons on the sides of the device to adjust the intensity level for Channel A and Channel B independently. Start with the lowest intensity and gradually increase until you feel a comfortable, yet effective, sensation. Avoid increasing intensity to an uncomfortable level.
- Establecer temporizador: The default session time is usually 20 minutes. You can adjust the timer by tapping the timer icon on the screen and selecting your preferred duration (e.g., 10, 20, 30, 40, 50, 60 minutes).
- Lock Screen (Optional): To prevent accidental changes during a session, press the Lock button. The screen will lock, and a lock icon will appear. Press it again to unlock.
- Fin da sesión: The device will automatically turn off once the timer expires. To manually end a session, press and hold the Power ON/OFF button.

Figure 4.1: The touch screen interface showing available massage modes and settings.
4.1 Mode Selection Guide
The unit offers 24 distinct modes. Experiment with different modes to find what works best for your specific needs and comfort. Common mode categories include:
- Masaxes: Gentle, rhythmic pulses for relaxation.
- Amasar: Deeper, more intense pressure simulation.
- Acupuncture: Sharp, tapping sensations.
- Cupping: Suction-like sensation.
- Raspado: Gliding, scraping sensation.
- Tocando: Quick, light pulses.

Figura 4.2: Examples of body areas suitable for TENS EMS therapy and the variety of modes available.
5. Mantemento
Proper care and maintenance will extend the life of your DOMAS TENS EMS Unit and its accessories.
5.1 Limpeza do dispositivo
- Turn off the device and disconnect all wires before cleaning.
- Limpe o dispositivo cun suave, damp pano. Non use produtos de limpeza abrasivos nin somerxa o dispositivo en auga.
- Ensure the device is completely dry before storing or next use.
5.2 Coidado das almofadas de eléctrodos
- After each use, gently remove the pads from your skin.
- Place the adhesive side of the pads back onto the transparent protective film.
- Store the pads in the provided storage pouch to keep them clean and prevent drying out.
- If pads lose their stickiness, gently wipe the adhesive surface with a damp cloth and let air dry. Replace pads when they no longer adhere well to the skin.
5.3 Almacenamento
- Store the device and accessories in a cool, dry place, away from direct sunlight and extreme temperatures.
- Keep the device and pads in the provided storage pouch or a clean, dry container.
6 Solución de problemas
If you encounter issues with your DOMAS TENS EMS Unit, refer to the following common troubleshooting tips:
| Problema | Causa posible | Solución |
|---|---|---|
| O dispositivo non se acende. | Batería baixa ou dispositivo sen cargar. | Charge the device fully using the provided USB cable and AC adapter. |
| Sen sensación ou sensación débil. |
|
|
| Pads lose stickiness quickly. | Skin is oily or dirty; pads are drying out. | Clean skin thoroughly before application. After use, place pads back on the protective film and store in the pouch. Gently wipe adhesive with a damp cloth if needed. Replace pads when necessary. |
| A pantalla non responde ou está conxelada. | Fallo temporal do software. | Press and hold the Power ON/OFF button for 10-15 seconds to perform a hard reset. If the issue persists, contact customer support. |
| Discomfort or skin irritation. | Intensity too high; allergic reaction to pads; improper pad placement. | Decrease intensity immediately. Discontinue use if irritation persists. Ensure pads are not placed over sensitive or broken skin. Try different pad placement. |
7. Especificacións
Technical details for the DOMAS Touch Screen TENS EMS Unit:
- Número de modelo: 898a53b9-6ac2-4d6b-9e0a-edbe601818f0
- Fonte de enerxía: Alimentado por batería (recargable por USB)
- Material: Plástico
- Canles: Dual Output (A & B)
- Modos: 24
- Niveis de intensidade: 20
- Temporizador: Adjustable (e.g., 10-60 minutes)
- Dimensións: Aproximadamente 6.06 x 3.54 x 3.07 polgadas
- Peso: Aproximadamente 15.2 onzas
- Fabricante: DOMAS
8. Garantía e soporte
DOMAS is committed to providing high-quality products. For specific warranty information, please refer to the warranty card included in your product packaging or contact DOMAS customer support directly.
8.1 Atención ao cliente
If you have any questions, require assistance, or experience issues not covered in this manual, please contact DOMAS customer support. Contact details can typically be found on the product packaging, the official DOMAS websitio web ou a través da túa plataforma de compra.
