Introdución
This manual provides essential instructions for the safe operation, setup, and maintenance of your Protocol Director HD Foldable Drone. Please read this manual thoroughly before operating the drone to ensure proper function and to prevent damage or injury.
The Protocol Director HD is a foldable drone equipped with a live streaming HD camera, designed for capturing aerial video and photos. It features an intuitive 2.4 GHz remote control, an altitude sensor for stable flight, and a free downloadable app for enhanced camera control and flight path drawing.
Precaucións de seguridade
- Opera sempre o dron en zonas abertas e sen obstáculos, lonxe de persoas, animais e obstáculos.
- Do not operate near airports, restricted airspace, or sensitive facilities.
- Maintain a safe distance from power lines, trees, and water bodies.
- Asegúrese de que todas as hélices estean firmemente fixadas e sen danos antes de cada voo.
- Non voes con ventos fortes ou condicións meteorolóxicas adversas.
- Manteña os dedos e o cabelo lonxe das hélices en rotación.
- Adult supervision is recommended for users under 18 years of age. Recommended age for operation is 14 years and up.
- Only use original Protocol replacement parts and accessories.
- Non intente modificar o dron nin os seus compoñentes.
- Turn off the drone and remote control when not in use.
Contido do paquete
Verifica que todos os elementos estean presentes no paquete:
- Protocol Director HD Foldable Drone with Camera
- Remote Control with Phone Mount
- Cable de carga USB
- 2 baterías para drons
- Bolsa de viaxe
- Manual de instrucións (este documento)
- Spare Parts: Blades, Screwdriver

Image: The Protocol Director HD Foldable Drone, showcasing its compact design with propellers extended and camera visible at the front.
Configuración
1. Carga da batería do drón
- Insert one of the drone batteries into the USB charging cable.
- Conecta o cable de carga USB a unha fonte de alimentación USB (por exemplo, un porto USB do ordenador ou un adaptador de parede USB).
- A luz indicadora de carga do cable USB acenderase durante a carga e apagarase cando estea completamente cargado.
- A carga adoita tardar entre 60 e 90 minutos. Non a sobrecargues.
2. Instalación das baterías do control remoto
- Abra o compartimento da batería na parte traseira do control remoto.
- Insira 4 pilas AA (non incluídas), asegurándose de manter a polaridade correcta (+/-).
- Pecha o compartimento da batería de forma segura.

Image: The drone's remote control with a smartphone securely mounted, displaying a live feed from the drone's camera.
3. Despregando o dron
- Gently unfold each of the four rotor arms until they click into place.
- Asegúrate de que todos os brazos estean completamente estendidos e bloqueados antes de voar.
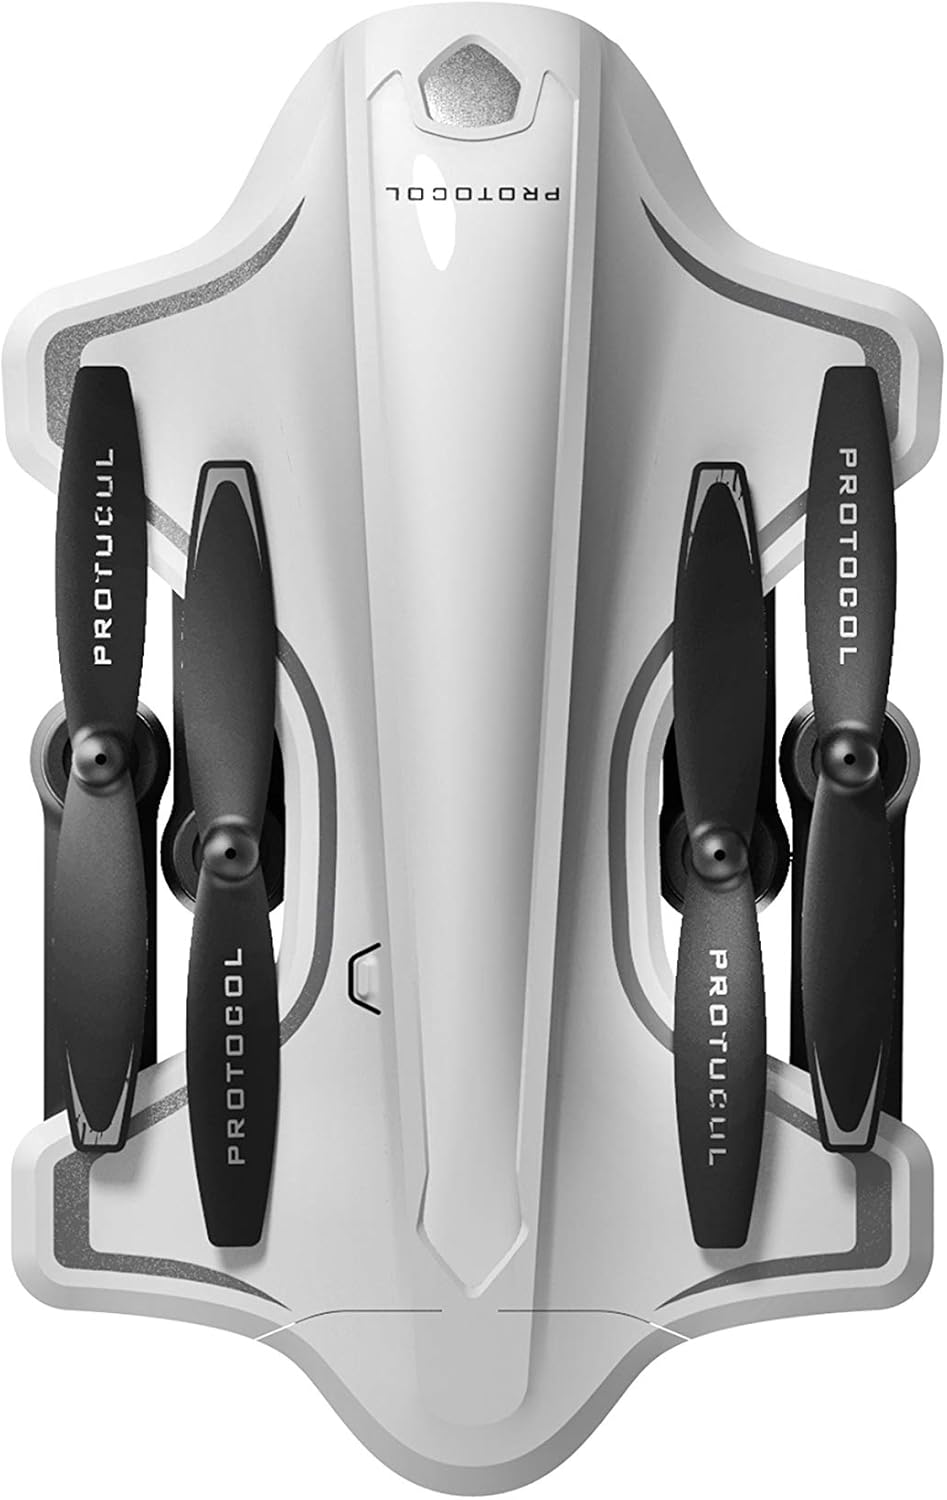
Image: The Protocol Director HD Foldable Drone in its compact, folded configuration, ready for transport.
4. Installing the Drone Battery
- Localiza o compartimento da batería do dron.
- Insert the fully charged drone battery, ensuring it is securely seated.
- Pecha a tapa do compartimento da batería.
5. Downloading the App (Optional for Camera Features)
- Busca the "Protocol Director HD" app in your smartphone's app store (iOS or Android).
- Download and install the free application.
- Mount your smartphone onto the remote control's phone mount.
Instrucións de funcionamento
1. Acendido e emparellamento
- Coloque o dron sobre unha superficie plana e plana.
- Turn on the drone by pressing the power button. The drone's lights will flash.
- Acende o mando a distancia.
- Empuxa o joystick esquerdo (acelerador) completamente cara arriba e logo completamente cara abaixo. As luces do dron acenderanse fixamente, o que indica que o emparellamento se realizou correctamente.
2. Calibrating the Gyroscope
Despois do emparellamento, recoméndase calibrar o xiroscopio para un voo estable:
- With the drone on a flat surface, push both joysticks down and to the right simultaneously for a few seconds.
- The drone's lights will flash rapidly and then become solid, indicating calibration is complete.
3. Controis básicos de voo
The Protocol Director HD features auto launch, hover, and land functions due to its altitude sensor.
- Auto Launch: Press the dedicated auto launch button on the remote. The drone will ascend to a stable hovering altitude.
- Acelerador (joystick esquerdo):
- Push up: Increase altitude
- Push down: Decrease altitude
- Push left/right: Rotate drone left/right (yaw)
- Control direccional (joystick dereito):
- Push up: Fly forward
- Push down: Fly backward
- Push left: Fly left (strafe)
- Push right: Fly right (strafe)
- Auto Land: Press the dedicated auto land button. The drone will slowly descend and land.
- Selección de velocidade: Use the speed button on the remote to cycle through three selectable speeds (low, medium, high).
4. Camera and App Features
Connect your smartphone to the drone's Wi-Fi network (usually named "Protocol_Drone_XXXXXX") to access live streaming and advanced camera functions via the app.
- Transmisión en directo: View the drone's camera feed in real-time on your smartphone.
- Gravación de vídeo: Initiate and stop video recording (480p resolution) through the app.
- Captura de fotos: Take still images through the app.
- Multiple Camera Angles: The app supports three different camera angles (Aerial, POV, Selfie) for varied content creation.
- Gravación de audio: The app allows for audio recording alongside video.
- Draw Your Own Flight Path: Utilize the app's feature to draw a flight path on your screen, and the drone will follow it.
- VR Capability: The app is VR capable; VR goggles are sold separately.
Mantemento
- Inspección da hélice: Regularly check propellers for cracks, bends, or damage. Replace any damaged propellers using the provided spare parts and screwdriver.
- Limpeza: Use a soft, dry cloth to clean the drone and remote control. Avoid using liquids or harsh chemicals.
- Coidado da batería:
- Non sobrecargue as baterías.
- Almacene as baterías nun lugar fresco e seco.
- Remove batteries from the drone and remote control during long periods of non-use.
- Almacenamento: Fold the drone arms for compact storage in the provided travel bag when not in use. Store in a cool, dry environment.
Resolución de problemas
| Problema | Causa posible | Solución |
|---|---|---|
| O drón non se acende. | A batería non está cargada ou está mal instalada. | Asegúrate de que a batería estea completamente cargada e inserida correctamente. |
| Remote control does not power on. | AA batteries are dead or incorrectly installed. | Replace AA batteries, checking polarity. |
| Drone and remote do not pair. | Pairing sequence not followed correctly. | Ensure drone is on, then remote. Push left joystick up then down completely. |
| O dron desvíase durante o voo. | Gyroscope needs calibration; uneven surface at launch. | Land the drone, place on a flat surface, and recalibrate the gyroscope (both joysticks down and right). |
| One propeller does not spin. | Propeller damaged or motor issue. | Check for obstructions. Replace damaged propeller. If issue persists, contact support. |
| No live video feed on smartphone. | Non está conectado á wifi do dron; a aplicación non está aberta. | Ensure smartphone is connected to the drone's Wi-Fi network and the app is running. |
Especificacións
| Marca | Protocolo |
| Nome do modelo | Director HD |
| Número de modelo | 6182-7RCHA |
| Dimensións (dobrado) | Aproximadamente 4.75 polgadas (lonxitude) |
| Dimensións (ampliadas) | Approximately 9 inches (length, including blades) |
| Peso | 0.94 quilogramos (940 g) |
| Resolución da cámara | 480p (Video Capture) |
| Conectividade | Wi-Fi (for app control and live streaming), 2.4 GHz (for remote control) |
| Estabilización | 6-axis motion-sensitive auto stabilizers, Altitude sensor |
| Modos de velocidade | Three selectable speeds |
| Batería de avións non tripulados | Recargable (2 incluídas) |
| Batería de control remoto | 4 pilas AA (non incluídas) |
| Material | Plastic (Crash-resistant) |
| Idade recomendada | 14 anos en diante |
Garantía e Soporte
For warranty information, technical support, or to purchase replacement parts, please visit the official Protocol websitio web ou póñase en contacto co seu departamento de atención ao cliente. Garde o recibo da compra como proba de compra.
Websitio: www.protocolny.com (Exampligazón, a ligazón real pode variar)
Contacto: Refer to the Protocol website for contact details, including phone numbers or email support.