1. Introdución
The Modecom Oberon Pro Midi Tower is a computer case designed for users seeking a functional and spacious interior with a modern aesthetic. This manual provides essential information for the proper installation, operation, and maintenance of your computer case, ensuring optimal performance and longevity of your components.
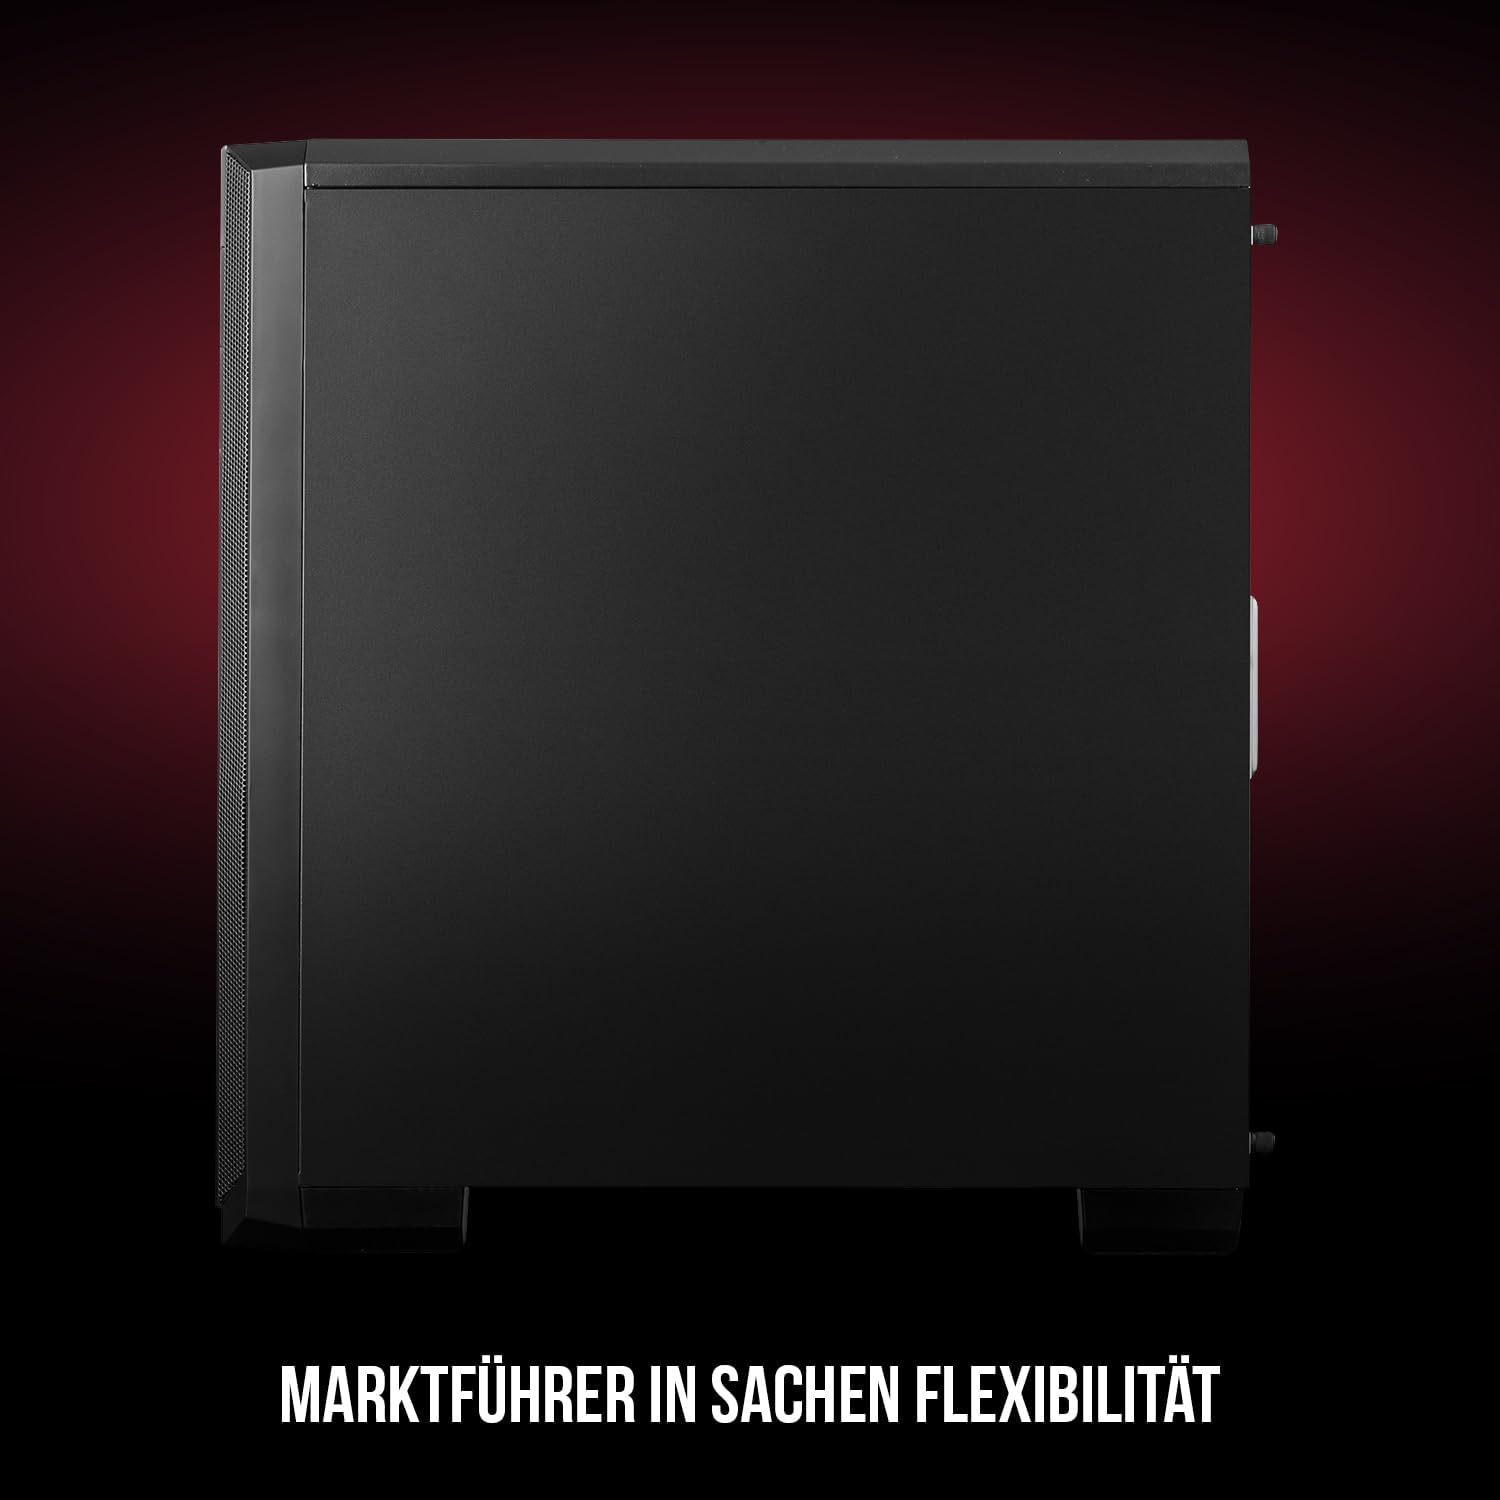
Figura 1: Fronte e lateral view of the Modecom Oberon Pro Midi Tower computer case.
2. Información de seguridade
- Desconecte sempre a fonte de alimentación da toma de corrente antes de instalar ou retirar calquera compoñente.
- Handle components with care to avoid electrostatic discharge. Consider using an anti-static wrist strap.
- Manteña pezas e ferramentas pequenas lonxe dos nenos.
- Asegúrate de que haxa unha ventilación axeitada arredor da carcasa para evitar o sobrequecemento.
- Do not attempt to modify the case structure, as this may void your warranty and pose safety risks.
3. Contido do paquete
Verify that all the following items are present in your package:
- Modecom Oberon Pro Midi Tower Computer Case
- Accessory box (screws, standoffs, cable ties)
- Manual de usuario (este documento)
4. Características clave
- Interior amplo: Designed to accommodate high-end components and facilitate good airflow.
- Refrixeración eficiente: Includes two pre-mounted 120mm fans (front and rear) to prevent component overheating.
- Instalación sen ferramentas: Supports tool-free mounting for SSD/HDD drives and expansion cards.
- Dust Filtration: Features easily dismountable magnetic filters on the top, front, and bottom (under the power supply unit) to keep the interior clean.
- Xestión optimizada de cables: Provides a system for convenient wiring organization.
- Long PSU Tunnel: Offers a 240mm space for power supplies, simplifying installation and cable arrangement.
5. Configuración e instalación
5.1. Preparación do caso
Before installation, remove the side panels of the case. The Oberon Pro features sound-dampening mats on the side panels to reduce noise.

Figura 2: Interior view showing sound-dampening mats on the side panel.
5.2. Instalación da placa base
Install the necessary standoffs for your motherboard form factor (ATX, Micro ATX, ITX). Carefully place your motherboard into the case, aligning it with the standoffs, and secure it with screws.

Figure 3: Interior layout with pre-installed rear fan and motherboard tray.
5.3. Drive Installation (SSD/HDD)
The Oberon Pro supports tool-free installation for three 2.5" SSDs and two 3.5" HDDs. The 3.5" HDD bays are located in the power supply tunnel at the bottom of the case. 2.5" SSDs can be mounted on both sides of the motherboard tray.

Figure 4: Dedicated bays for HDD and SSD storage devices.
5.4. Instalación da fonte de alimentación
The case features a long PSU tunnel (240mm) at the bottom. Install your power supply unit into this tunnel and secure it. This design aids in cable management and airflow.
5.5. Expansion Card Installation (PCI/PCIe)
Install your graphics card or other expansion cards into the PCI/PCIe slots. The case supports tool-free mounting for these cards, allowing for easy installation and removal.
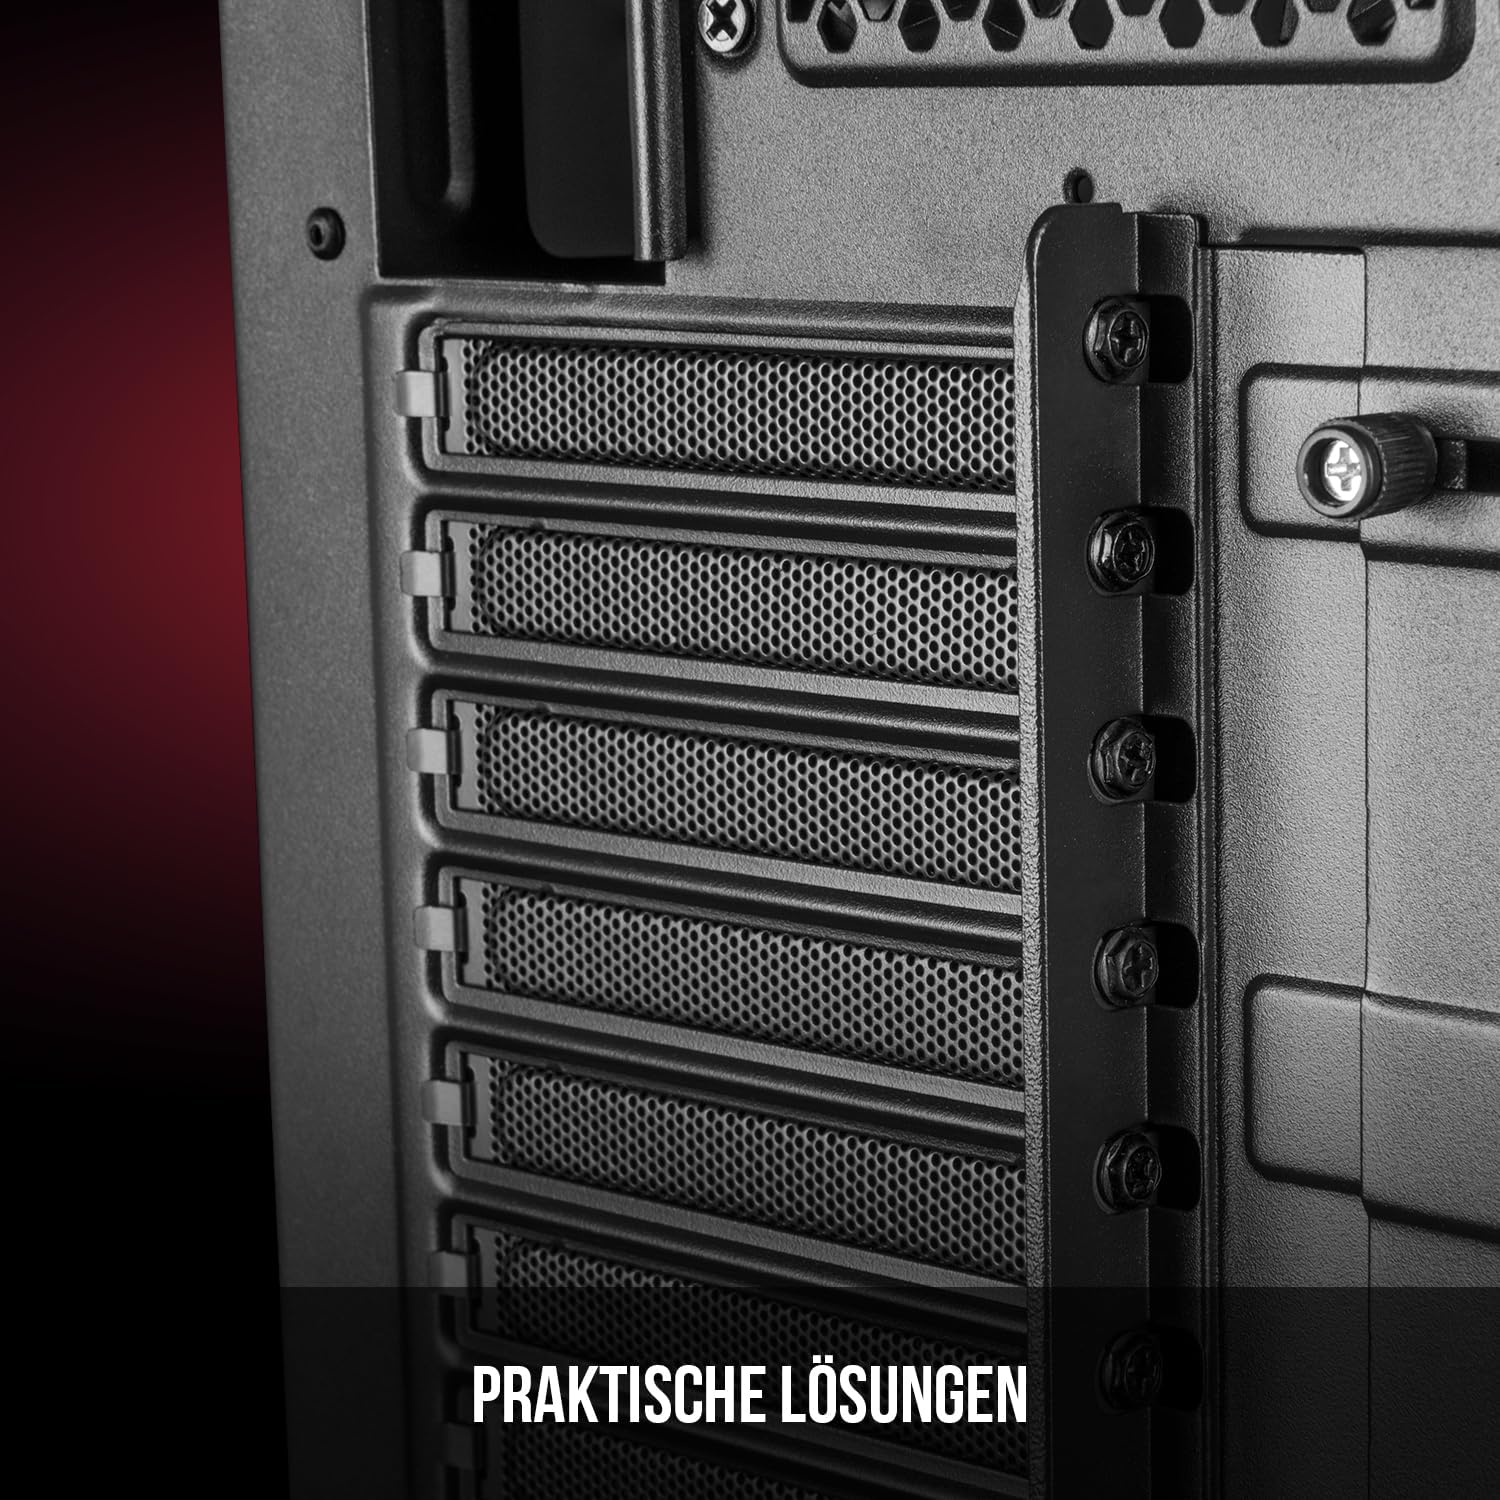
Figura 5: Interior traseiro view highlighting the expansion card slots.
5.6. Xestión de cables
Utilize the provided cable routing options and tie-down points behind the motherboard tray to organize cables. This improves airflow and maintains a tidy interior.
6. Sistema de refrixeración
The Oberon Pro comes with two pre-installed 120mm fans, one at the front and one at the rear, to ensure adequate airflow. The maximum height for a CPU cooler is 163mm, and the maximum length for a video card is 395mm, allowing for compatibility with a wide range of components.
7. Mantemento
To maintain optimal performance and prevent dust buildup, regularly clean the dust filters. The magnetic filters on the top, front, and bottom of the case are easily dismountable for cleaning. Use compressed air or a soft brush to remove accumulated dust.
8 Solución de problemas
- Sen enerxía: Ensure all power cables are securely connected to the motherboard, power supply, and wall outlet. Check the power button connection to the motherboard.
- Sobrequecemento: Verify that all fans are spinning correctly and that dust filters are clean. Ensure proper cable management to avoid obstructing airflow.
- Os portos do panel frontal non funcionan: Check that the front panel connectors (USB, audio) are correctly plugged into the motherboard headers.
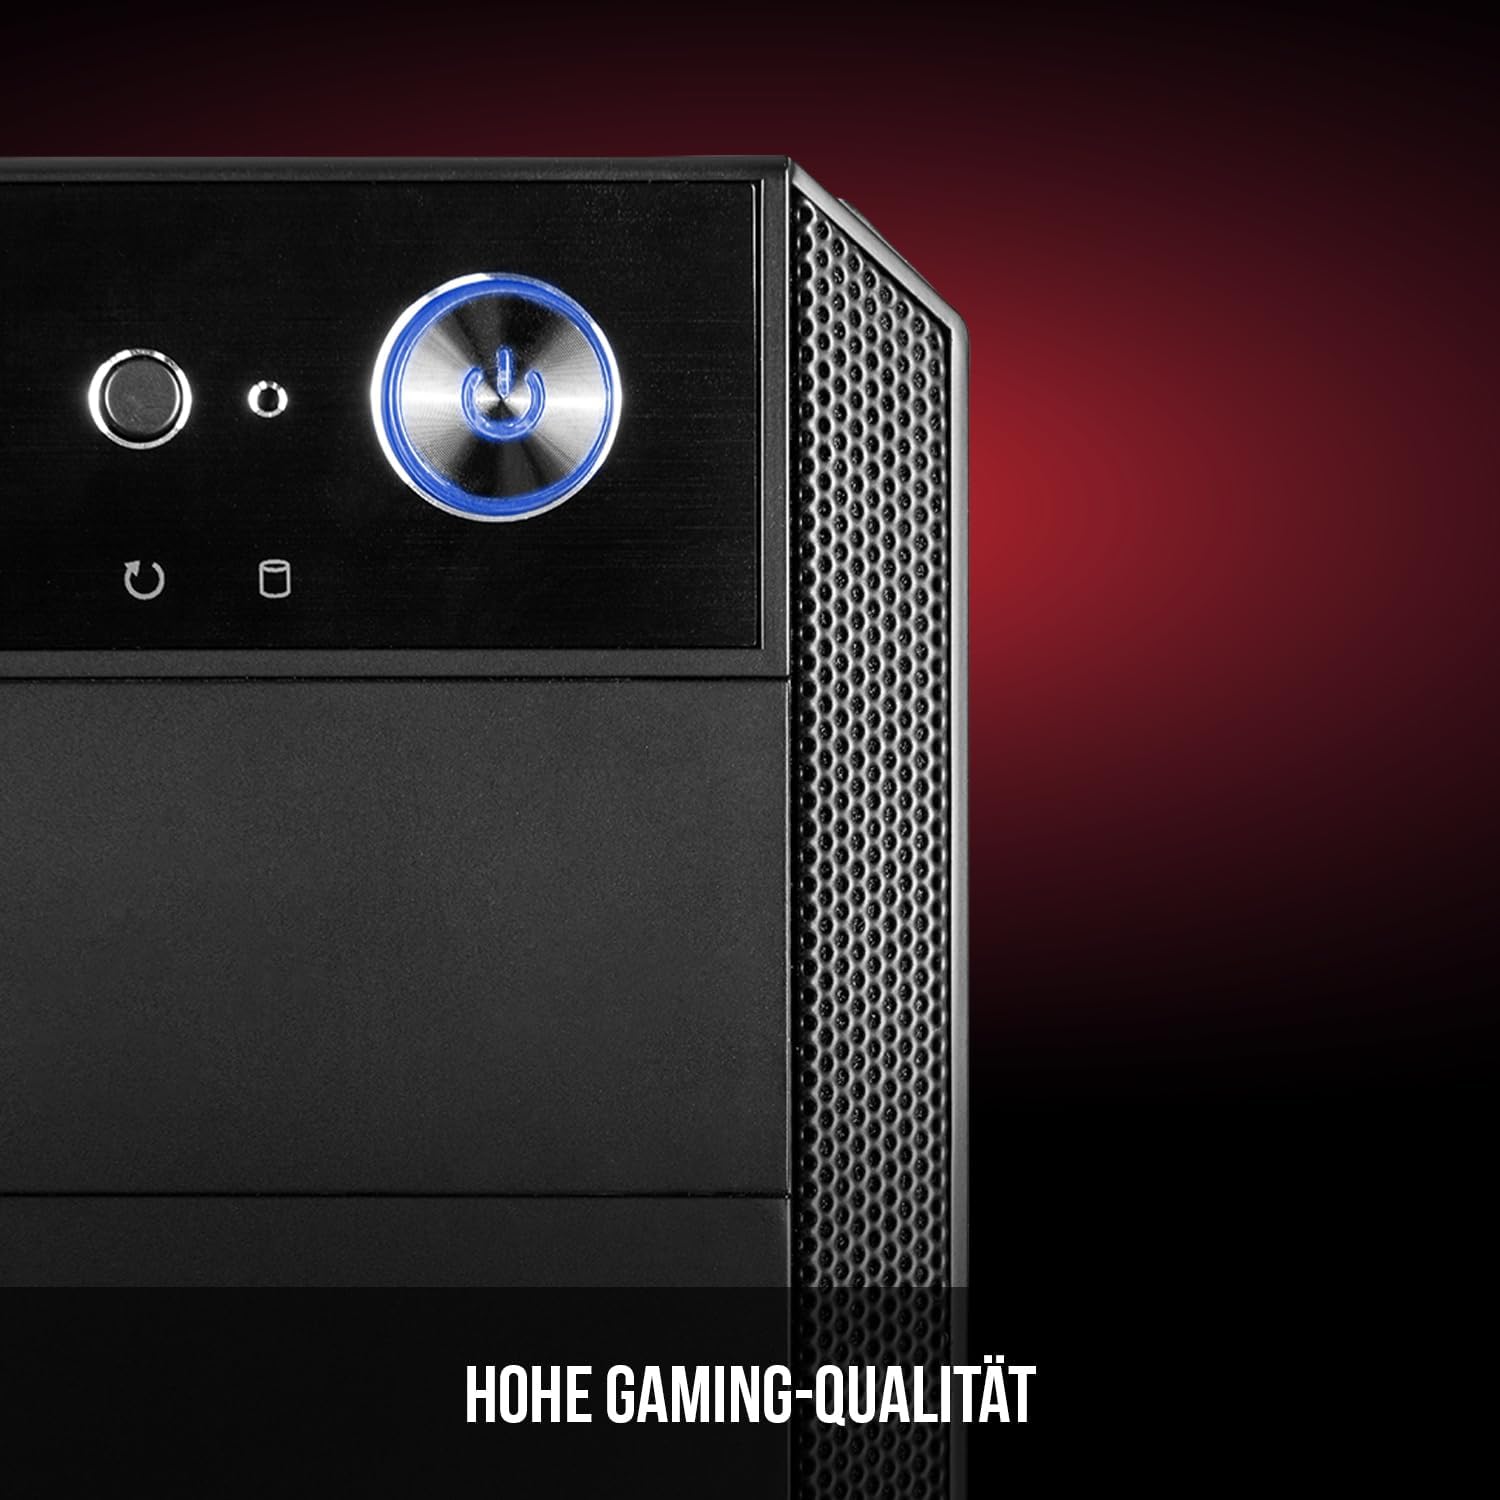
Figure 6: Front panel I/O ports for connectivity.
9. Especificacións
| Característica | Especificación |
|---|---|
| Marca | Modecom |
| Nome do modelo | Oberon Pro |
| Número de modelo | AT-OBERON-PS-10-000000-0002 |
| Cor | Negro |
| Tipo de caso | Torre Midi |
| Compatibilidade da placa base | ATX, MicroATX, ITX |
| Material | Aceiro de aliaxe |
| Método de arrefriamento | Aire |
| Ventiladores preinstalados | 2 x 120mm (Front, Rear) |
| Altura máxima do refrigerador da CPU | 163 mm |
| Lonxitude máxima da GPU | 395 mm |
| Unidade Bays | 3 x 2.5" SSD, 2 x 3.5" HDD |
| Total de portos USB | 4 |
| Características especiais | Reset Button, Dust Filter, LED Indicators, Side Window |
| Peso do elemento | 5270 gramos |

Figure 7: Rear exterior view of the computer case.
10. Garantía e soporte
For warranty information and technical support, please refer to the official Modecom websitio web ou póñase en contacto co seu vendedor. Garde o comprobante de compra para calquera reclamación de garantía.


