Introdución
This manual provides detailed instructions for the safe installation, operation, and maintenance of your Z-Lite 6 Light Chandelier, model 6010-24HB, in Heirloom Brass finish. Please read all instructions carefully before beginning installation and retain this manual for future reference.
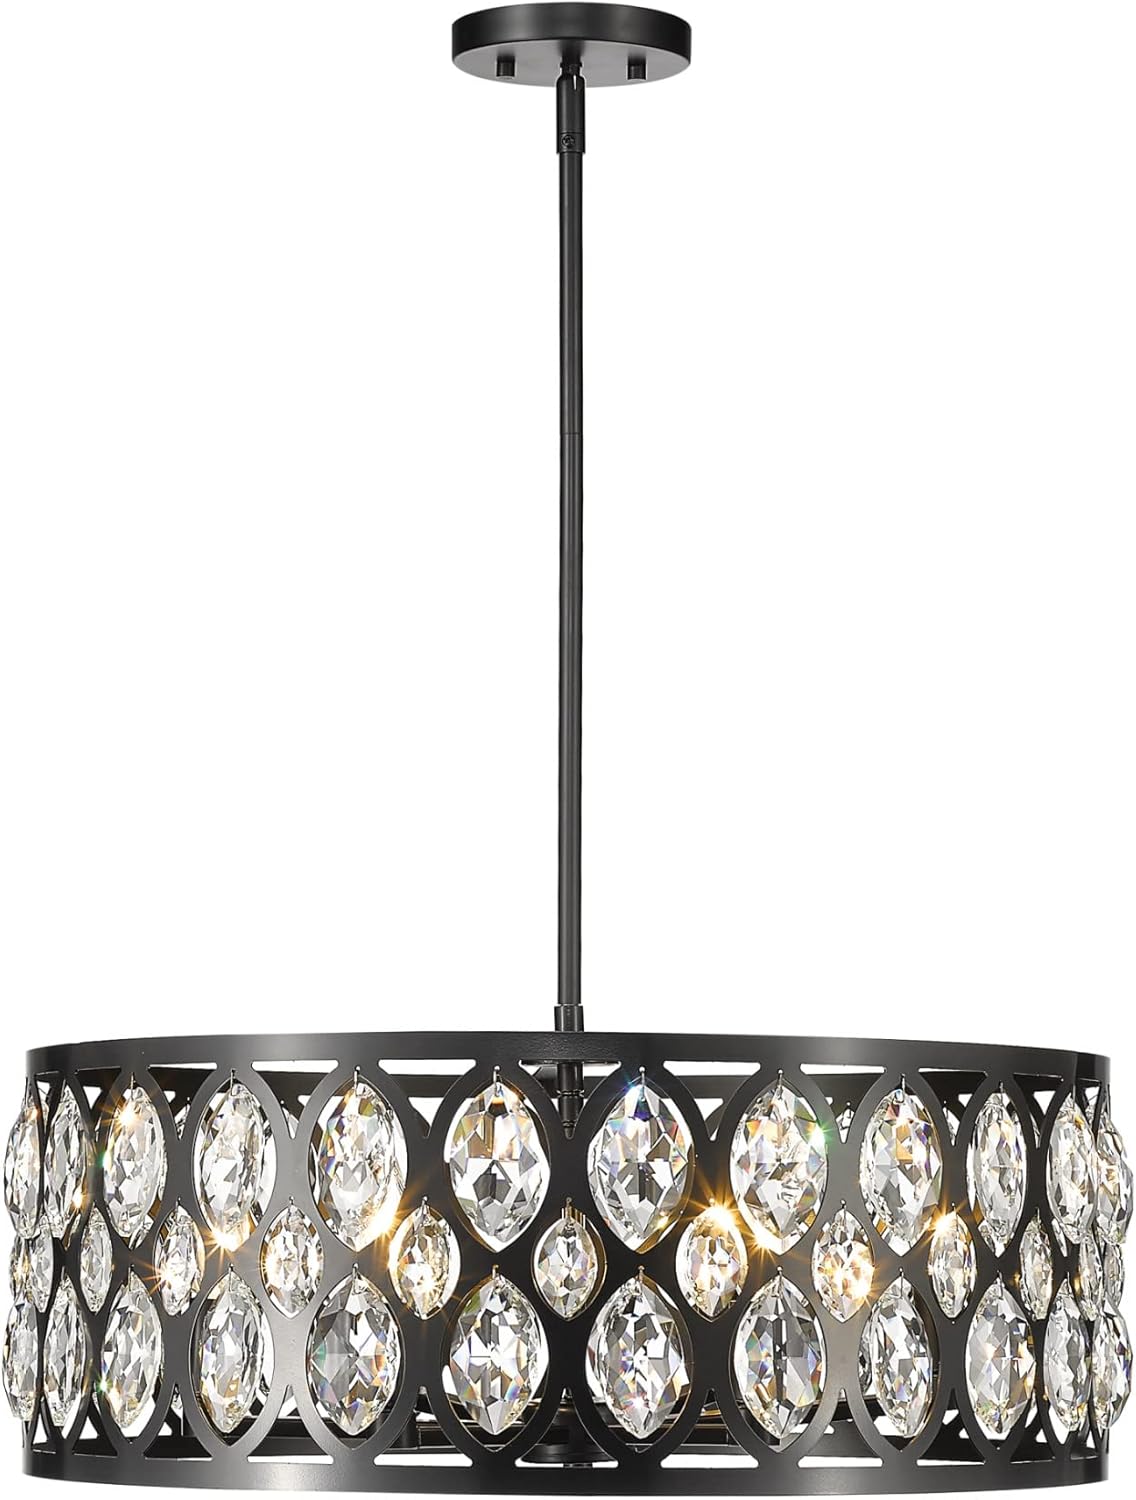
Image: The Z-Lite 6 Light Chandelier 6010-24HB in Heirloom Brass finish, showcasing its design and crystal accents.
Información de seguridade
AVISO: Risk of electric shock. Disconnect power at the fuse box or circuit breaker before installation or servicing. Consult a qualified electrician if you are unsure about wiring procedures.
- Asegúrese de que todas as conexións eléctricas cumpran cos códigos e ordenanzas locais, así como co Código Eléctrico Nacional (NEC).
- Use só o tipo de lámpada e o wat especificadostage. Exceeding the maximum wattage may cause overheating and damage to the fixture.
- Do not install this fixture on a sloped ceiling without appropriate adapter hardware (sold separately).
- Manexa os compoñentes de vidro con coidado para evitar que se rompan.
- Manteña os materiais inflamables lonxe da lámpada.
Contido do paquete
Verify that all components are present before discarding packaging materials. If any parts are missing or damaged, contact Z-Lite customer support.
- Chandelier Frame Assembly
- Mounting Plate / Crossbar
- Canopy
- Varillas de suspensión (varias lonxitudes)
- Wire Nuts / Connectors
- Decorative Nuts / Screws
- Crystal Accents (pre-attached or separate)
- Manual de instrucións
Ferramentas necesarias para a instalación
- Destornillador Phillips
- Destornillador de cabeza plana
- Pelacables
- Alicates
- Cinta eléctrica
- Escaleira
- Voltage Tester (recommended)
Configuración e instalación
Follow these steps carefully to install your chandelier. It is recommended to have two people for installation due to the size and weight of the fixture.
Paso 1: Apague a enerxía
Locate the circuit breaker or fuse box that controls the power to the light fixture location. Turn off the power completely before proceeding with any electrical work. Verify power is off using a voltagprobador.
Step 2: Prepare Mounting
Carefully unpack all components. Attach the mounting plate/crossbar to the junction box in the ceiling using the provided screws. Ensure it is securely fastened.
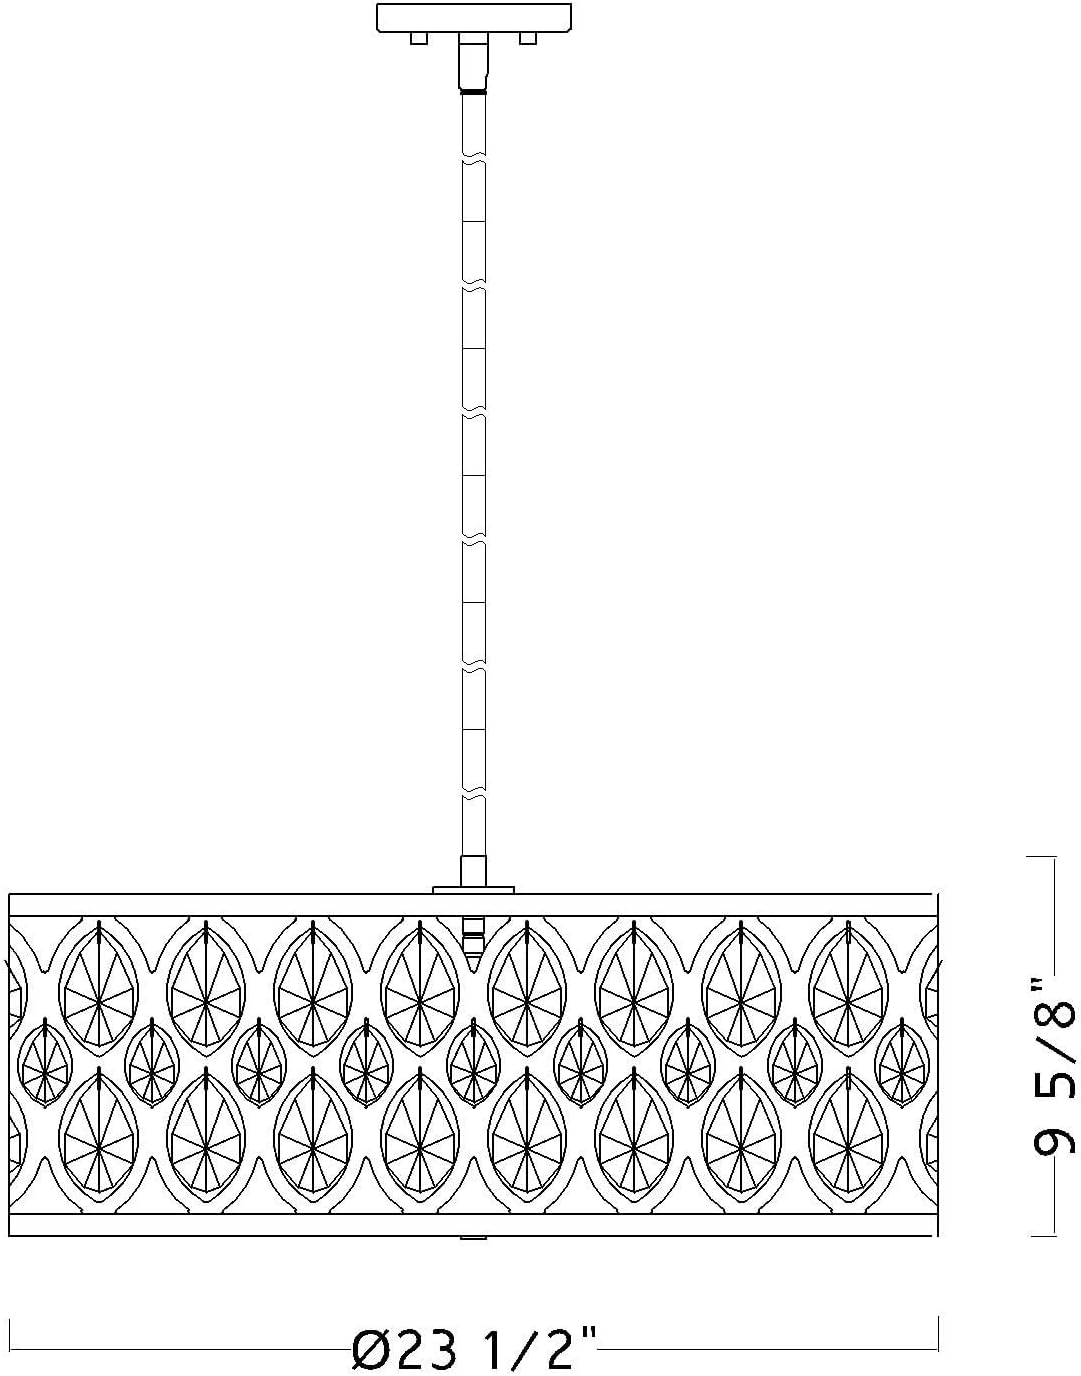
Image: Technical line drawing illustrating the chandelier's dimensions (23 1/2" diameter, 9 5/8" height) and general mounting structure.
Step 3: Assemble Downrods
Determine the desired hanging height for your chandelier. Connect the appropriate downrods together and thread the fixture wires through them. Securely attach the downrod assembly to the top of the chandelier frame.
Paso 4: conexións de cableado
With the power off, connect the fixture wires to the house wires:
- Conecta o negro (or smooth) fixture wire to the negro (hot) house wire using a wire nut.
- Conecta o branco (or ribbed) fixture wire to the branco (neutral) house wire using a wire nut.
- Conecta o cobre espido cable de fixación (terra) ao cobre verde ou espido (ground) house wire, and to the ground screw on the mounting plate.
Ensure all connections are secure and covered with wire nuts. Wrap electrical tape around wire nuts for added security.
Step 5: Mount Fixture and Canopy
Carefully lift the chandelier and align the downrod with the mounting plate. Secure the canopy to the mounting plate using the decorative nuts or screws provided, ensuring all wires are tucked neatly inside the junction box.

Image: The Z-Lite 6 Light Chandelier 6010-24HB in Heirloom Brass, fully assembled and ready for bulb installation.
Paso 6: Instala lámpadas
Screw in the appropriate light bulbs (not included) into the sockets. Refer to the specifications section for recommended bulb type and maximum wattage. Non exceda a potencia máximatage.
Instrucións de funcionamento
Once installation is complete and verified, restore power at the circuit breaker. The chandelier can now be operated using your wall switch. For optimal performance and longevity, use high-quality, dimmable LED bulbs if connected to a dimmer switch.
Mantemento
Limpeza
To clean the fixture, ensure power is off and the fixture is cool. Wipe with a soft, dry cloth. Do not use abrasive cleaners, polishes, or solvents as they may damage the finish or crystals. For crystal components, a mild glass cleaner can be applied to a soft cloth, then gently wiped.
Substitución da lámpada
Always turn off power at the circuit breaker and allow bulbs to cool before replacing. Unscrew the old bulb and screw in a new one of the same type and wattage. Non exceda a potencia máximatage especificado.
Resolución de problemas
| Problema | Causa posible | Solución |
|---|---|---|
| A luminaria non se ilumina |
|
|
| Luces parpadeantes |
|
|
| Ruído de zumbido |
|
|
Especificacións
- Modelo: 6010-24HB
- Marca: Z-Lite
- Remate: Heirloom Brass
- Material: Aceiro de aliaxe
- Estilo: Moderno
- Forma de iluminación: Lámpada de teito
- Número de luces: 6
- Dimensións: Approximately 23.5 inches (Diameter) x 9.625 inches (Height)
- Tipo de lámpada: E12 Candelabra (Bulbs not included)
- Max Wattage por bulbo: 60W (or as specified on fixture label)
- Voltage: 120 V
- Certificacións: Certificado ETL/CETL
Garantía e Soporte
Z-Lite products are manufactured to high standards and are backed by a manufacturer's warranty. For specific warranty details, claims, or technical support, please refer to the warranty card included with your product or visit the official Z-Lite website. Please have your model number (6010-24HB) and purchase date available when contacting support.
Información de contacto: Por favor visite www.z-lite.com for customer service and support resources.


