1. Introdución
Thank you for choosing the FLYLINKTECH Portable Car Battery Jump Starter. This device is designed to provide a reliable and safe solution for jump-starting 12V vehicles with up to 5.0L gas or 4.0L diesel engines. It also functions as a portable power bank and features an integrated LED flashlight. Please read this manual thoroughly before use to ensure proper operation and safety.

Image: The FLYLINKTECH Portable Car Battery Jump Starter, showing the main unit, smart clamps, and charging cables.
2. Información de seguridade
ADVERTENCIA: Lea todos os avisos e instrucións de seguridade antes de usar este produto. O incumprimento dos avisos e as instrucións pode provocar descargas eléctricas, incendios e/ou lesións graves.
- Do not attempt to jump-start vehicles with engines larger than specified (5.0L gas or 4.0L diesel).
- Non empregues o arrancador se a batería está pechadaamps ou cables están danados.
- Ensure proper polarity connection: Red clamp a positivo (+), cl negroamp to negative (-). Reverse polarity can cause damage.
- Manter fóra do alcance dos nenos.
- Non expoña o produto á choiva nin á neve.
- Non desmonte a unidade. Encargue calquera mantemento a persoal cualificado.
- Evitar curtocircuítos no clamps.
- The device features intelligent chip protection against overcurrent, short-circuit, overload, overvoltage, overcharge, over-discharge, and reverse polarity. However, always exercise caution.

Image: Illustration of the smart clamps and their integrated safety protection features.
3. Contido do paquete
Verifica que todos os elementos estean presentes no teu paquete:
- FLYLINKTECH Jump Starter Unit
- Smart Jumper Cables (with Red and Black clamps)
- Cable de carga micro USB
- Manual de usuario
- EC5 Cigarette Lighter Adapter (Optional, may vary by package)

Imaxe: Todos os compoñentes incluídos no paquete do produto.
4. Produto rematadoview
Familiarize yourself with the components of your jump starter:

Image: Detailed diagram labeling the various ports, buttons, and indicators on the jump starter unit and its clamps.
- Botón de encendido: Acende/apaga a unidade e alterna entre os modos da lanterna.
- Luces indicadoras LED: Show the battery charge level.
- Lanterna: Integrated LED light with multiple modes.
- Entrada de micro USB: Para cargar a unidade de arranque.
- Saída USB: Para cargar dispositivos externos (por exemplo, teléfonos intelixentes, tabletas).
- Auto Jump Port: Connects to the smart jumper cables.
- Cables de arranque intelixentes: Red (+) and Black (-) clamps with built-in safety features.
5. Carga do arrancador de baterías
Antes do primeiro uso, carga completamente o arrancador. Recoméndase recargar a unidade cada 3-6 meses para manter a batería en bo estado, mesmo se non a estás a usar.
- Connect the Micro USB charging cable to the Micro USB Input port on the jump starter.
- Connect the other end of the USB cable to a 5V/2A USB wall adapter (not included) or a car charger.
- The LED indicator lights will illuminate and flash to show the charging progress. All lights will be solid when fully charged.
6. Instrucións de funcionamento
6.1. Arranque auxiliar dun vehículo
Ensure the jump starter is at least 75% charged (3 LED lights illuminated) before attempting to jump-start a vehicle.

Imaxe: O arrancador conectado á batería dun vehículo, listo para usar.

Image: Visual guide for vehicle compatibility based on engine displacement.
- Connect Smart Clamps: Insert the blue plug of the smart jumper cables into the Auto Jump Port on the jump starter. Ensure a firm connection.
- Attach to Car Battery: Conecta o vermello (+) clamp ao terminal positivo da batería do coche e ao borne negro (-)amp ao terminal negativo. O cl intelixenteamps will indicate a successful connection (e.g., a green light). If an error is detected (e.g., reverse polarity), an alarm may sound or a red light may appear.
- Arrancar o vehículo: Unha vez que o clamps are correctly attached and the indicator is green, start your vehicle.
- Eliminar Clamps: After the vehicle starts, immediately remove the smart clamps from the car battery, then disconnect the smart clamps da unidade de arranque de baterías.

Image: Step-by-step visual instructions for jump starting a vehicle.
6.2. Uso como batería externa portátil
The jump starter can charge various USB-powered devices.
- Connect your device's USB charging cable to the USB Output port on the jump starter.
- O arrancador comezará a cargar o dispositivo automaticamente.
- Supervisa o estado de carga do teu dispositivo.

Image: The jump starter functioning as a power bank, charging a smartphone and a tablet.
6.3. LED Flashlight Modes
A lanterna LED integrada ten tres modos:
- Luz normal: Prema o botón de acendido unha vez para acender.
- Modo SOS: Press the power button a second time to activate the SOS signal.
- Luz estroboscópica: Press the power button a third time for a flashing strobe light.
- Press the power button a fourth time to turn off the flashlight.

Image: The jump starter's LED flashlight in use, highlighting its three modes.
7. Mantemento e almacenamento
- Limpeza: Limpe a unidade cun pano seco e suave. Non empregue produtos químicos agresivos nin materiais abrasivos.
- Cargando: Recharge the unit every 3-6 months to prevent deep discharge and prolong battery life.
- Almacenamento: Garde o arrancador nun lugar fresco e seco, lonxe da luz solar directa e de temperaturas extremas.
- Rango de temperatura: The device is designed to operate and be stored within a temperature range of -20°C to 60°C (-4°F to 140°F).
- Resistencia á auga e ao po: The unit has an IP67 rating, making it resistant to water and dust. However, avoid prolonged submersion.
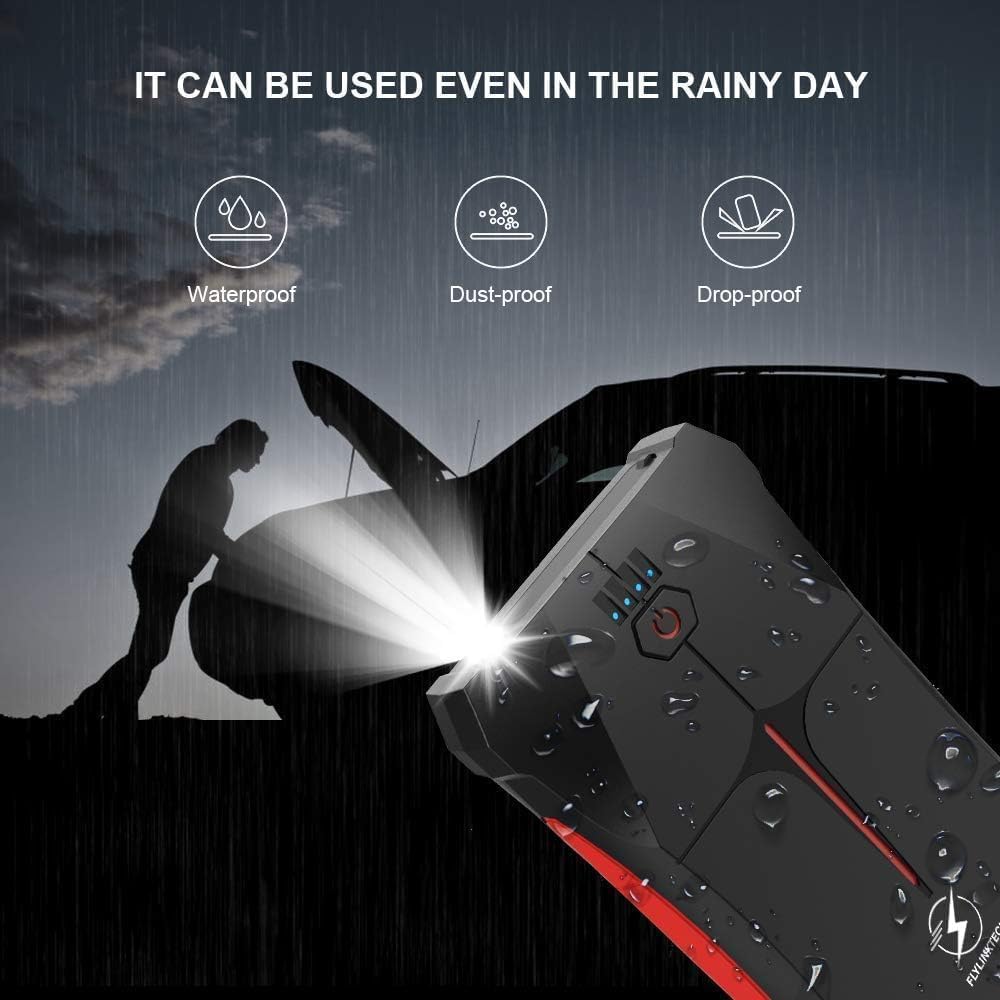
Image: The jump starter demonstrating its weather-resistant properties (waterproof, dust-proof, drop-proof).

Image: The jump starter's operational temperature range from -20°C to 60°C.
8 Solución de problemas
| Problema | Causa posible | Solución |
|---|---|---|
| O arrancador de baterías non se acende. | A batería está completamente descargada. | Cargue o arrancador de baterías completamente. |
| O vehículo non arranca. | Cl incorrectoamp conexión. | Asegúrate de que o cl vermelloamp is on positive (+), black on negative (-). Check smart clamp indicador. |
| A batería do arrancador de baterías está baixa. | Recarga o arrancador de salto. | |
| A batería do vehículo está gravemente danada. | Consulta cun mecánico profesional. | |
| Intelixente clamps show error/alarm. | Reverse polarity or short circuit. | Disconnect immediately and re-attach clamps correctamente. |
| O dispositivo USB non está a cargar. | A batería do arrancador de baterías está baixa. | Recarga o arrancador de salto. |
| USB cable or device fault. | Proba cun cable ou dispositivo USB diferente. |
9. Especificacións
| Característica | Detalle |
|---|---|
| Modelo | CF200 |
| Corrente máxima | 800A |
| Capacidade da batería | 13200mAh (Lithium-polymer/Lithium-ion) |
| Inicio Voltage | 12 V |
| Clasificación do motor de gas | Ata 5.0L |
| Valoración do motor diésel | Ata 4.0L |
| Saída USB | 5 V/2.1 A |
| Entrada micro USB | 5 V/2 A |
| Temperatura de funcionamento | -20 °C a 60 °C (-4 °F a 140 °F) |
| Dimensións (L x W x H) | 15.8 x 8.5 x 2 cm (6.2 x 3.3 x 0.8 polgadas) |
| Peso | 370 g (0.82 lb) |
| Resistencia á auga/po | IP67 |
| Certificacións | CE |
10. Garantía e soporte
FLYLINKTECH provides a 3-year warranty for this product from the date of purchase. This warranty covers manufacturing defects and workmanship under normal use. It does not cover damage caused by misuse, accidents, unauthorized modifications, or natural disasters.
For warranty claims, technical support, or any questions regarding your product, please contact FLYLINKTECH customer service. Please have your purchase receipt and product model number (CF200) ready when contacting support.
Información de contacto:
- Correo electrónico: support@flylinktech.hk
- Websitio: www.flylinktech.com (Please check for the most current contact details)
Note: No official product videos were found in the provided data for embedding in this manual.


