1. Introdución
Thank you for choosing the CREATE/WARM CRYSTAL 2000W Electric Glass Convector. This manual provides essential information for the safe and efficient operation of your new appliance. Please read it thoroughly before installation and use, and keep it for future reference.
The CREATE/WARM CRYSTAL 2000W is a modern electric convector designed for efficient heating with a sleek tempered glass finish. It features Wi-Fi connectivity for remote control, a touch screen interface, and multiple safety features.

Imaxe 1.1: Fronte view of the CREATE/WARM CRYSTAL 2000W Electric Glass Convector.
2. Instrucións de seguridade importantes
Siga sempre as precaucións de seguridade básicas ao usar electrodomésticos para reducir o risco de incendio, descarga eléctrica e lesións ás persoas.
- Le todas as instrucións antes de usar este aquecedor.
- Este quentador quéntase cando está en uso. Para evitar queimaduras, non deixes que a pel espida toque superficies quentes. Mantén os materiais combustibles, como mobles, almofadas, roupa de cama, papeis, roupa e cortinas, a polo menos 1 metro (3 pés) da parte dianteira do quentador e mantelos lonxe dos laterais e da parte traseira.
- É necesario ter extrema precaución cando calquera aquecedor é usado por nenos ou persoas inválidas ou preto de eles e sempre que o aquecedor se deixa en funcionamento e sen vixilancia.
- Non faga funcionar ningún aquecedor cun cable ou enchufe danados ou despois de que o aquecedor non funcione correctamente, se caia ou estea danado de calquera xeito. Devolver o quentador a un centro de servizo autorizado para o seu exame, axuste eléctrico ou mecánico ou reparación.
- Non use ao aire libre.
- Este quentador non está pensado para o seu uso en baños, lavadoiro e lugares interiores similares. Nunca localice a calefacción onde poida caer nunha bañeira ou noutro recipiente de auga.
- Non pase o cable debaixo da alfombra. Non cubra o cable con alfombras, corredores ou revestimentos similares. Coloque o cable lonxe da zona de tráfico e onde non se tropece.
- Para desconectar o quentador, desconecte os controis e, a continuación, retire o enchufe da toma de corrente.
- Non insira nin permita que entren obxectos estraños en ningunha abertura de ventilación ou escape, xa que isto pode provocar unha descarga eléctrica ou incendio, ou danar o quentador.
- Para evitar un posible incendio, non bloquee de ningún xeito as entradas ou escapes de aire. Non o use en superficies brandas, como unha cama, onde se poidan bloquear as aberturas.
- Un aquecedor ten partes quentes e con arcos ou chispas no seu interior. Non o use en áreas onde se use ou se almacene gasolina, pintura ou líquidos inflamables.
- Use este aquecedor só como se describe neste manual. Calquera outro uso non recomendado polo fabricante pode provocar incendios, descargas eléctricas ou lesións ás persoas.
- Conecte sempre os quentadores directamente a unha toma/receptáculo de parede. Nunca use un cable de extensión ou unha toma de alimentación reubicable (toma de toma/multimetro).
- This product is equipped with a double sensor against overheating and an anti-freeze thermostat. It also benefits from an IP24 protection rating, making it suitable for use in damp environments, but not direct water exposure.
3. Contido do paquete
Comprobe o contido do paquete ao desembalar:
- CREATE/WARM CRYSTAL 2000W Electric Glass Convector
- Accesorios de montaxe (parafusos, tacos)
- Feet for freestanding use (if included with your model)
- Manual de usuario
4. Configuración e instalación
4.1 Elixir unha localización
Select a location that is clear of obstructions and combustible materials. Ensure the heater is placed on a stable, level surface if using feet, or securely mounted to a wall.
4.2 Freestanding Installation (with feet)
- Carefully remove the convector from its packaging.
- Attach the provided feet to the base of the convector using the screws. Ensure they are securely fastened.
- Place the convector on a flat, stable surface, ensuring adequate clearance from walls and other objects.
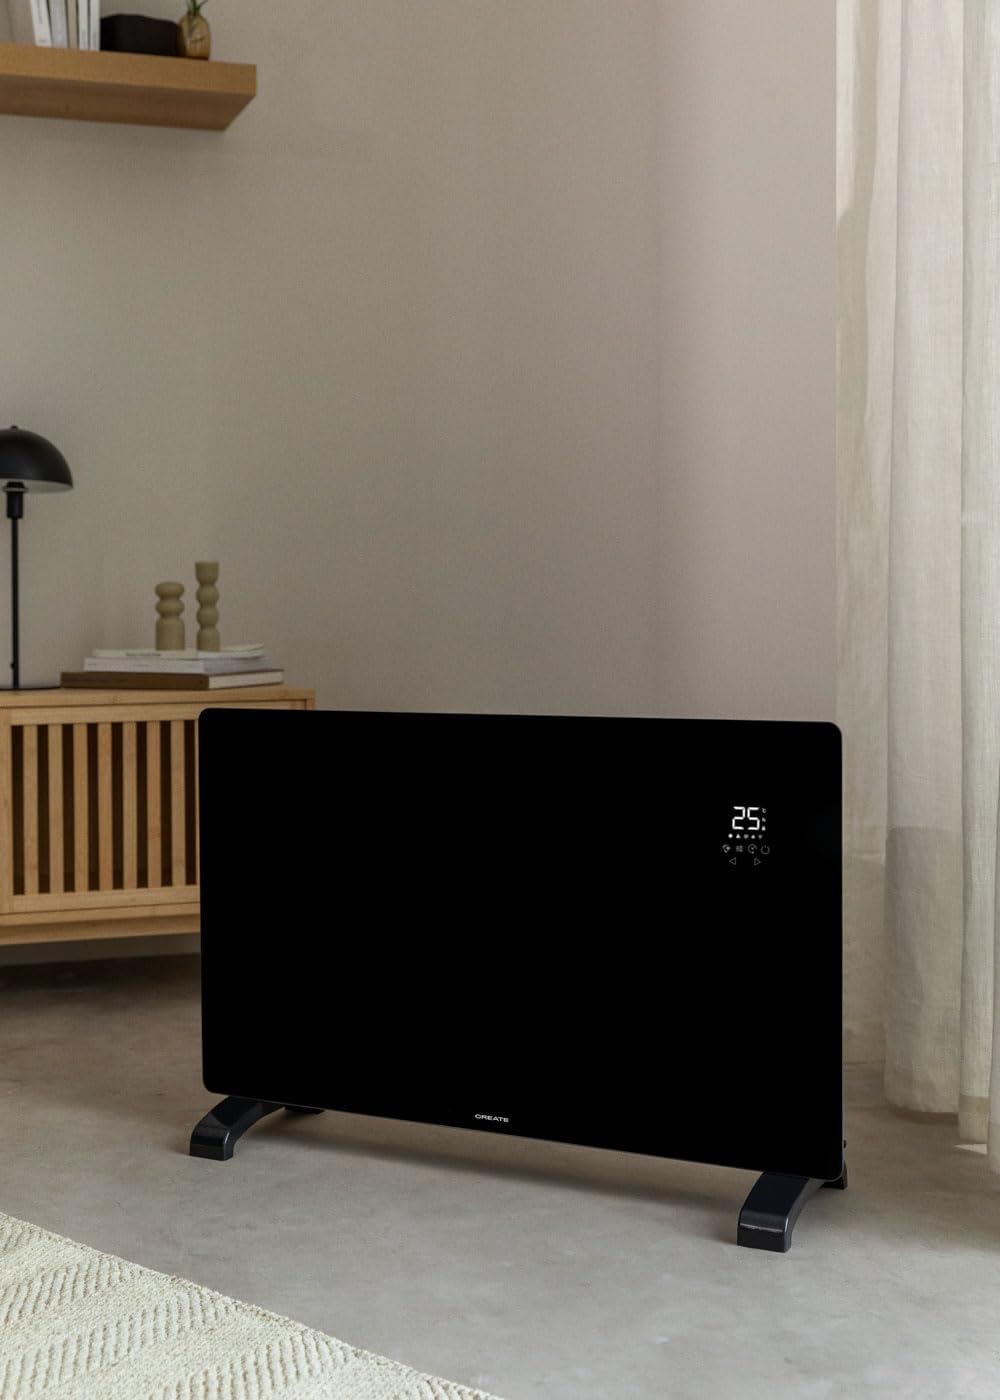
Image 4.1: Convector placed freestanding in a room.
4.3 Instalación na parede
- Identify the desired mounting location on a suitable wall. Ensure there are no electrical wires or pipes behind the drilling points.
- Use the provided mounting bracket as a template to mark the drilling points on the wall.
- Perforar buratos e introducir tacos de parede.
- Fixe o soporte de montaxe á parede con parafusos.
- Carefully hang the convector onto the mounting bracket, ensuring it is securely seated.

Image 4.2: Convector wall-mounted in a room.

Image 4.3: Dimensional diagram for installation reference.
5. Instrucións de funcionamento
5.1 Panel de control rematadoview
The convector features an intuitive LED touch screen display for direct control.

Image 5.1: Interacting with the touch control panel.
The display shows the ambient temperature (5°C-50°C) and various icons for mode, power, timer, and Wi-Fi status.
5.2 Funcionamento básico
- Encendido/apagado: Plug the convector into a suitable electrical outlet. Press the power button on the touch screen to turn the unit on or off.
- Configuración de temperatura: Use the up and down arrows on the touch screen to adjust the desired temperature. The thermostat optimizes operation for energy saving.
- Selección do nivel de potencia: The convector has 2 heating power levels. Use the mode button to cycle through available power settings.
- Función de temporizador: Set the 24-hour timer for scheduled operation using the timer button on the control panel.
5.3 Conectividade Wi-Fi e control de aplicacións
The convector can be controlled remotely via the CREATE app.
- Descarga a aplicación: Download the "CREATE" app from your smartphone's app store (iOS or Android).
- Rexistrarse/Iniciar sesión: Crea unha conta ou inicia sesión na aplicación.
- Conectar dispositivo: Follow the in-app instructions to connect your convector to your home Wi-Fi network. Ensure your Wi-Fi is 2.4GHz compatible, as 5GHz networks may not be supported.
- Control remoto: Once connected, you can program and control the convector from anywhere, including adjusting temperature, setting schedules, and changing modes.

Image 5.2: Convector with smartphone showing the control app.
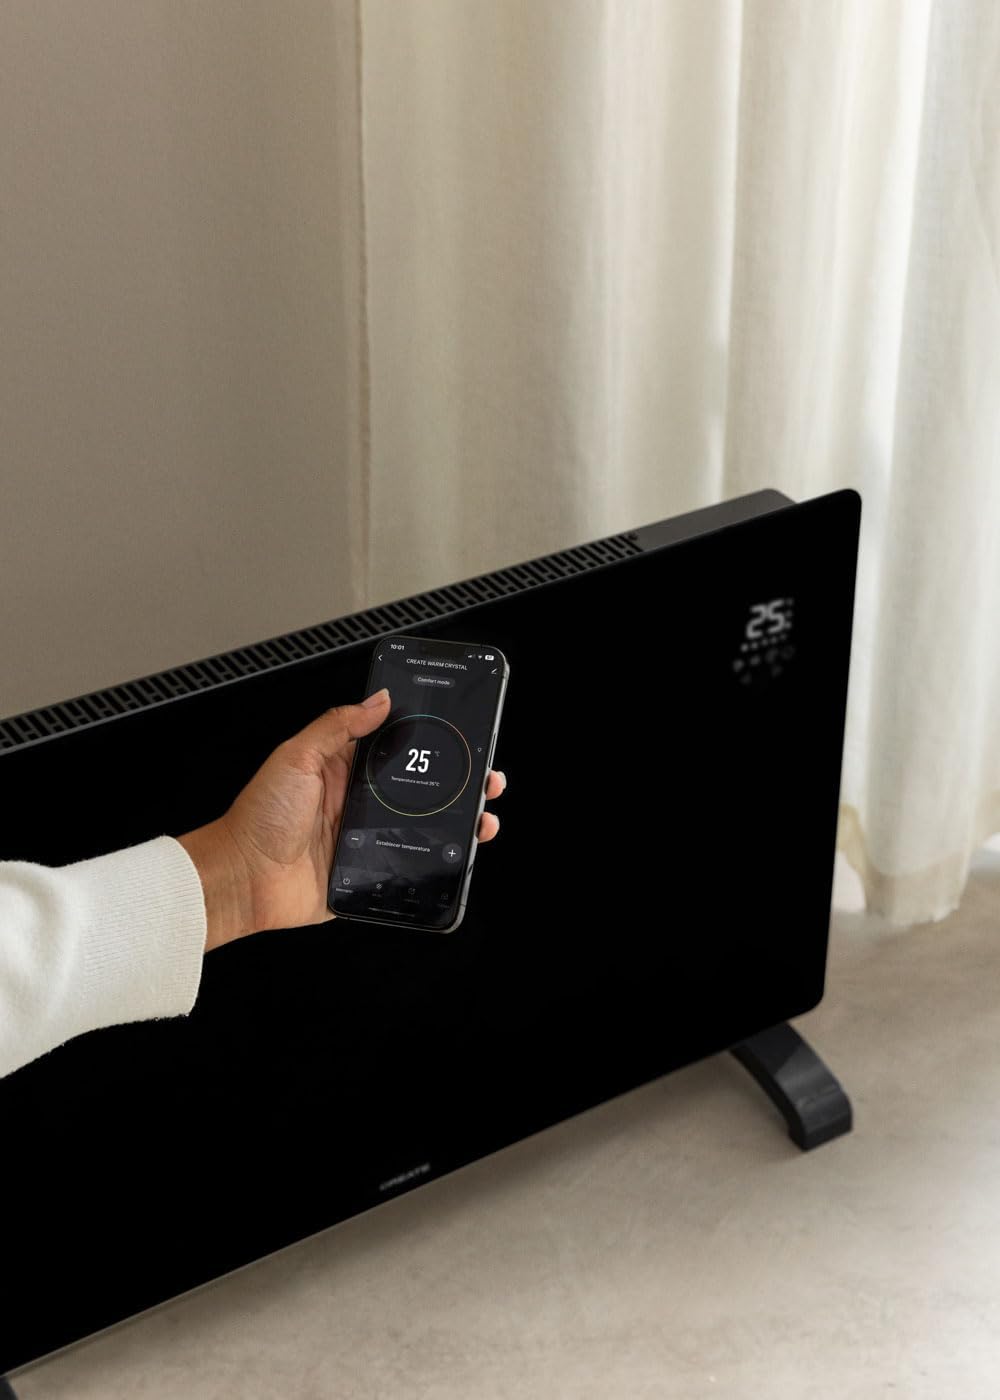
Image 5.3: Remote control via the CREATE app.
6. Mantemento e coidados
Regular maintenance ensures optimal performance and longevity of your convector.
- Limpeza: Always unplug the convector and allow it to cool completely before cleaning. Wipe the exterior surfaces with a soft, damp pano. Non use produtos de limpeza ou disolventes abrasivos.
- Almacenamento: If storing the convector for an extended period, ensure it is clean and dry. Store it in a cool, dry place, preferably in its original packaging.
- Non hai pezas reparables polo usuario: Do not attempt to open or repair the convector yourself. Refer all servicing to qualified service personnel.
7 Solución de problemas
| Problema | Causa posible | Solución |
|---|---|---|
| O quentador non se acende. | Non conectado; interruptor de alimentación apagado; disyuntor saltado. | Ensure plug is securely in outlet; turn power switch on; reset circuit breaker. |
| Sen saída de calor. | Temperature setting too low; safety cut-off activated. | Increase desired temperature; check for obstructions, unplug, wait 10 minutes, then plug back in. |
| Falla a conexión wifi. | Incorrect Wi-Fi password; 5GHz network used; router too far. | Verify password; ensure router is 2.4GHz compatible; move heater closer to router or use a Wi-Fi extender. Some users report needing to enable geolocation for the app to connect. |
| Sobrequecemento. | Blocked air vents; unit covered. | Ensure air vents are clear; do not cover the heater. The unit has a double sensor against overheating. |
8. Especificacións técnicas
| Marca | CREAR |
| Modelo | CRYSTAL 2000W |
| Poder | 2000 vatios |
| Voltage | 240 voltios (CA) |
| Dimensións (L x W x H) | 78 x 24 x 52 cm (approx. 7.5P x 78l x 47H cm for product dimensions) |
| Peso | 10.6 quilogramos |
| Cor | Negro |
| Características especiais | Wi-Fi Compatible, Touch Screen, 2 Power Levels, 24-hour Timer, Overheat Protection, Anti-freeze Thermostat, IP24 Protection |
| Uso recomendado | Indoor, Home, Study Room |
| Tipo de montaxe | Soporte de parede / Autoportante |
| Cobertura térmica | Ata 15 m² |
9. Garantía e soporte
This product comes with a manufacturer's warranty. Please refer to the warranty card included in your package or contact CREATE customer support for detailed information regarding warranty terms and conditions.
For technical support, spare parts, or any inquiries, please visit the official CREATE websitio web ou póñase en contacto co seu departamento de atención ao cliente. A información de contacto adoita atoparse na embalaxe do produto ou na páxina oficial da marca. websitio.


