1. Introdución
Grazas pola compraasing the Ematic LED Projector. This manual provides essential information for setting up, operating, and maintaining your projector to ensure optimal performance and longevity. Please read this manual thoroughly before using the product and retain it for future reference.
2. Información de seguridade
To prevent fire or electric shock, do not expose this appliance to rain or moisture. To avoid electric shock, do not open the cabinet. Refer servicing to qualified personnel only.
- Non mire directamente á lente do proxector cando estea aceso.amp está activado.
- Asegúrese de que haxa unha ventilación axeitada arredor do proxector. Non bloquee as aberturas de ventilación.
- Empregue só o adaptador de corrente subministrado co proxector.
- Manteña o proxector lonxe da auga ou de calquera líquido.
- Do not place the projector on an unstable surface.
- Desconecte o proxector da toma de corrente durante tormentas eléctricas ou cando non o use durante períodos prolongados.
3. Contido do paquete
- Ematic LED Projector
- Control remoto
- Adaptador de alimentación
- Manual de usuario
- AV Cable (if included)
4. Produto rematadoview
4.1 Fronte View
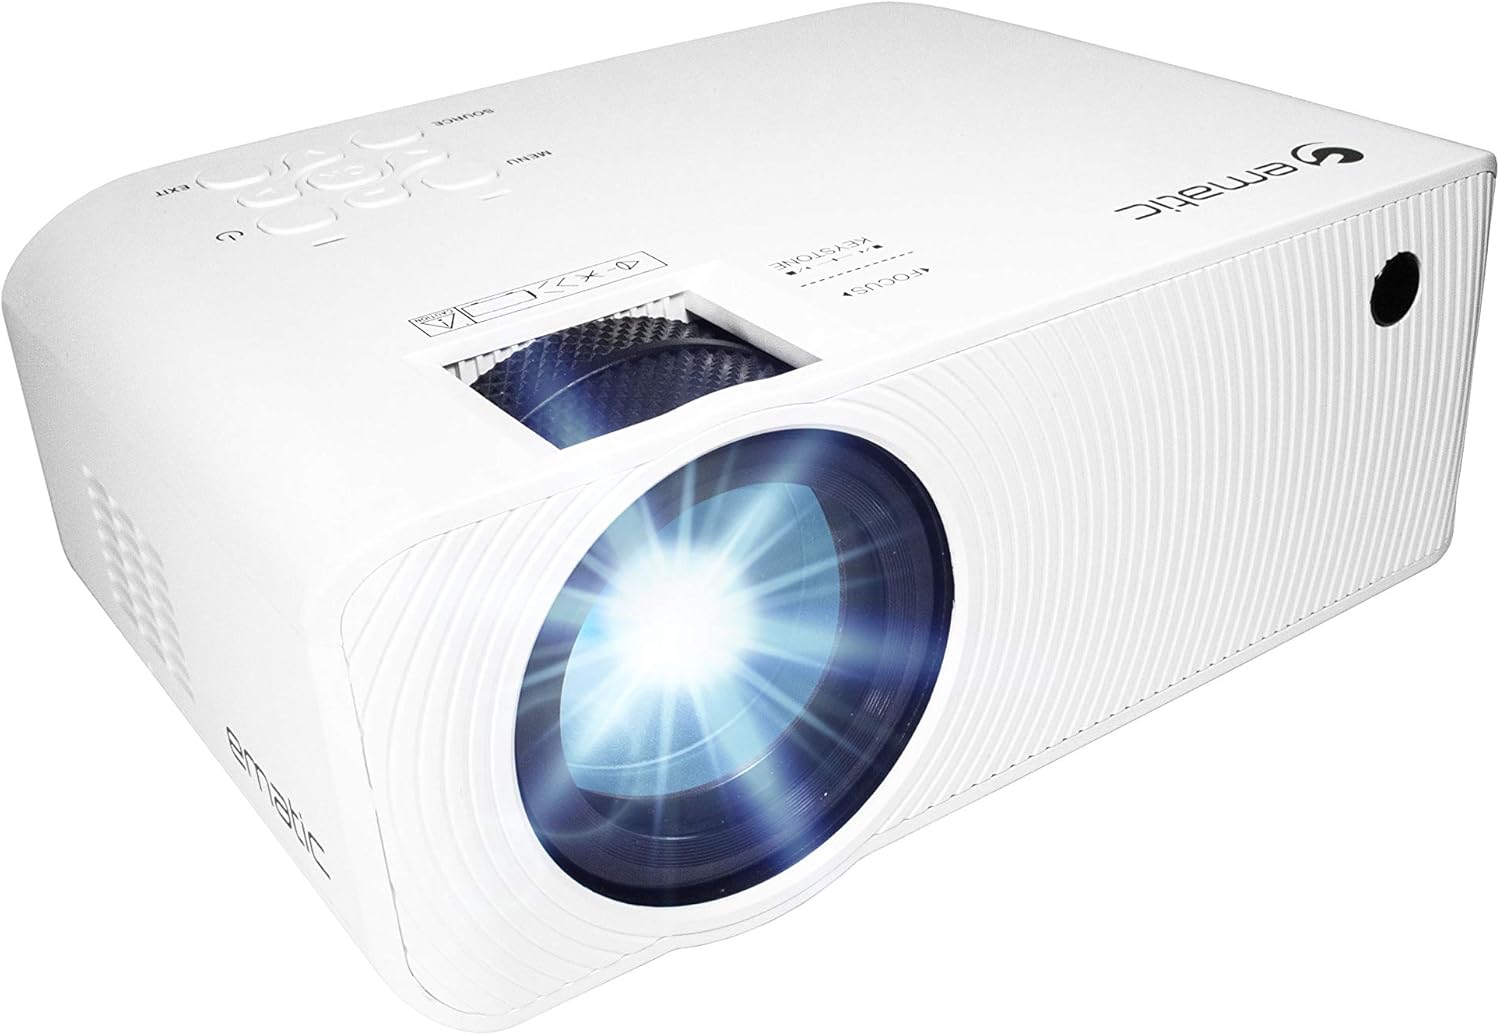
Figura 4.1: Fronte view of the Ematic LED Projector, highlighting the projection lens.
4.2 Arriba View e Controis

Figura 4.2: Arriba view of the projector showing the control panel (Menu, Source, Exit, Navigation buttons) and the Focus and Keystone correction dials. A remote control is also visible.
- Anel de enfoque: Axusta a claridade da imaxe.
- Corrección Keystone: Corrects trapezoidal image distortion.
- Panel de control: Buttons for Menu, Source selection, Exit, and navigation.
4.3 Rear and Side Views with Ports

Figure 4.3: Rear panel of the projector displaying the connectivity options: AUX audio output, AV input, MicroSD card slot, two HDMI inputs, USB port, and DC power input.

Figura 4.4: Lateral view of the projector, highlighting the VGA input port and the infrared (IR) receiver for the remote control.
- AUX: 3.5mm audio output for external speakers or headphones.
- DE: Entrada de vídeo composto e audio estéreo.
- MicroSD: Slot for MicroSD memory cards.
- HDMI 1 / HDMI 2: High-Definition Multimedia Interface inputs for digital audio/video.
- USB: Porto USB para reprodución multimedia desde unidades USB.
- DC IN: Power input for the projector.
- VGA: Video Graphics Array input for computer connection.
5. Configuración
- Colocación: Place the projector on a stable, flat surface. Ensure there is adequate space around the projector for ventilation. For optimal viewing, position the projector perpendicular to the projection screen or wall.
- Conexión de alimentación: Connect the supplied power adapter to the DC IN port on the projector and then plug the adapter into a power outlet.
- Encendido inicial: Prema o botón de acendido do proxector ou do control remoto para acender a unidade. A luz indicadora de acendido acenderase.
- Axuste do foco: Once the projector is on, rotate the Focus Ring (refer to Figure 4.2) until the projected image is clear and sharp.
- Corrección Keystone: If the image appears trapezoidal (wider at the top or bottom), adjust the Keystone Correction dial (refer to Figure 4.2) until the image is rectangular.
6. Instrucións de funcionamento
- Activar/Desactivar: Press the power button on the projector or remote control. Press again to turn off.
- Selección da fonte de entrada: Press the "Source" button on the projector or remote control to cycle through available input sources (HDMI 1, HDMI 2, AV, VGA, USB, MicroSD). Select the desired input.
- Navegación do menú: Press the "Menu" button to access the projector's settings. Use the navigation buttons on the projector or remote to browse options and the "OK" button to confirm selections.
- Media Playback (USB/MicroSD): Insert a USB drive or MicroSD card into the respective port. Select "USB" or "MicroSD" as the input source. The projector will display a file browser. Navigate to your desired media file (video, photo, music, text) and press "OK" to play.
- Saída de audio: The projector has built-in speakers (refer to Figure 6.1). For external audio, connect headphones or external speakers to the AUX port (3.5mm audio jack).

Figure 6.1: Projector highlighting its built-in speaker functionality.
7. Conectividade
The Ematic LED Projector offers multiple connection options to various devices, ensuring versatility for your entertainment and presentation needs.

Figure 7.1: Multimedia device compatibility chart for the projector.

Figura 7.2: Examples of projector connections to a laptop and smartphone, highlighting supported input types.
- HDMI: Connect Blu-ray players, game consoles (PS4, Xbox), streaming devices (Amazon Fire TV Stick, Chromecast), laptops, and other HDMI-enabled devices.
- USB: Reproducir medios files (videos, photos, music) directly from USB flash drives.
- MicroSD: Reproducir medios files directly from MicroSD memory cards.
- DE: Connect older devices like DVD players or VCRs using the included AV cable.
- VGA: Connect desktop computers or older laptops.
- Audio Out (AUX): Connect external speakers or headphones for enhanced audio experience.
8. Mantemento
- Limpeza de lentes: Usa un pano suave e sen fiapos deseñado especificamente para lentes ópticas para limpar con coidado a lente do proxector. Non empregues produtos de limpeza abrasivos nin forzas excesivas.
- Eliminación de po: Regularly clean the ventilation grilles with a soft brush or compressed air to prevent dust buildup, which can affect performance and lifespan.
- Limpeza exterior: Limpe o exterior do proxector cun pano suave eamp pano. Evite o uso de produtos químicos agresivos.
- Almacenamento: Cando non o use durante períodos prolongados, garde o proxector nun lugar fresco e seco, idealmente na súa embalaxe orixinal ou nunha funda protectora, para evitar a acumulación de po e danos.
9 Solución de problemas
| Problema | Causa posible | Solución |
|---|---|---|
| Non se proxecta ningunha imaxe | No power; Incorrect input source; Cable not connected properly. | Check power connection; Select correct input source; Reconnect cables securely. |
| A imaxe está borrosa | Enfoque non axustado; proxector demasiado lonxe/preto da pantalla. | Adjust the Focus Ring; Adjust projection distance. |
| A imaxe é trapezoidal | Keystone not adjusted; Projector not level. | Adjust the Keystone Correction dial; Ensure projector is on a flat surface. |
| Sen son | Volume too low; Muted; External speakers not connected or off. | Increase volume; Unmute; Check external speaker connection and power. |
| O control remoto non funciona | Batteries dead; Obstruction between remote and IR receiver. | Substitúa as pilas; retire as obstrucións; apunte o mando a distancia directamente ao receptor de infravermellos do proxector. |
10. Especificacións
| Característica | Detalle |
|---|---|
| Marca | Emático |
| Modelo | EMP-720 (Generic) |
| Resolución de visualización | 1280 x 720 (Nativo) |
| Tecnoloxía de conectividade | HDMI, USB, AV, VGA, MicroSD, AUX |
| Característica especial | Portable, Built-in Speakers |
| Peso do elemento | 3.5 libras |
| Dimensións do produto | 13.85 x 5 x 8.8 polgadas |
| Lamp A vida | Ata 20,000 horas (modo normal) |
11. Garantía e soporte
For warranty information and technical support, please refer to the warranty card included with your product or visit the official Ematic websitio. Garda o comprobante de compra para reclamacións de garantía.
Ematic Customer Support: www.ematic.us/support (Exampa ligazón)


