1. Introdución
This manual provides essential information for the safe and efficient operation, setup, maintenance, and troubleshooting of your Scheppach HC26 Compressor Air Compressor. Please read this manual thoroughly before operating the device to ensure proper use and to prevent injury or damage.

Figure 1: Scheppach HC26 Compressor Air Compressor. This image shows the main unit with its 24-liter tank, motor housing, pressure gauges, and wheels, alongside a small container, likely for compressor oil.
2. Instrucións de seguridade
Observe sempre as precaucións básicas de seguridade ao usar electrodomésticos para reducir o risco de incendio, descarga eléctrica e lesións persoais.
- Le todas as instrucións: Familiarícese cos controis e o uso correcto do compresor.
- Seguridade eléctrica: Ensure the power supply matches the specifications (230V). Do not operate in wet conditions.
- Equipos de protección individual (EPI): Always wear safety glasses or goggles. Hearing protection is recommended during extended use.
- Seguridade da presión: Never exceed the maximum working pressure of 8 bar. Do not direct compressed air at people or animals.
- Mantemento: Disconnect from power before performing any maintenance or adjustments.
- Ventilación: Fai funcionar o compresor nunha zona ben ventilada para evitar o sobrequecemento.
- Estabilidade: Ensure the compressor is on a stable, level surface during operation.
3. Produto rematadoview
3.1 Características principais
- Max. Working pressure: 8 bar
- Kettle size: 24 L
- Oil-lubricated piston compressor for durability and long-lasting performance.
- Quick connection coupling for fast and easy tool changes.
- Driving device (wheels) and ergonomic handle for easy transport.
- Motor Power: 1500 W (2.0 HP)
- Suction Power: 220 L/min
3.2 Compoñentes
The Scheppach HC26 compressor includes the main compressor unit with a 24L tank, motor, pressure gauges, pressure regulator, quick coupling, wheels, and a transport handle.

Figure 2: Pressure Gauge and Quick Coupling. This close-up shows the pressure gauge indicating tank pressure and the quick connection coupling for attaching pneumatic tools.
4. Configuración
- Desembalaxe: Carefully remove the compressor and all accessories from the packaging. Inspect for any shipping damage.
- Montaxe de rodas: Attach the wheels to the designated axles on the compressor base. Secure them firmly according to the included hardware.
- Recheo de aceite: As an oil-lubricated compressor, ensure the crankcase is filled with the appropriate compressor oil to the correct level before first use. Refer to the oil level indicator.
- Colocación: Position the compressor on a firm, level surface in a well-ventilated area, away from walls or obstructions to allow for proper airflow.
- Conexión eléctrica: Connect the compressor to a grounded 230V, 50Hz power outlet.
5. Instrucións de funcionamento
- Posta en marcha inicial: After setup, turn on the compressor. It will begin to build pressure in the tank. The motor will automatically shut off once the maximum pressure (8 bar) is reached.
- Adjusting Output Pressure: Use the pressure regulator knob to set the desired output pressure for your pneumatic tool. Monitor the regulated pressure gauge.
- Connecting Tools: Attach your pneumatic tool to the quick connection coupling. Ensure a secure connection.
- Operación: Begin using your tool. The compressor motor will cycle on and off automatically to maintain tank pressure as air is consumed.
- Apagado: When finished, turn off the compressor. Disconnect the tool and then unplug the compressor from the power outlet.
- Drenaxe de condensado: After each use, or at least daily, drain any accumulated moisture from the tank using the drain valve located at the bottom of the tank. This prevents rust and extends tank life.
5.1 Aplicacións comúns
- Inflado dos pneumáticos: Ideal for inflating vehicle tires, bicycle tires, and sports equipment.
- Nailing/Stapling: Powers pneumatic nailers and staplers for various woodworking and construction tasks.
- Pintura en aerosol: Suitable for use with spray guns for painting projects.
- Blowing/Cleaning: Effective for blowing dust and debris from workspaces, tools, and machinery.
- Pneumatic Ratchets: Can power small pneumatic ratchets for mechanical work.

Figure 3: Application Examples. This diagram visually represents common uses for the air compressor, including powering nail guns, pneumatic ratchets, spray guns, and for tire inflation and general blowing tasks.
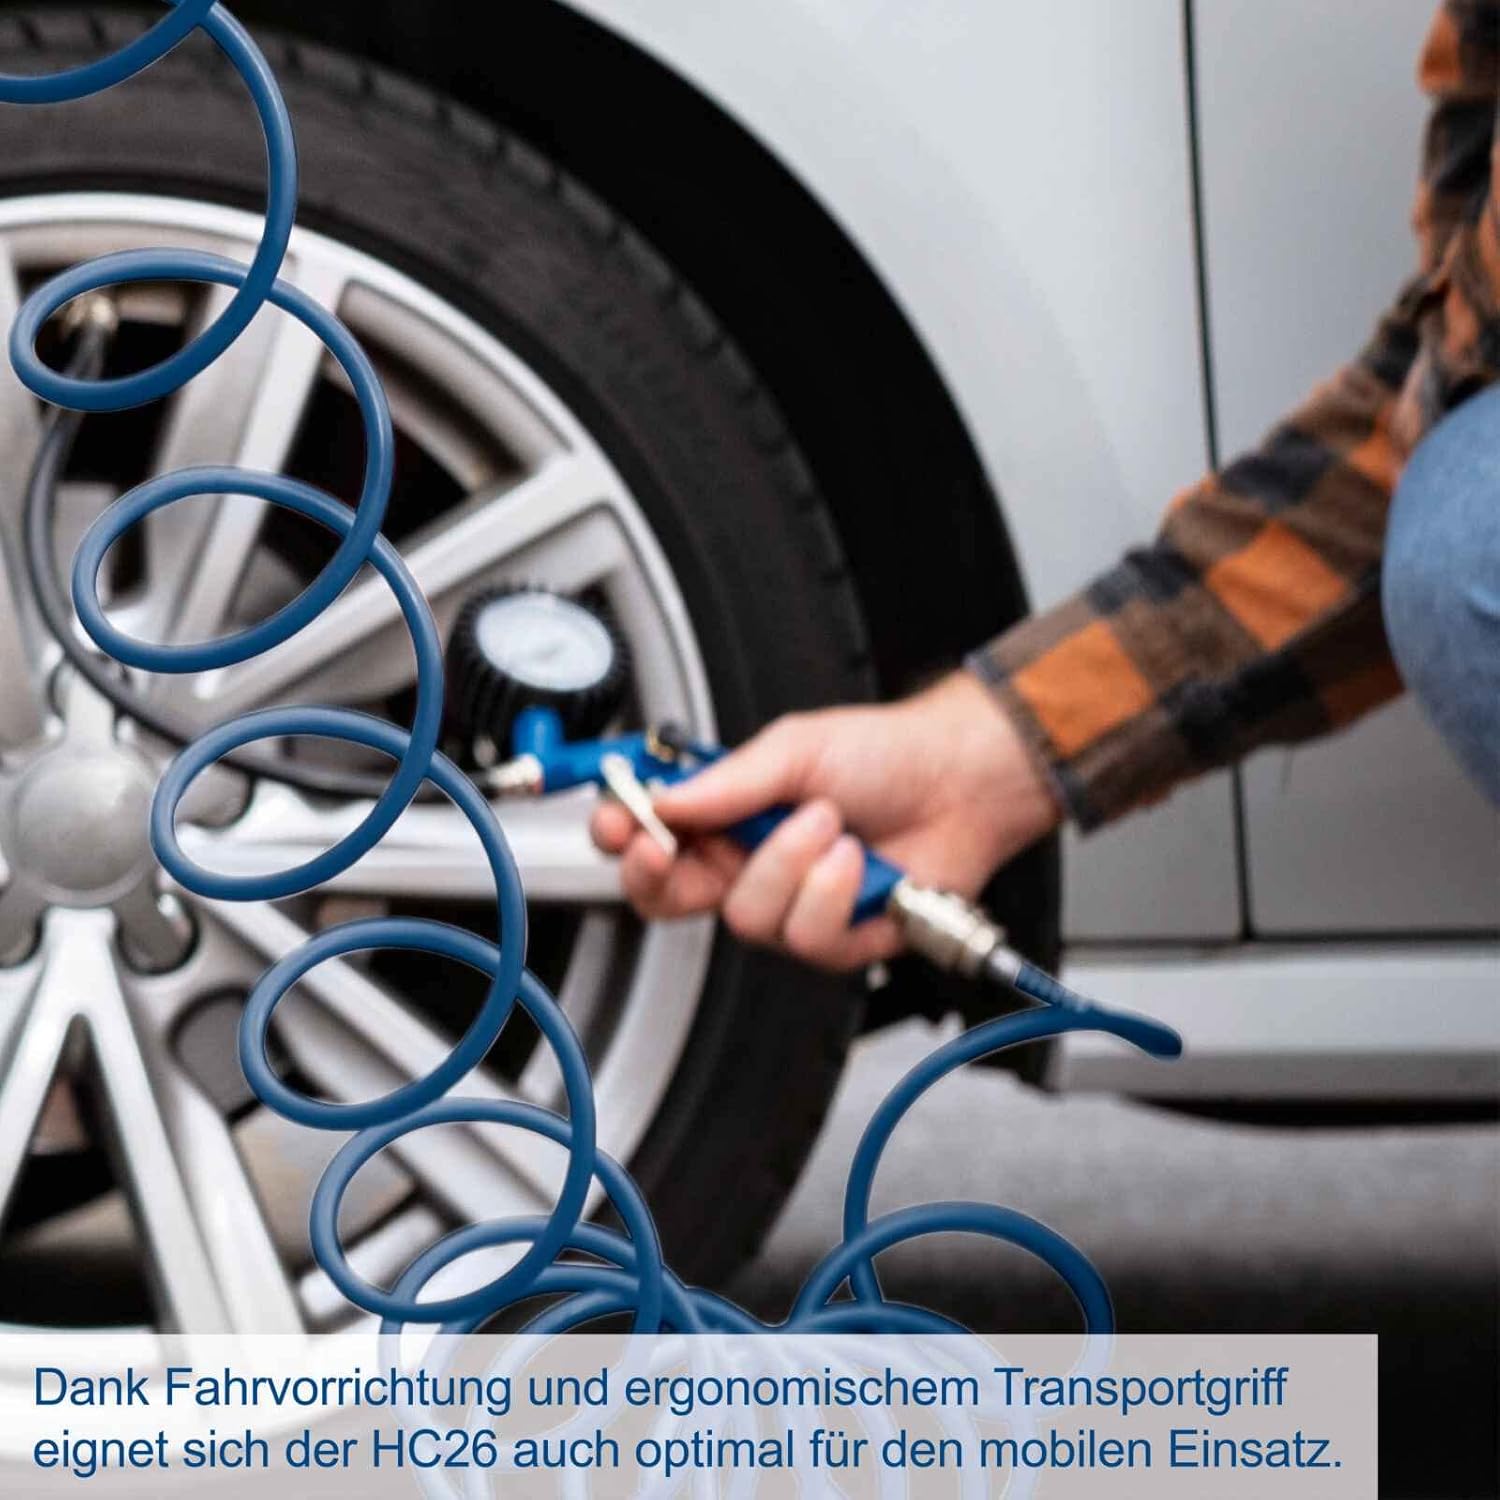
Figure 4: Mobile Use. A user is shown inflating a car tire, demonstrating the compressor's suitability for mobile applications thanks to its wheels and handle.
6. Mantemento
Un mantemento regular garante a lonxevidade e o rendemento óptimo do compresor de aire. Desconecte sempre a alimentación antes de realizar calquera mantemento.
- Drenaxe de condensados: Daily or after each use, open the drain valve at the bottom of the tank to release accumulated moisture.
- Comprobar o nivel de aceite: Regularly check the oil level in the crankcase. Refill or change oil as needed, using only recommended compressor oil.
- Filtro de aire limpo: Inspect and clean the air filter regularly. A clogged filter reduces efficiency and can damage the motor. Replace if necessary.
- Limpeza xeral: Keep the compressor clean and free of dust and debris. Wipe down exterior surfaces.
- Inspeccionar mangueiras e conexións: Periodically check all hoses and fittings for leaks, cracks, or damage. Replace any worn parts.

Figure 5: Portability and Maintenance. This graphic highlights the compressor's ease of transport and its design for straightforward maintenance.
7 Solución de problemas
Antes de contactar co servizo de atención ao cliente, consulte a seguinte táboa para ver os problemas comúns e as súas solucións.
| Problema | Causa posible | Solución |
|---|---|---|
| O compresor non arranca. | Sen electricidade, disyuntor disparado, interruptor avariado. | Comprobe a conexión de alimentación, reinicie o disxuntor e póñase en contacto co servizo técnico se o interruptor está avariado. |
| O compresor funciona continuamente ou con frecuencia. | Air leak in system, check valve issue, excessive air demand. | Check hoses and fittings for leaks, inspect check valve, reduce air consumption. |
| Baixa presión do aire. | Clogged air filter, air leak, pressure regulator set too low. | Clean/replace air filter, check for leaks, adjust pressure regulator. |
| Ruído ou vibración excesivos. | Loose components, worn parts, insufficient oil. | Tighten fasteners, inspect for worn parts, check and add oil if needed. |
8. Especificacións técnicas
| Especificación | Valor |
|---|---|
| Nome do modelo | HC26 (5906135901) |
| Marca | Scheppach |
| Voltage | 230 voltios |
| Potencia do motor | 1500 W (2.0 CV) |
| Máx. Presión de traballo | 8 bar |
| Capacidade do tanque | 24 litros |
| Air Flow Capacity (Suction) | 220 LPM |
| Peso do elemento | 1 quilogramos (aprox. 2.2 libras) |
| Dimensións do produto | 0.04"L x 0.04"W x 0.04"H (Note: These dimensions appear to be placeholder values and may not reflect the actual size of the compressor.) |
| Característica especial | Durable, Oil-lubricated piston compressor |

Figure 6: Key Specifications. This infographic highlights the maximum 8 bar working pressure, 220 L/min suction power, and 24 L tank volume. Please note the discrepancy regarding 'Oil-free' in the image versus 'Oil Lubricated' in the product description; the product is confirmed to be oil-lubricated.
9. Garantía e soporte
For warranty information, technical support, or to order replacement parts, please contact Scheppach customer service. Retain your proof of purchase for warranty claims.
For the most up-to-date contact information, please visit the official Scheppach websitio web ou consulte a documentación incluída coa súa compra.


