1. Introdución
This manual provides comprehensive instructions for the setup, operation, maintenance, and troubleshooting of your Zebra DS9208 2D/1D/QR Barcode Scanner. The DS9208 is a versatile, hands-free presentation imager designed for efficient scanning of 1D, 2D, and QR barcodes, including those displayed on mobile phone screens. Its touchless scanning capability enhances user convenience and workflow.
2. Configuración
Follow these steps to set up your Zebra DS9208 scanner for first-time use.
2.1 Desembalaxe
- Retire coidadosamente todos os compoñentes da embalaxe.
- Verify that the package contains the Zebra DS9208 scanner unit and a USB cable.
- Garde a embalaxe para futuros almacenamentos ou transportes.
2.2 Conexión do escáner
- Locate the USB port on the back of the DS9208 scanner.
- Connect the smaller end of the provided USB cable to the scanner's USB port.
- Connect the larger end of the USB cable to an available USB port on your computer or host system.
- The scanner will typically power on automatically and emit a short beep, indicating successful connection.
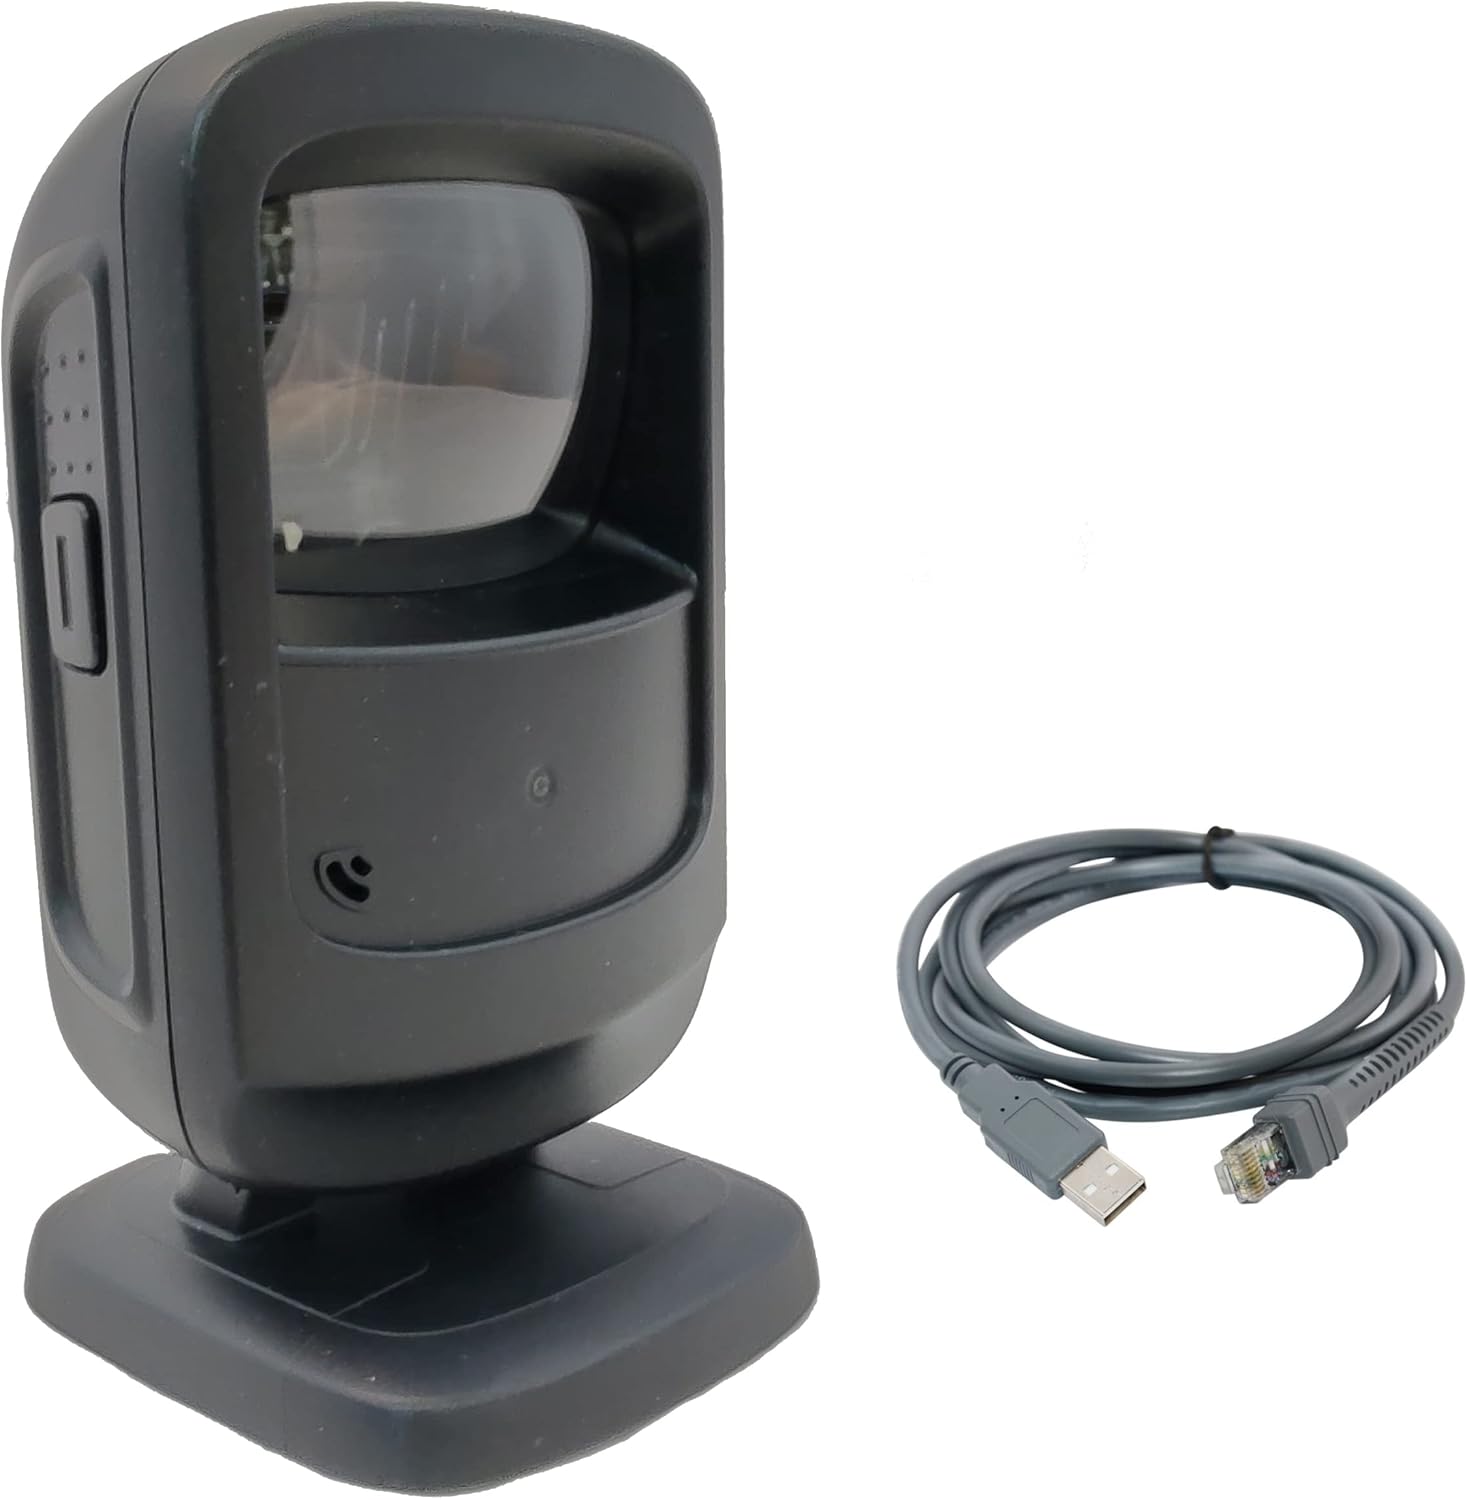
Figure 1: Zebra DS9208 scanner connected via USB cable. This image shows the black scanner unit alongside its grey USB connection cable, illustrating the components included for setup.
2.3 Driver Installation (Plug-and-Play)
The Zebra DS9208 scanner is designed for plug-and-play operation with most operating systems (Windows, macOS, Linux). Upon connecting the USB cable, your computer should automatically detect the device and install the necessary drivers. No manual driver installation is typically required.
- Wait for your operating system to confirm that the device is ready for use. This may take a few moments.
- Open a text editor or an application that accepts keyboard input (e.g., Notepad, Word, a POS application) to test the scanner.
3. Funcionamento do escáner
The DS9208 offers intuitive hands-free scanning for various barcode types.
3.1 Escaneado de códigos de barras
- Ensure the scanner is connected and powered on. The scanning window will emit an illumination pattern when ready.
- Coloque o código de barras dentro do campo de escáner view, typically a few inches from the scanning window. The scanner is designed for presentation scanning, meaning you simply present the item to the scanner.
- The scanner will automatically detect and decode the barcode. A successful scan is indicated by an audible beep and a green LED illumination.
- The decoded data will be transmitted to your host system as if typed from a keyboard.

Imaxe 2: Primeiro plano view of the Zebra DS9208's scanning window. This image highlights the area where barcodes should be presented for optimal reading.
3.2 Scanning from Phone Screens
The DS9208 is optimized to read barcodes directly from mobile phone screens, including digital coupons, loyalty cards, and event tickets.
- Ensure the phone screen brightness is set to a high level for best results.
- Present the barcode on the phone screen to the scanner's window, maintaining a similar distance as with printed barcodes.
- The scanner will capture and decode the digital barcode.
3.3 Feedback Indicators
- Pito audible: A short, high-pitched beep indicates a successful barcode decode.
- Indicador LED: A green LED flash typically accompanies a successful scan.

Figura 3: Lateral view of the Zebra DS9208 scanner, highlighting the ergonomic design and potential button for mode switching or advanced functions (if applicable).
4. Mantemento
Un mantemento axeitado garante a lonxevidade e o rendemento óptimo do seu escáner.
4.1 Limpeza do escáner
- Xanela de dixitalización: Use un pano suave, limpo e sen fiaposampened with a mild glass cleaner or water. Do not use abrasive cleaners or solvents, as these can damage the window.
- Exterior Casing: Limpe o exterior cun suave, damp pano. Evitar a humidade excesiva.
- Asegúrese de que o escáner estea desconectado da fonte de alimentación antes de limpalo.
4.2 Coidados xerais
- Evite deixar caer o escáner ou sometelo a impactos fortes.
- Do not expose the scanner to extreme temperatures, direct sunlight for prolonged periods, or high humidity.
- Keep the scanning window clear of obstructions and debris.
5 Solución de problemas
This section addresses common issues you might encounter with your DS9208 scanner.
| Problema | Causa posible | Solución |
|---|---|---|
| O escáner non se acende. | O cable USB non está conectado correctamente ou o porto USB está defectuoso. | Ensure the USB cable is securely connected to both the scanner and the host computer. Try a different USB port or a different USB cable if available. |
| O escáner non le códigos de barras. | Barcode damaged, poor print quality, incorrect distance, or scanner window obstructed. | Ensure the barcode is clear and undamaged. Adjust the distance between the barcode and the scanner. Clean the scanning window. Verify the barcode type is supported (1D, 2D, QR). |
| No audible beep or LED flash on successful scan. | Feedback settings may be disabled or scanner malfunction. | Check the scanner's configuration settings (if accessible via programming barcodes). If the issue persists, contact support. |
| Os datos dixitalizados aparecen incorrectamente. | Keyboard layout mismatch or incorrect data formatting. | Ensure your computer's keyboard layout matches the scanner's configured output. Refer to the full programming guide for advanced data formatting options. |
6. Especificacións
Key technical specifications for the Zebra DS9208 Barcode Scanner.
- Modelo: DS9208
- Fabricante: Symbol (Zebra)
- Scanning Capabilities: 1D, 2D, QR Codes
- Tecnoloxía de conectividade: Cable USB
- Fonte de enerxía: Cable USB
- Dispositivos compatibles: Escritorio, portátil
- UPC: 753575424398
7. Información da garantía
This Zebra DS9208 scanner is a renewed product. Renewed products are typically covered by a specific warranty provided by the seller or platform.
- This product is covered by the Garantía renovada de Amazon, which provides a replacement or refund within 90 days of receipt if the product does not work as expected.
- For specific warranty details and claims, please refer to the documentation provided with your purchase or contact Amazon Renewed support directly.
8. Apoio
If you encounter issues not covered in the troubleshooting section or require further assistance, please contact the seller or Amazon Renewed support.
- Vendedor: Info-Tech (as per product listing)
- Soporte renovado de Amazon: Visit the Amazon Renewed section on Amazon.com for support options.