1. Introdución
Thank you for choosing the CREATE SILKAIR CONNECT 3-in-1 Mobile Air Conditioner. This versatile appliance is designed to provide cooling, dehumidification, and fan functions for your living space. With its Wi-Fi connectivity, you can conveniently control the unit via a mobile application. Please read this manual thoroughly before operation to ensure safe and efficient use.
Modelo: 64274_145198
Marca: CREAR
2. Información de seguridade
Siga sempre as precaucións de seguridade básicas ao usar electrodomésticos para reducir o risco de incendio, descarga eléctrica e lesións.
- Asegúrese de que a fonte de alimentación coincida co voltage especificado na etiqueta de clasificación.
- Non utilice a unidade cun cable ou enchufe danados.
- Manteña a unidade afastada de fontes de calor e da luz solar directa.
- Non bloquee as entradas ou saídas de aire.
- Desconecte sempre a unidade antes de limpala ou realizala.
- Este aparello usa refrixerante R290. Non perfore o circuíto de refrixeración.
- Vixía os nenos e asegúrate de que non xoguen co aparello.
3. Contido do paquete
Carefully unpack your air conditioner and check that all items are present and in good condition.
- CREATE SILKAIR CONNECT Mobile Air Conditioner Unit
- Mangueira de escape
- Window Sealing Kit (Adjustable window slider, hose adapter)
- Control remoto
- Manual de usuario

Figure 1: The CREATE SILKAIR CONNECT Mobile Air Conditioner unit shown alongside a smartphone displaying its control application interface.
4. Produto rematadoview
4.1 Panel de control

Figure 2: Close-up of the top-mounted control panel, featuring an LED display and touch-sensitive buttons for various functions such as power, mode selection, fan speed, and timer.
4.2 Compoñentes e dimensións
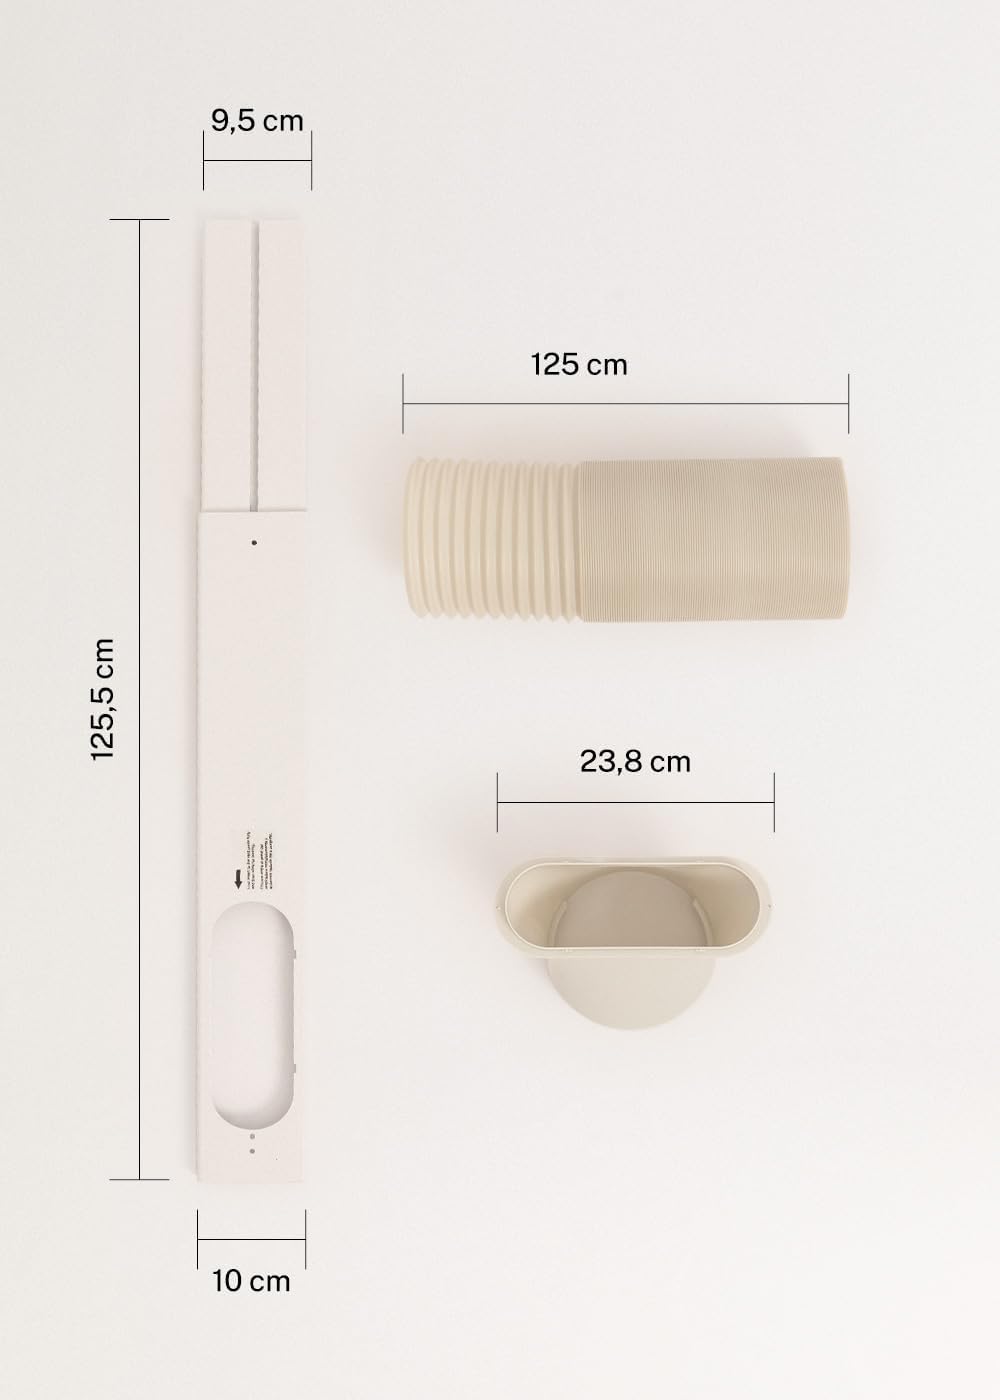
Figure 3: Detailed diagram illustrating the dimensions of the window sealing plate (125.5 cm length, 10 cm width, 9.5 cm adjustable width) and the exhaust hose (125 cm length) with its adapter (23.8 cm diameter).
5. Configuración e instalación
Unha instalación axeitada é crucial para o funcionamento eficiente do seu aire acondicionado móbil.
5.1 Posicionamento da unidade
- Coloque a unidade sobre unha superficie plana e estable.
- Asegúrate de que haxa polo menos 30 cm de espazo arredor da unidade para unha correcta circulación do aire.
- Position the unit near a window or opening for the exhaust hose.
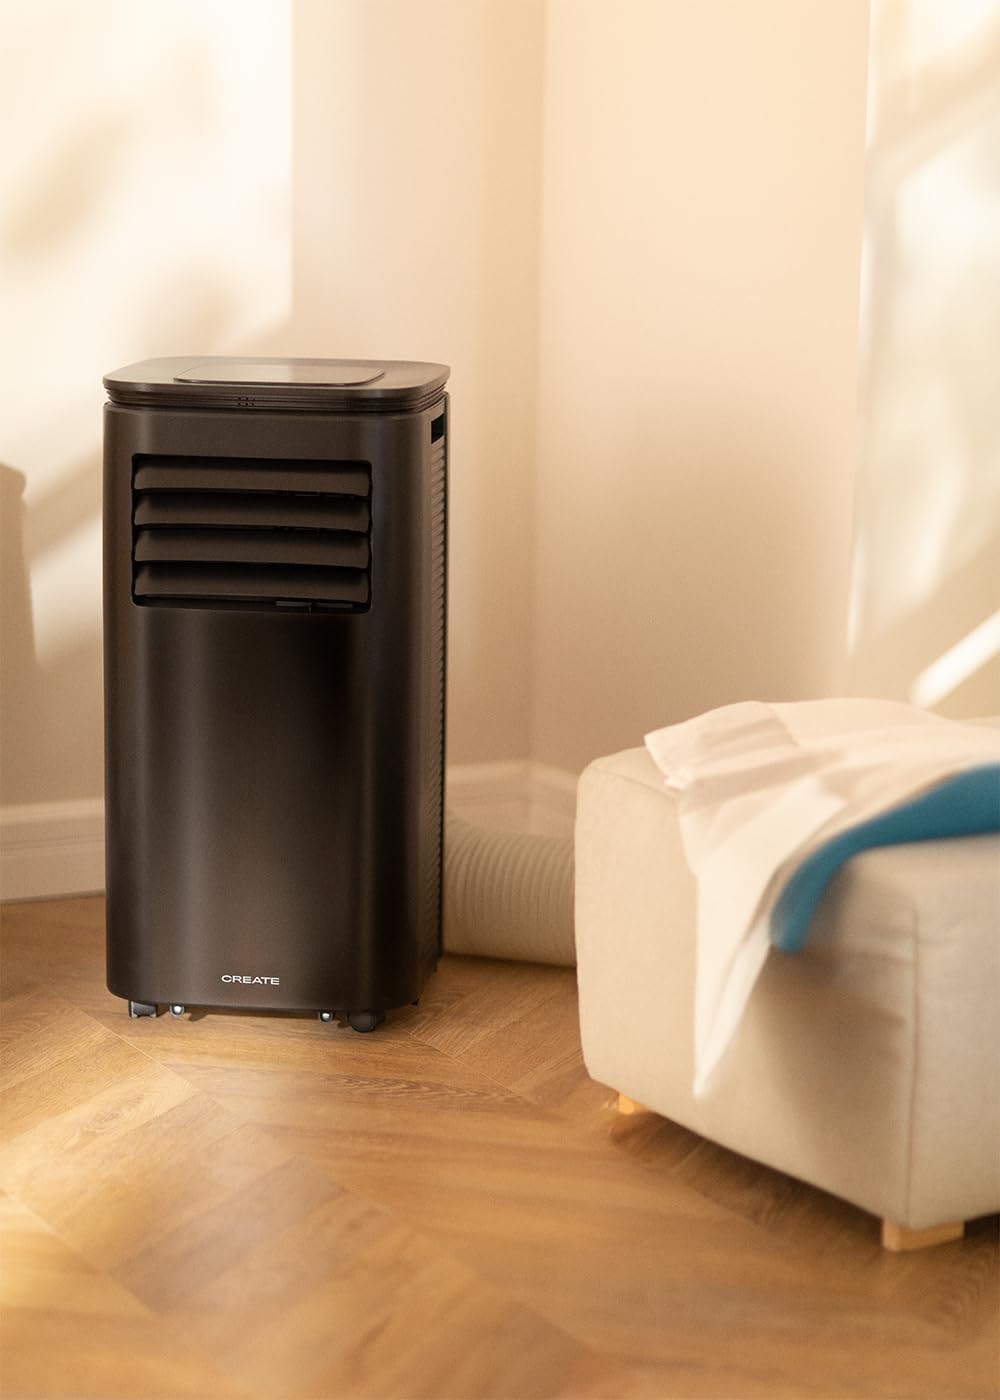
Figure 4: The air conditioner unit positioned in a room, demonstrating the typical setup with the exhaust hose directed towards a window for heat expulsion.
5.2 Installing the Exhaust Hose and Window Kit
- Conecte o adaptador da mangueira a un extremo da mangueira de escape.
- Conecte o outro extremo da mangueira de escape á saída de aire na parte traseira da unidade.
- Install the adjustable window sealing kit in your window opening. Extend it to fit the window frame.
- Insert the hose adapter into the opening of the window sealing kit.

Figure 5: Illustrates the secure connection of the flexible exhaust hose to the designated port at the rear of the air conditioning unit.
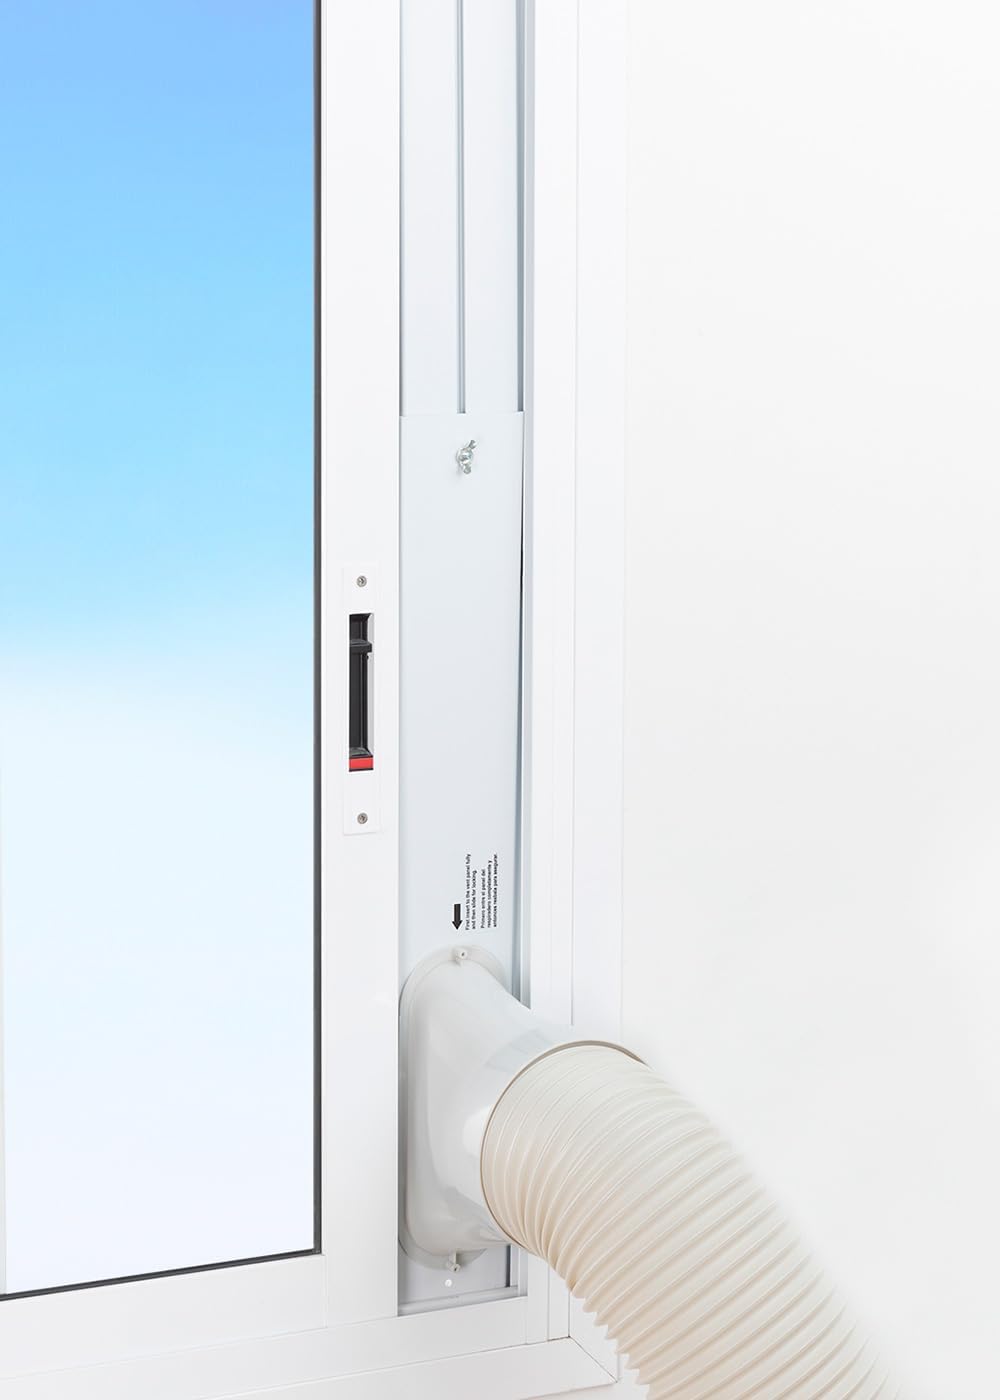
Figure 6: The window sealing kit is shown properly installed in a window frame, with the exhaust hose securely fitted into the kit's opening to vent hot air outside.
6. Instrucións de funcionamento
6.1 Usando o panel de control
The control panel on top of the unit allows direct operation.
- Botón de encendido: Prema para encender ou apagar a unidade.
- Botón de modo: Cycle through Cooling, Fan, and Dehumidifier modes.
- Botón de velocidade do ventilador: Adjust fan speed (Low, High).
- Botóns de temperatura (+/-): Adjust desired temperature in Cooling mode.
- Botón do temporizador: Set the auto-on or auto-off timer (up to 24 hours).
- Botón de modo de suspensión: Activates a quieter operation mode for nighttime use.
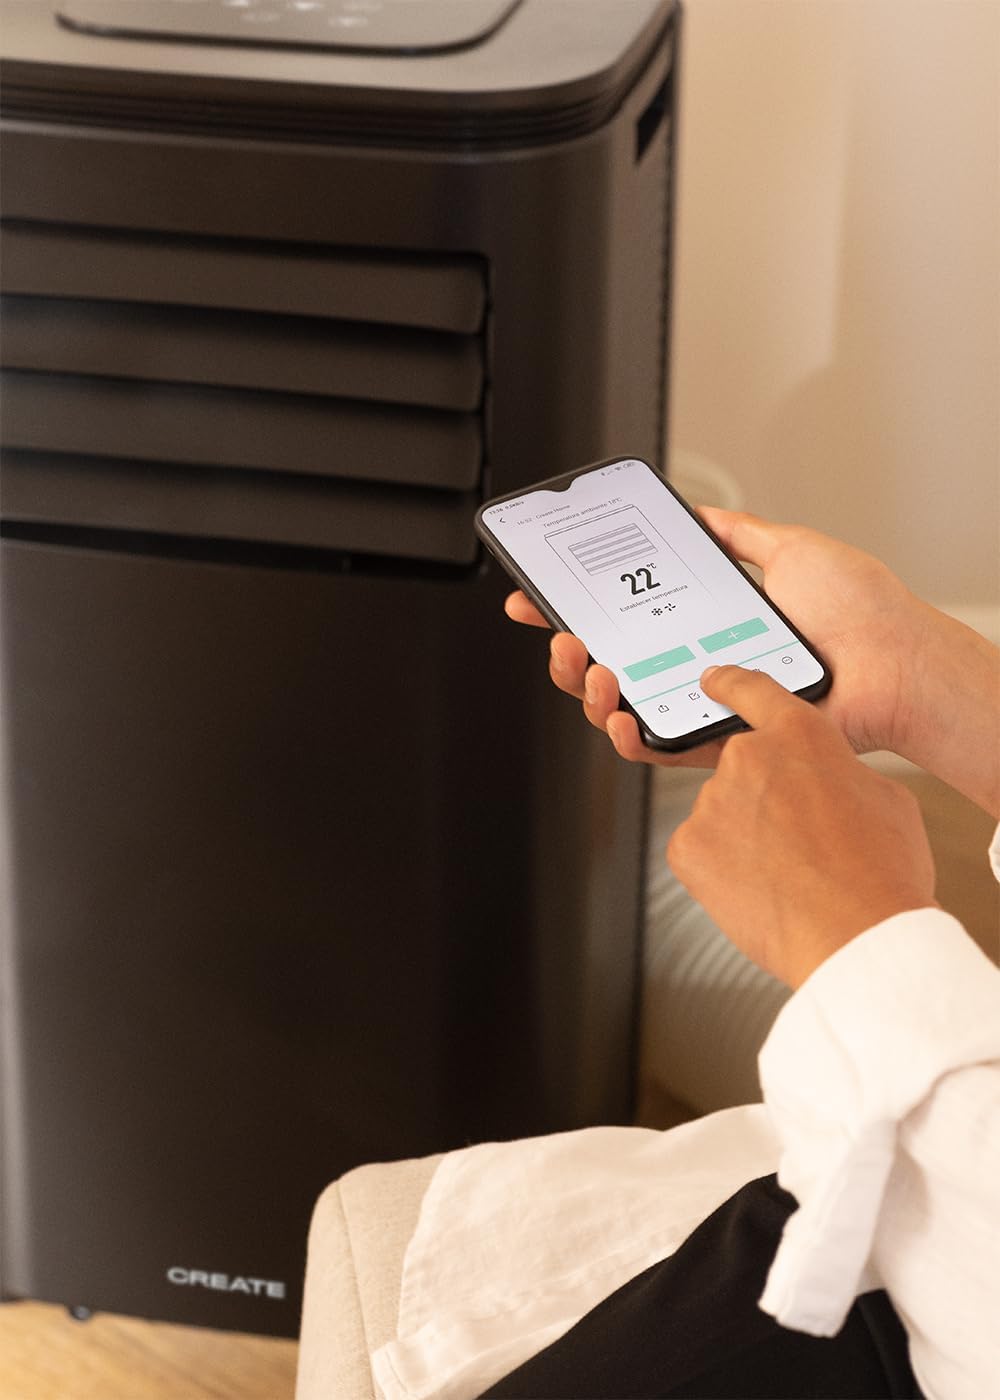
Figure 7: A user's hand interacting with the touch-sensitive control panel located on the top surface of the air conditioner, demonstrating direct manual operation.
6.2 Uso do mando a distancia
O control remoto proporciona un funcionamento cómodo a distancia.

Figure 8: A hand holding the dedicated remote control for the air conditioner, illustrating its use for convenient operation from a distance.
6.3 Control por Wi-Fi e aplicacións
Download the CREATE Home app from your smartphone's app store. Follow the in-app instructions to connect your air conditioner to your home Wi-Fi network. Once connected, you can control all functions of the unit from your smartphone, including mode selection, temperature adjustment, fan speed, and timer settings.
Figure 9: A user interacting with the mobile application on a smartphone to remotely control the air conditioner, showcasing the Wi-Fi connectivity feature.
7. Mantemento
Un mantemento regular garante un rendemento óptimo e prolonga a vida útil da túa unidade.
7.1 Limpeza do filtro de aire
O filtro de aire debe limparse cada dúas semanas ou con máis frecuencia dependendo do uso e da calidade do aire.
- Apague a unidade e desconéctea da toma de corrente.
- Localice o panel do filtro de aire na parte traseira da unidade.
- Retire suavemente o filtro.
- Clean the filter with warm, soapy water or a vacuum cleaner. Rinse thoroughly and allow it to air dry completely before reinserting.

Figure 10: Demonstrates the process of removing the air filter from the rear of the air conditioner unit for cleaning or replacement.
7.2 Drenaxe de auga
In Dehumidifier mode or high humidity conditions, the internal water tank may fill up. The unit will stop operating when the tank is full. Drain the water from the drainage port at the bottom rear of the unit.
8 Solución de problemas
| Problema | Causa posible | Solución |
|---|---|---|
| A unidade non se acende | Sen electricidade; cable de alimentación non conectado; depósito de auga cheo. | Comprobe a toma de corrente; Conecte o cable de alimentación; Baleire o depósito de auga. |
| A unidade non arrefría eficazmente | Filtro de aire sucio; mangueira de escape non instalada correctamente; habitación demasiado grande; portas/xanelas abertas. | Clean air filter; Ensure hose is sealed; Use in recommended room size (14-25 m²); Close doors/windows. |
| Ruído forte | Unit not on a flat surface; Obstruction in fan. | Place on flat surface; Check for obstructions. |
| Problemas de conexión wifi | Incorrect Wi-Fi password; Router too far; App issues. | Verify password; Move unit closer to router; Restart app/unit. |
9. Especificacións
| Característica | Especificación |
|---|---|
| Número de modelo | 64274_145198 |
| Capacidade de refrixeración | 9000 BTU / 2270 Watt |
| Capacidade de deshumidificación | 24 litros/día |
| Fluxo de aire | Ata 350 m³/h |
| Tamaño da habitación recomendado | 14-25 m² |
| Nivel de ruído | 65 dB |
| Refrixerante | R290 (ECO-friendly) |
| Voltage | 240 voltios |
| Wattage | 2600 Watts |
| Dimensións (L x W x H) | 35.5 x 36.5 x 71.3 cm |
| Material | ABS |
| Clase de eficiencia enerxética | A |

Figure 11: The energy efficiency label for the CREATE SILKAIR CONNECT, indicating an A-class energy rating, 2.6 kW cooling capacity, and a noise level of 65 dB. More details can be found at eprel.ec.europa.eu/qr/1580267.
10. Garantía e soporte
For warranty information and technical support, please refer to the warranty card included with your product or visit the official CREATE websitio. Garde o recibo da compra como xustificante da mesma.
Fabricante: CREAR
Contacto: Refer to CREATE's official support channels.


