1. Introdución
This manual provides essential instructions for the safe and efficient operation of your CAIWEI Android TV Projector 4K, Model 900DAB-05F. Please read this manual thoroughly before using the projector and retain it for future reference. This projector features Android 9.0 OS, native 1080P resolution with 4K support, dual-band WiFi, Bluetooth connectivity, and advanced keystone correction.
2. Contido do paquete
Verifica que todos os elementos estean presentes no paquete:
- CAIWEI Android TV Projector
- Mando a distancia (pilas non incluídas)
- Cable de alimentación
- Cable HDMI
- Cabo AV
- Manual de usuario
3. Instrucións de seguridade
- Do not block the ventilation openings of the projector. Ensure adequate airflow to prevent overheating.
- Avoid direct exposure to the projector lens light.
- Do not place the projector on unstable surfaces.
- Manteña o proxector lonxe da auga ou outros líquidos.
- Empregue só o adaptador de corrente subministrado co proxector.
- Desconecte o proxector durante tormentas eléctricas ou cando non o use durante períodos prolongados.
4. Produto rematadoview
Familiarize yourself with the main components and ports of your CAIWEI projector.
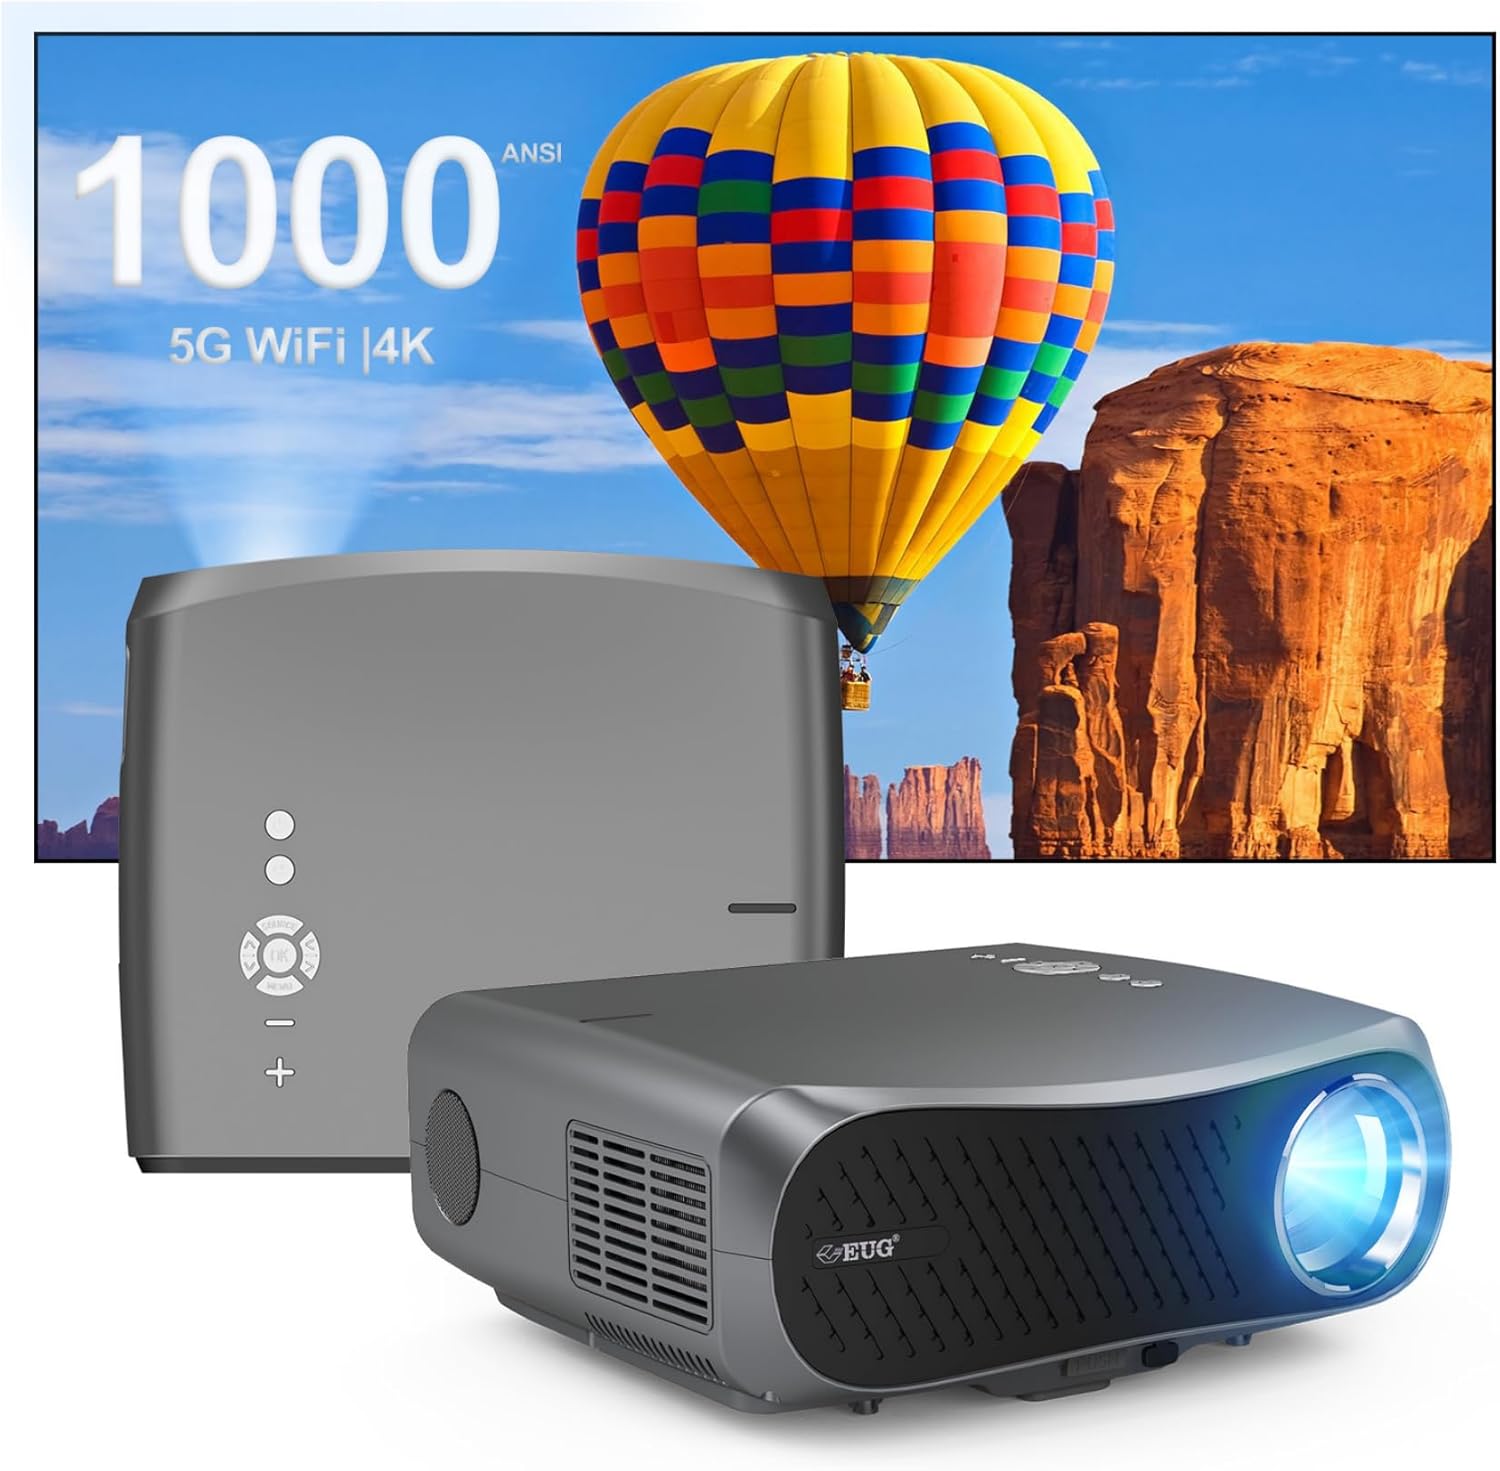
Imaxe 1: Parte dianteira e traseira view of the CAIWEI Android TV Projector, highlighting its compact design and control panel.
The projector features a lens at the front, control buttons on the top, and various input/output ports on the rear and sides, including HDMI, USB, VGA, and AV ports for versatile connectivity.
5. Configuración
5.1 Colocación
Position the projector on a flat, stable surface or mount it to a ceiling or tripod. Ensure the lens is perpendicular to the projection surface for optimal image geometry. The projector supports various installation methods including front, rear, ceiling front, and ceiling rear projection.

Image 2: Illustration of flexible projector placement options, including ceiling mount, tripod table, and desktop setup, for various viewing ambientes.
5.2 Conexión de alimentación
Conecta o cable de alimentación á entrada de alimentación do proxector e despois a unha toma de corrente.
5.3 Encendido inicial
Press the power button on the projector or the remote control to turn on the device. The projector will boot into the Android TV interface.
5.4 Axuste do enfoque e da distorsión trapezoidal
Adjust the focus ring on the projector lens until the image is clear. Use the digital keystone correction feature to correct trapezoidal distortion if the projector is not perfectly aligned with the screen. The projector supports D ±50° keystone correction and 40% digital zoom.

Image 3: Visual representation of the projector's screen adjustment capabilities, including Auto Keystone, Digital Zoom (100%-60%), and Electronic 4D/4P Keystone Correction for optimal image display.
6. Instrucións de funcionamento
6.1 Android 9.0 OS Navigation
Use the remote control to navigate the Android 9.0 operating system. The home screen provides access to pre-installed applications and settings. You can download additional applications from the integrated app store.

Image 4: The projector's interface powered by Android TV 9.0, showcasing a wide array of streaming and entertainment applications available.
6.2 Conexión Wi-Fi
Para conectarse a unha rede sen fíos:
- Ir a Configuración na pantalla de inicio.
- Seleccione Rede e Internet.
- Acende Wi-Fi e selecciona a rede desexada da lista.
- Introduza o contrasinal se se lle solicita e conéctese.
The projector supports dual-band 5G WiFi for faster and more stable connections.
6.3 Conexión Bluetooth
To connect Bluetooth devices (e.g., speakers, headphones):
- Ir a Configuración.
- Seleccione Dispositivos conectados or Bluetooth.
- Acende Bluetooth e buscar dispositivos dispoñibles.
- Selecciona o teu dispositivo da lista para emparellalo.
6.4 Conexión de dispositivos externos
O proxector ofrece varias opcións de entrada:
- HDMI: Connect Blu-ray players, game consoles, laptops, etc.
- USB: Reproducir medios files directly from USB drives.
- VGA: Connect older computers.
- DE: Conecta dispositivos de vídeo herdados.
Select the appropriate input source from the projector's menu.
6.5 Screen Mirroring/Casting
Utilize the 5G WiFi connectivity to mirror content from your smartphone or laptop to the projector screen. Refer to your device's casting instructions for specific steps.

Image 5: The projector demonstrating connectivity with a smartphone via 5G WiFi for screen mirroring and a Bluetooth speaker for enhanced audio, illustrating its versatile wireless capabilities.
7. Mantemento
- Limpeza da lente: Usa un pano suave e sen fiapos deseñado especificamente para lentes ópticas. Non empregues produtos de limpeza abrasivos.
- Limpeza do Casing: Limpe o exterior do proxector cun pano suave e seco.
- Ventilación: Regularly check that the ventilation openings are clear of dust and debris. Use compressed air if necessary.
- Almacenamento: When not in use, store the projector in a cool, dry place, protected from dust and extreme temperatures.
8 Solución de problemas
Se tes problemas co teu proxector, consulta os seguintes problemas e solucións comúns:
- Sen enerxía:
• Ensure the power cable is securely connected to both the projector and the power outlet.
• Check if the power outlet is functional. - Sen imaxe/sinal:
• Verify that the correct input source is selected on the projector.
• Check the HDMI/VGA/AV cable connections to the external device and the projector.
• Ensure the external device is powered on and outputting a signal. - A imaxe está borrosa:
• Adjust the focus ring on the projector lens.
• Ensure the projection surface is flat and the projector is at an appropriate distance. - A imaxe está distorsionada (forma trapezoidal):
• Use the digital keystone correction feature in the projector settings to adjust the image geometry. - Sobrequecemento e apagado automático:
• Ensure the projector's ventilation openings are not blocked. Provide ample space around the projector for airflow.
• Operate the projector in a well-ventilated room with a suitable ambient temperature. - Problemas de conectividade Wi-Fi/Bluetooth:
• Ensure the Wi-Fi network is active and within range. Re-enter the password if necessary.
• For Bluetooth, ensure the device is in pairing mode and within range.
• Restart the projector and the external device. - Sen son:
• Check the volume settings on both the projector and the connected source device.
• If using external speakers, ensure they are properly connected and powered on.
• If connecting via HDMI, ensure the source device is sending audio. - HDMI ARC/HDCP Compatibility:
• Note that this projector may not fully support HDMI ARC (Audio Return Channel) or certain HDCP (High-bandwidth Digital Content Protection) versions (e.g., HDCP 2.2) with some receivers. If connecting via a receiver, try connecting devices directly to the projector or using alternative audio output methods.
9. Especificacións
| Característica | Detalle |
|---|---|
| Marca | CAIWEI |
| Número de modelo | 900DAB-05F |
| Sistema Operativo | OS Android 9.0 |
| Resolución de visualización | Native 1920 x 1080 (Supports 4K decoding) |
| Tecnoloxía de conectividade | Bluetooth, Dual-Band WiFi (2.4G/5G), HDMI, USB, VGA, AV, Audio Out |
| Características especiais | Built-In Speaker, Digital Keystone Correction (D ±50°), 40% Digital Zoom |
| Dimensións do produto | 12.4 x 9.33 x 5.31 polgadas |
| Peso do elemento | 9.98 libras |
| Cor | Gris Sliver |
| Usos recomendados | Home Entertainment, Gaming, Presentations |
10. Garantía e soporte
Your CAIWEI projector comes with a standard manufacturer's warranty. Please refer to the warranty card included in your package for specific terms and conditions. For technical support, troubleshooting assistance, or warranty claims, please contact CAIWEI customer service through the contact information provided with your purchase or on the official CAIWEI websitio.


