1. Introdución
This manual provides detailed instructions for the assembly, operation, and maintenance of your Anet ET5 Pro 3D Printer. Please read this manual thoroughly before operating the device to ensure proper function and safety. The Anet ET5 Pro features a large print volume of 300x300x400mm, an ultra-silent motherboard, and a UL certified MeanWell power supply, designed for reliable and efficient 3D printing.
2. Características clave
The Anet ET5 Pro is equipped with several features designed to enhance your 3D printing experience:
- Large Print Volume: Offers a generous build area of 300x300x400mm for larger models.
- Ultra-Silent Motherboard: Features TMC2208 stepper drivers for quiet operation.
- MeanWell Power Supply: Integrated 350W UL certified power supply for stable and safe power delivery.
- Montaxe rápida: Designed for straightforward and fast setup.
- Nivelación automática: Simplifies bed leveling for consistent first layers.
- Reanudar a impresión: Recovers print jobs after power outages or filament run-out.
- Detección de filamentos: Alerts the user when filament is low or runs out.
- 3.5-inch Smart Touchscreen: Provides a clear and user-friendly interface for control.
- Eixo Z dobre: Enhances stability and precision during printing.

Imaxe 2.1: Acabadoview of Anet ET5 Pro key features including ultra-silent operation, Meanwell power supply, large build area, auto-leveling, resume printing, quick assembly, filament detection, filament control, touchscreen, and dual Z-axis.

Image 2.2: The Anet ET5 Pro features an ultra-silent design, equipped with TMC2208 stepper drivers, allowing for quiet operation even at night.

Image 2.3: The Anet ET5 Pro integrates a 350W Meanwell power supply, concealed within the machine for convenience and safety.

Image 2.4: The 3.5-inch smart touchscreen on the Anet ET5 Pro offers a clear user interface for easy operation and settings adjustment.
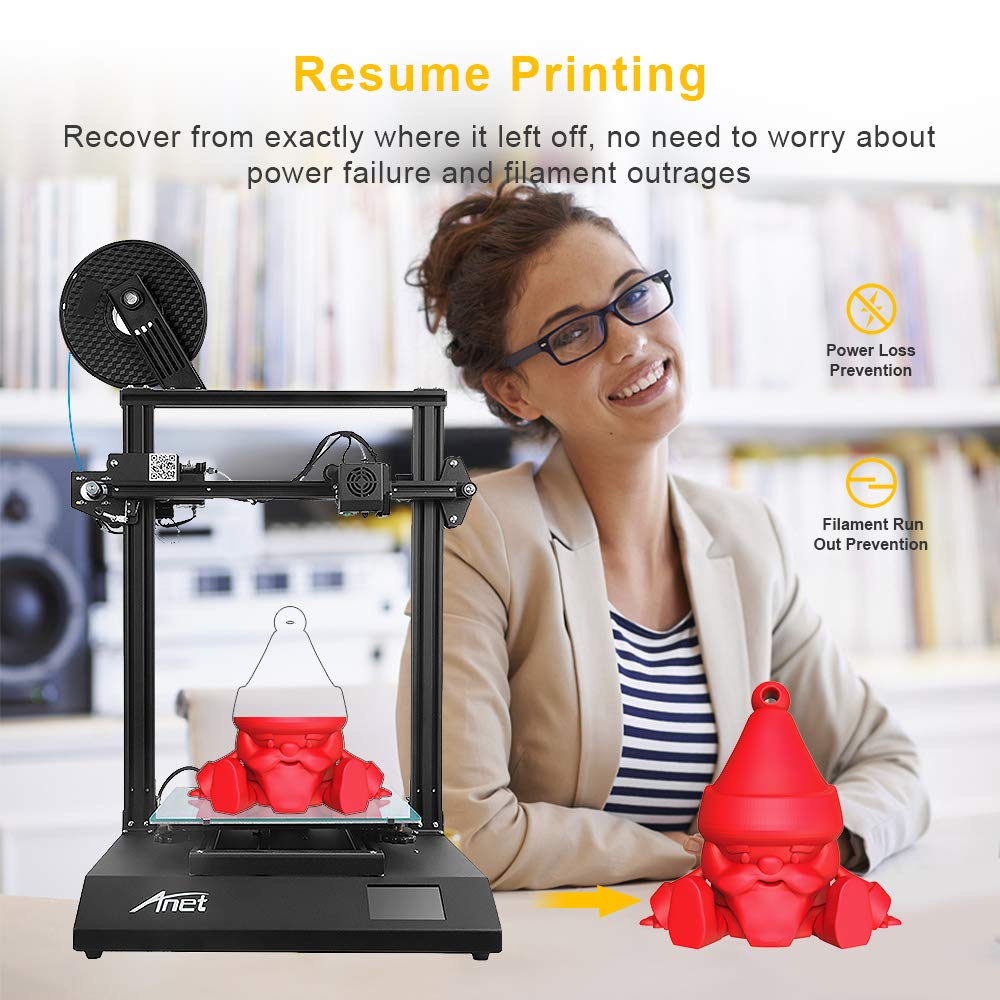
Image 2.5: The resume printing feature allows the Anet ET5 Pro to recover from power loss or filament run-out, ensuring print completion.
3. Configuración e montaxe
The Anet ET5 Pro is designed for quick and easy assembly. Follow these general steps to set up your printer:
- Desembalaxe: Retire con coidado todos os compoñentes da embalaxe. Comprobe que estean presentes todas as pezas listadas na lista de embalaxe.
- Montaxe base: Place the operation platform (base) on a stable surface.
- Instalación do marco: Attach the metal frame to the operation platform using the provided screws. Ensure it is securely fastened.
- Extruder and Hotend Assembly: Mount the extruder and hotend assembly onto the gantry system of the metal frame. Connect all necessary cables.
- Portafilamentos: Install the filament holder.
- Conexións por cable: Connect all motor, endstop, and heater cables according to the diagrams in the separate assembly guide (if provided).
- Conexión de alimentación: Connect the power cable to the printer and then to a grounded power outlet.
Note: Refer to the dedicated assembly guide included with your printer for detailed, step-by-step visual instructions.

Image 3.1: The Anet ET5 Pro is designed for quick assembly, involving the extruder, metal frame, and operation platform.
4. Instrucións de funcionamento
4.1 Initial Power On and Bed Leveling
- Power on the printer using the switch located on the side or back.
- On the touchscreen, navigate to the "Prepare" or "Leveling" menu.
- Select "Auto-Leveling" to initiate the automatic bed leveling process. The printer will probe multiple points on the print bed to create a mesh for compensation.
- If manual adjustment is required, follow the on-screen prompts or refer to the detailed leveling guide.
4.2 Cargando o filamento
- Coloque o carrete de filamento no soporte do filamento.
- Preheat the nozzle to the appropriate temperature for your filament type (e.g., 200°C for PLA).
- Cut the end of the filament at a 45-degree angle to ensure a smooth entry.
- Gently feed the filament into the extruder's input hole until it is gripped by the extruder gears.
- On the touchscreen, select "Load Filament" or manually push the filament until it extrudes from the nozzle.
4.3 Comezar unha impresión
- Prepare your 3D model using a slicing software (e.g., Cura, Simplify3D) and save it as a .gcode file nunha tarxeta SD.
- Insert the SD card into the printer's SD card slot.
- On the touchscreen, navigate to the "Print" menu.
- Select your desired .gcode file da lista.
- Confirm the print. The printer will preheat the bed and nozzle, then begin printing.
4.4 Online and Offline Printing
The Anet ET5 Pro supports both online and offline printing methods:
- Impresión sen conexión: Printing directly from an SD card is the most common and reliable method, as it does not rely on a continuous computer connection.
- Online Printing: The printer can be connected to a computer via USB. Printing can be initiated and monitored through slicing software or dedicated control software. Ensure a stable connection to prevent print failures.
5. Mantemento
Regular maintenance ensures the longevity and optimal performance of your Anet ET5 Pro 3D Printer.
- Limpar a cama de impresión: Despois de cada impresión, limpe a base de impresión con alcol isopropílico para eliminar calquera residuo e garantir unha boa adhesión para futuras impresións.
- Limpeza de boquillas: Periodically clean the nozzle to prevent clogs. Use a fine needle or a brass brush when the nozzle is heated.
- Lubricar pezas móbiles: Apply a small amount of lithium grease or similar lubricant to the Z-axis lead screws and smooth rods every few months.
- Comprobar correas: Ensure the X and Y axis belts are properly tensioned. They should be taut but not overly tight.
- Inspeccionar cables: Regularly check all cables for wear or damage.
- Actualizacións de firmware: Check the official Anet websitio para ver se hai actualizacións de firmware dispoñibles que poidan mellorar o rendemento ou engadir funcións.
6 Solución de problemas
This section addresses common issues you might encounter with your 3D printer.
6.1 Problemas de adherencia da impresión
- Problema: First layer not sticking to the print bed.
- Solución:
- Asegúrate de que a cama de impresión estea limpa e libre de graxa.
- Re-level the print bed, ensuring the nozzle is at the correct distance from the bed (paper test).
- Increase print bed temperature slightly.
- Apply an adhesive (e.g., glue stick, hairspray) to the print surface.
6.2 Filament Not Extruding
- Problema: No filament comes out of the nozzle.
- Solución:
- Check if the nozzle is clogged. Perform a cold pull or use a cleaning needle.
- Verify that the extruder gear is gripping and feeding the filament.
- Ensure the hotend temperature is set correctly for the filament type.
- Check for kinks or tangles in the filament spool.
6.3 Layer Shifting
- Problema: Layers of the print are misaligned.
- Solución:
- Check the tension of the X and Y axis belts. They should be snug.
- Ensure the print speed is not too high.
- Verify that the printer is on a stable surface and not subject to vibrations.
- Check for any obstructions in the path of the print head.
7. Especificacións
| Característica | Especificación |
|---|---|
| Marca | Anet |
| Número de modelo | ET5 Pro |
| Volume de impresión | 300 x 300 x 400 mm |
| Product Dimensions (Printer) | 21.26 x 20.47 x 25.2 polgadas (54 x 52 x 64 cm) |
| Material | Aluminio |
| Dispositivos compatibles | Ordenador persoal |
| Sistema Operativo | Linux (compatible) |
| Fonte de alimentación | MeanWell 350W (UL Certified) |
| Placa base | Ultra-silent (TMC2208 stepper drivers) |
| Mostrar | 3.5-inch Smart Touchscreen |
| Conectividade | SD Card, USB |
8. Garantía e soporte
For warranty information and technical support, please refer to the documentation included with your product or visit the official Anet website. It is recommended to register your product upon purchase to facilitate any future support requests.
When contacting support, please have your model number (ET5 Pro) and purchase details readily available.


