1. Introdución
Thank you for choosing the Montech X2 MESH White ATX Mid-Tower Case. This manual provides essential information for the proper setup, operation, and maintenance of your new PC case. The X2 MESH is designed for high airflow and features a fine mesh front panel, a full tempered glass side panel, and comes with three pre-installed rainbow LED fans (two 140mm at the front and one 120mm at the rear) to ensure optimal cooling performance and aesthetic appeal.
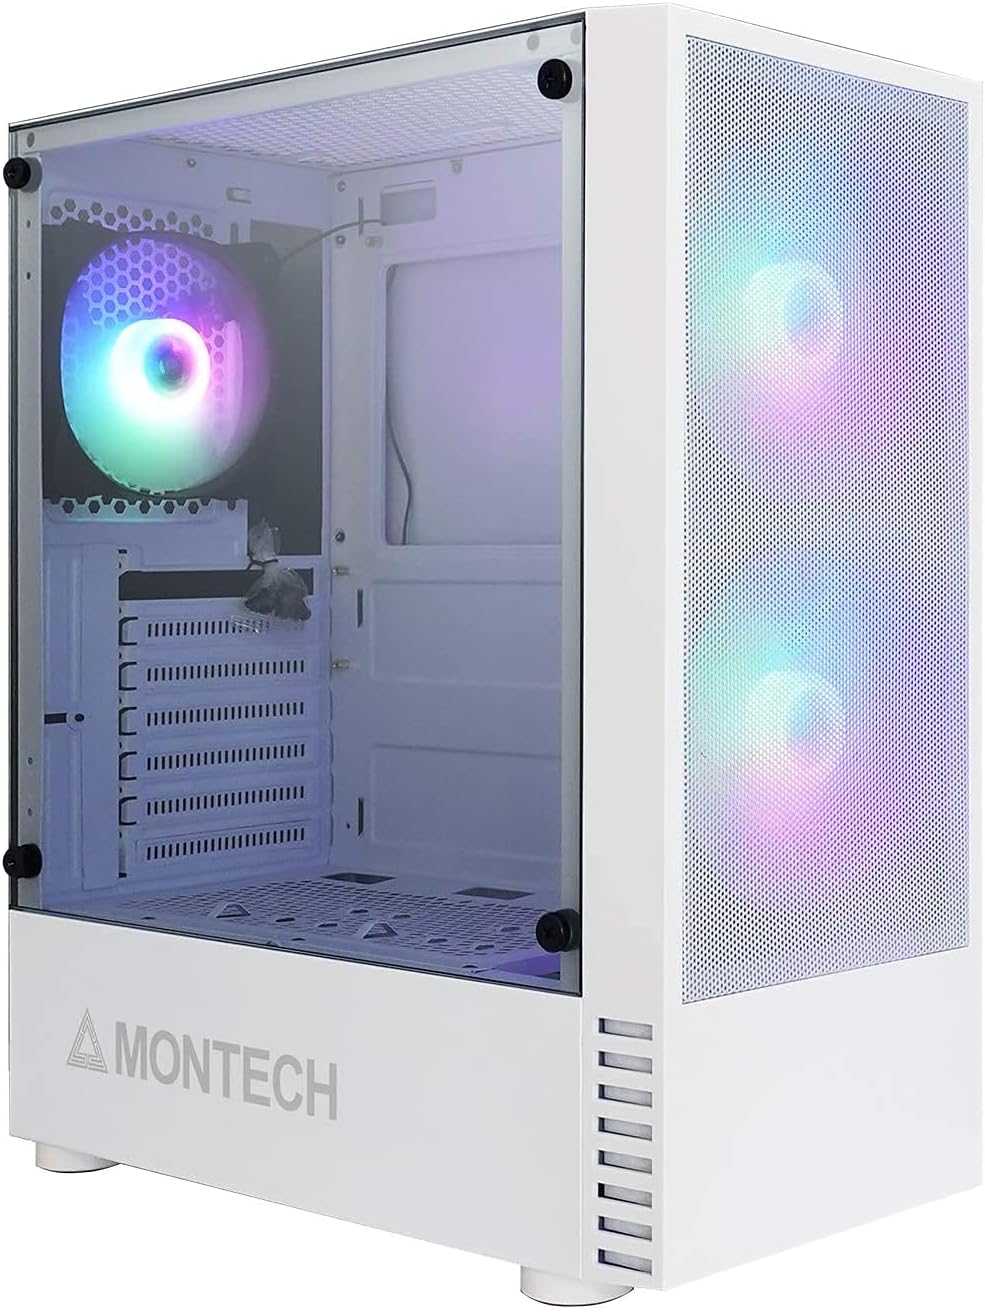
Figure 1.1: Montech X2 MESH White ATX Mid-Tower Case overview.
2. Produto rematadoview
The Montech X2 MESH case combines classic design with modern functionality. Key features include:
- Fine Mesh Front Panel: Designed for maximum air intake and dust filtration.
- Full Tempered Glass Side Panel: Proporciona unha clara view of your internal components and RGB lighting.
- Pre-installed Rainbow LED Fans: Two 140mm fans at the front and one 120mm fan at the rear for immediate cooling.
- Interior amplo: Supports ATX, Micro-ATX, and Mini-ITX motherboards, multiple storage drives, and ample wiring space.
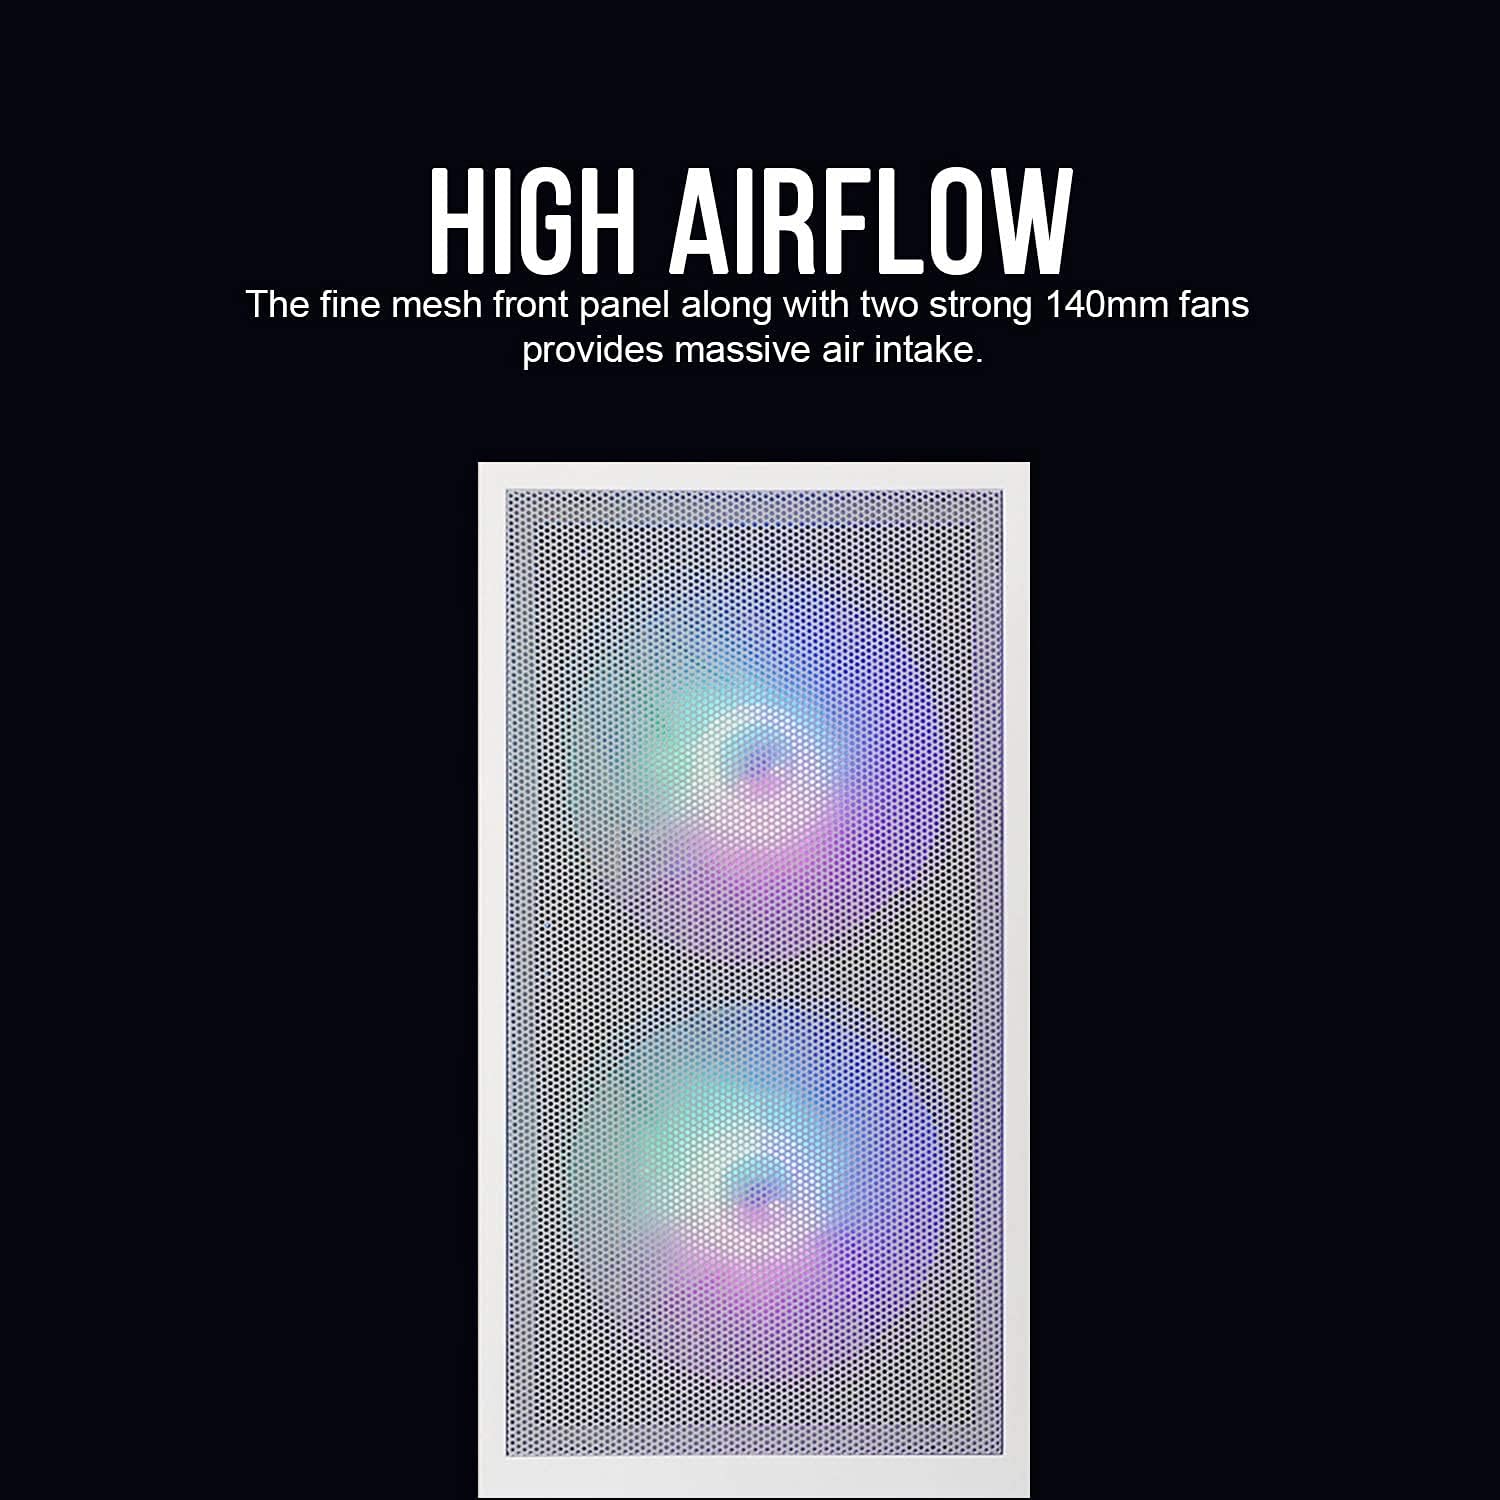
Figure 2.1: The fine mesh front panel ensures high airflow for efficient cooling.

Figure 2.2: The full tempered glass side panel allows for showcasincompoñentes internos g.
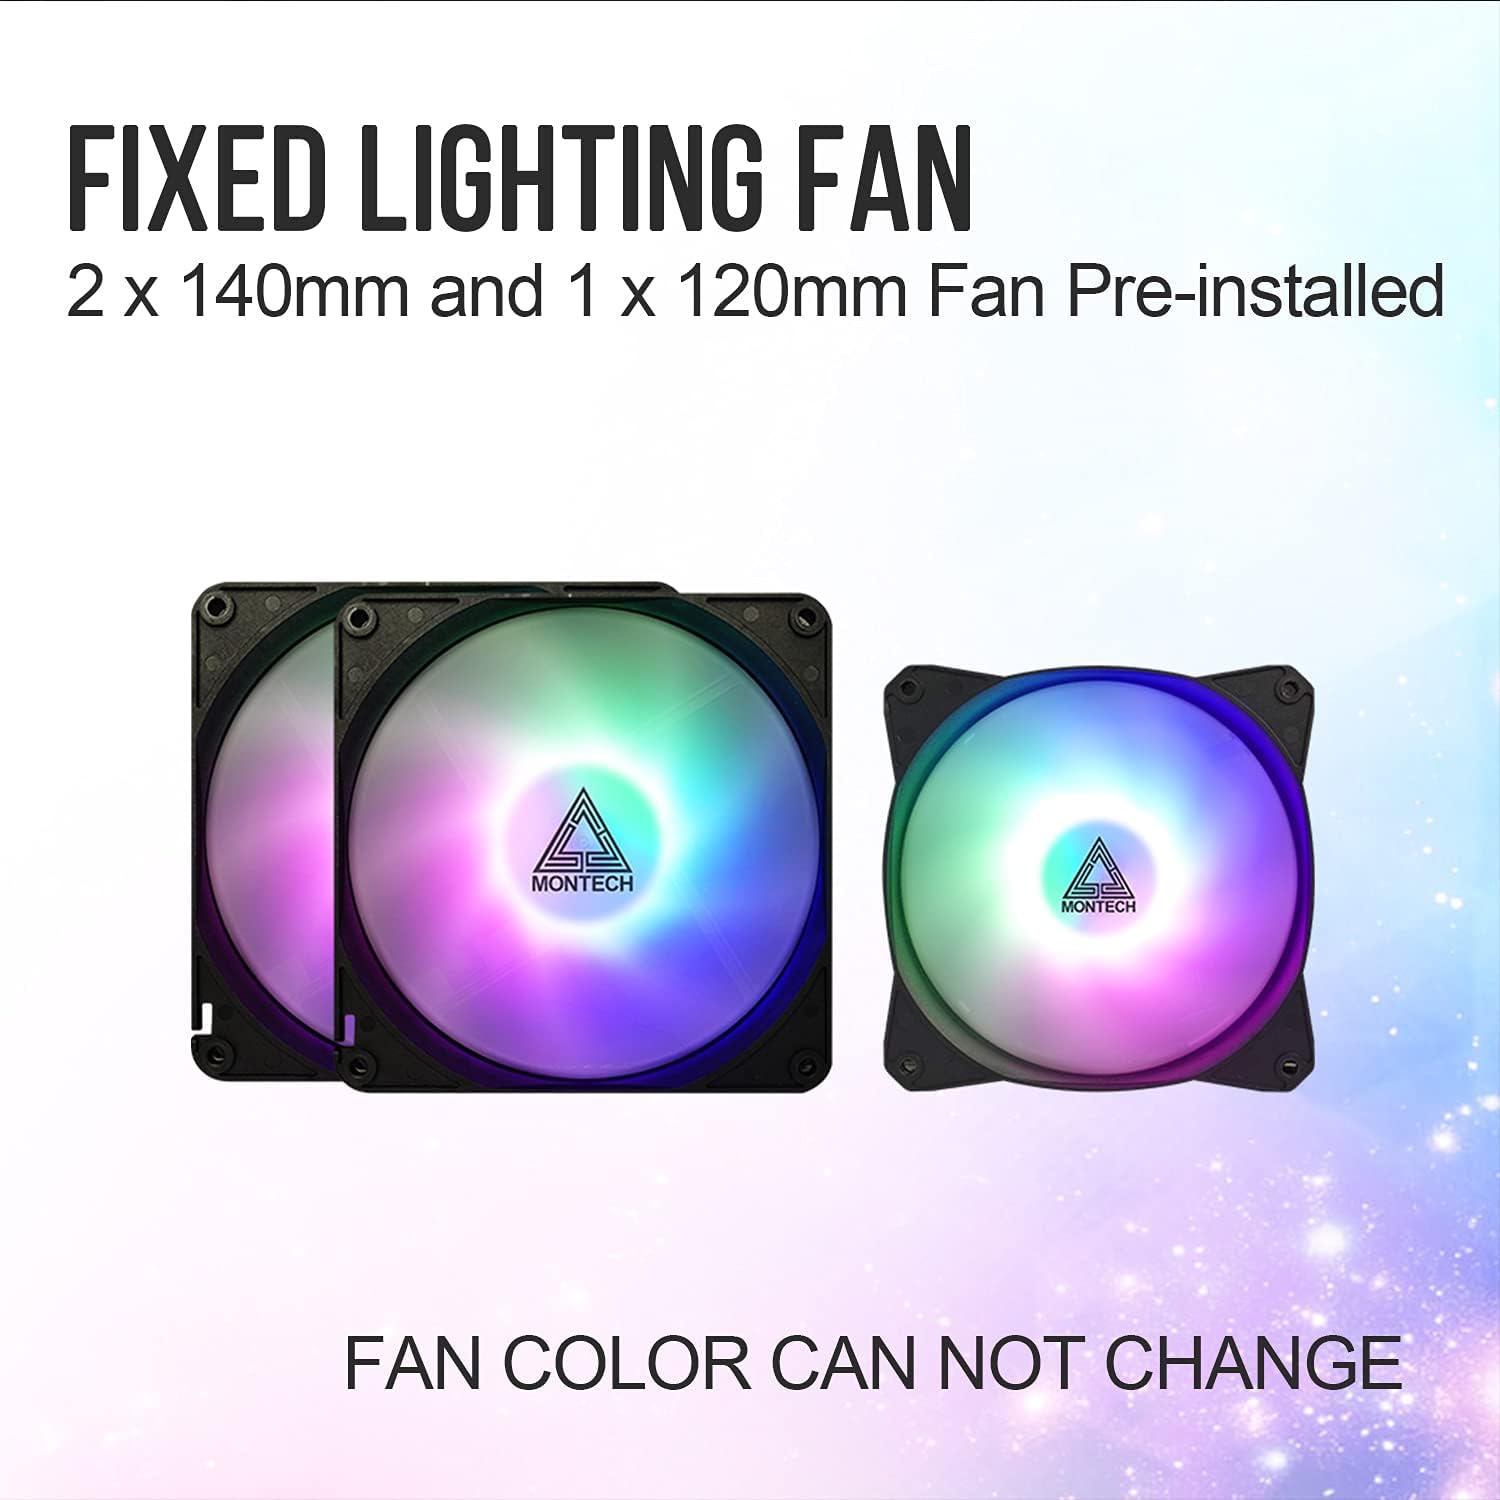
Figure 2.3: The case includes two 140mm and one 120mm pre-installed rainbow LED fans.
3. Configuración e instalación
Follow these steps for proper installation of your PC components into the Montech X2 MESH case.
3.1 Instalación da placa base
- Retire o panel lateral de vidro temperado desenroscando os parafusos de polgada.
- Instala os separadores de placa base necesarios para a túa placa base ATX, Micro-ATX ou Mini-ITX.
- Carefully place your motherboard into the case, aligning it with the standoffs and the I/O shield opening.
- Asegure a placa base con parafusos.

Figure 3.1: Internal layout showing compatibility for ATX, Micro-ATX, and Mini-ITX motherboards, along with fan placements.
3.2 Instalación da unidade de almacenamento (HDD/SSD)
- SSD de 2.5 polgadas: Mount SSDs to the dedicated SSD trays located near the PSU shroud or on the rear of the motherboard tray.
- Discos duros de 3.5 polgadas: Install HDDs into the drive cage located beneath the PSU shroud.

Figure 3.2: Locations for HDD, SSD, and PSU installation, highlighting wiring space.
3.3 Instalación da Unidade de Alimentación (PSU).
The X2 MESH supports standard ATX PSUs. Install the PSU from the rear of the case, securing it with screws. Ensure proper cable routing through the designated cutouts.
3.4 Xestión de cables
Utiliza o ample wiring space behind the motherboard tray and the cable tie-down points to manage cables neatly. This improves airflow and aesthetics.
4. Instrucións de funcionamento
Once all components are installed and connected, close the side panels. The pre-installed rainbow LED fans will illuminate upon system power-on, providing effective cooling and visual appeal. Ensure your system's power button is connected to the motherboard's front panel headers.
5. Mantemento
Un mantemento regular axuda a garantir un rendemento óptimo e unha maior lonxevidade da carcasa do teu PC.
- Cleaning the Mesh Front Panel: Periodically clean the fine mesh front panel to prevent dust buildup, which can restrict airflow. Use a soft brush or compressed air.
- Cleaning the Tempered Glass Side Panel: Use a microfiber cloth and a non-abrasive glass cleaner to keep the tempered glass panel clear and smudge-free.
- Limpeza do ventilador: Gently clean the fan blades with compressed air or a soft brush to remove dust buildup.
6 Solución de problemas
Se tes problemas, ten en conta os seguintes pasos habituais para a súa resolución:
- Sen enerxía: Ensure all power cables (24-pin ATX, 8-pin CPU, GPU, etc.) are securely connected to the motherboard and components. Check the PSU switch.
- Fans Not Spinning/LEDs Off: Verify that the fan headers are correctly connected to the motherboard or fan controller. Ensure power is supplied to the fans.
- Fluxo de aire deficiente: Check for dust buildup on the mesh panel and fans. Ensure no cables are obstructing airflow paths.
- Compoñentes soltos: If experiencing system instability, re-check all component connections (RAM, GPU, storage drives).
For persistent issues, consult your component manuals or contact Montech support.
7. Especificacións
| Característica | Especificación |
|---|---|
| Nome do modelo | X2 MESH |
| Marca | Montech |
| Tipo de caso | Media Torre |
| Cor | X2 MESH White |
| Material | Glass (Tempered Glass Side Panel) |
| Compatibilidade da placa base | ATX, Micro ATX, Mini ITX |
| Dimensións do produto (L x W x H) | 38 x 19 x 44.7 cm |
| Peso do elemento | 5.2 quilogramos |
| Ventiladores preinstalados | 2 x 140mm Rainbow LED (Front), 1 x 120mm Rainbow LED (Rear) |
| Portos USB 2.0 | 2 |
| Método de arrefriamento | Aire |
| Tipo de montaxe da fonte de alimentación | Montaxe inferior |
8. Garantía e soporte
Para obter información sobre a garantía e asistencia técnica, consulte a páxina oficial de Montech websitio web ou póñase en contacto directamente co servizo de atención ao cliente. Garde o comprobante de compra para reclamacións de garantía.