1. Introdución
This manual provides instructions for the installation, operation, and maintenance of your Blaupunkt BPDV167 HD Dashcam. This device is designed to record video footage of your vehicle's surroundings, offering continuous loop recording in 720p resolution. It features a 2.4-inch LCD screen, a built-in microphone, and supports up to a 32GB Micro SD card (an 8GB card is included).
Please read this manual thoroughly before using the dashcam to ensure proper functionality and to understand all features.
2. Produto rematadoview
2.1 Características principais
- 2.4-inch LCD Screen for real-time viewing e reprodución.
- Micrófono incorporado para gravación de audio.
- Includes an 8GB Micro SD Card; supports up to 32GB (Class 6 TF or higher recommended).
- Continuous Loop Recording ensures older fileOs ficheiros sobrescríbense cando a tarxeta de memoria está chea.
- 120-degree Wide-Angle Lens captures a broad view da estrada.
- Records video at up to 720p resolution.
- G-Sensor for automatic emergency recording upon impact.
- Parking Monitor function for surveillance when the vehicle is parked.
- Infrared light for improved night vision capabilities.
- Rechargeable battery with included car charger.
- Conexión USB para file transfer to external devices.
2.2 Contido do paquete
O paquete inclúe:
- Blaupunkt BPDV167 Dashcam
- Cargador de coche
- Mounting Bracket (Suction Cup)
- Tarxeta Micro SD de 8 GB
- Cable USB
- Manual de usuario (este documento)
2.3 Disposición do dispositivo
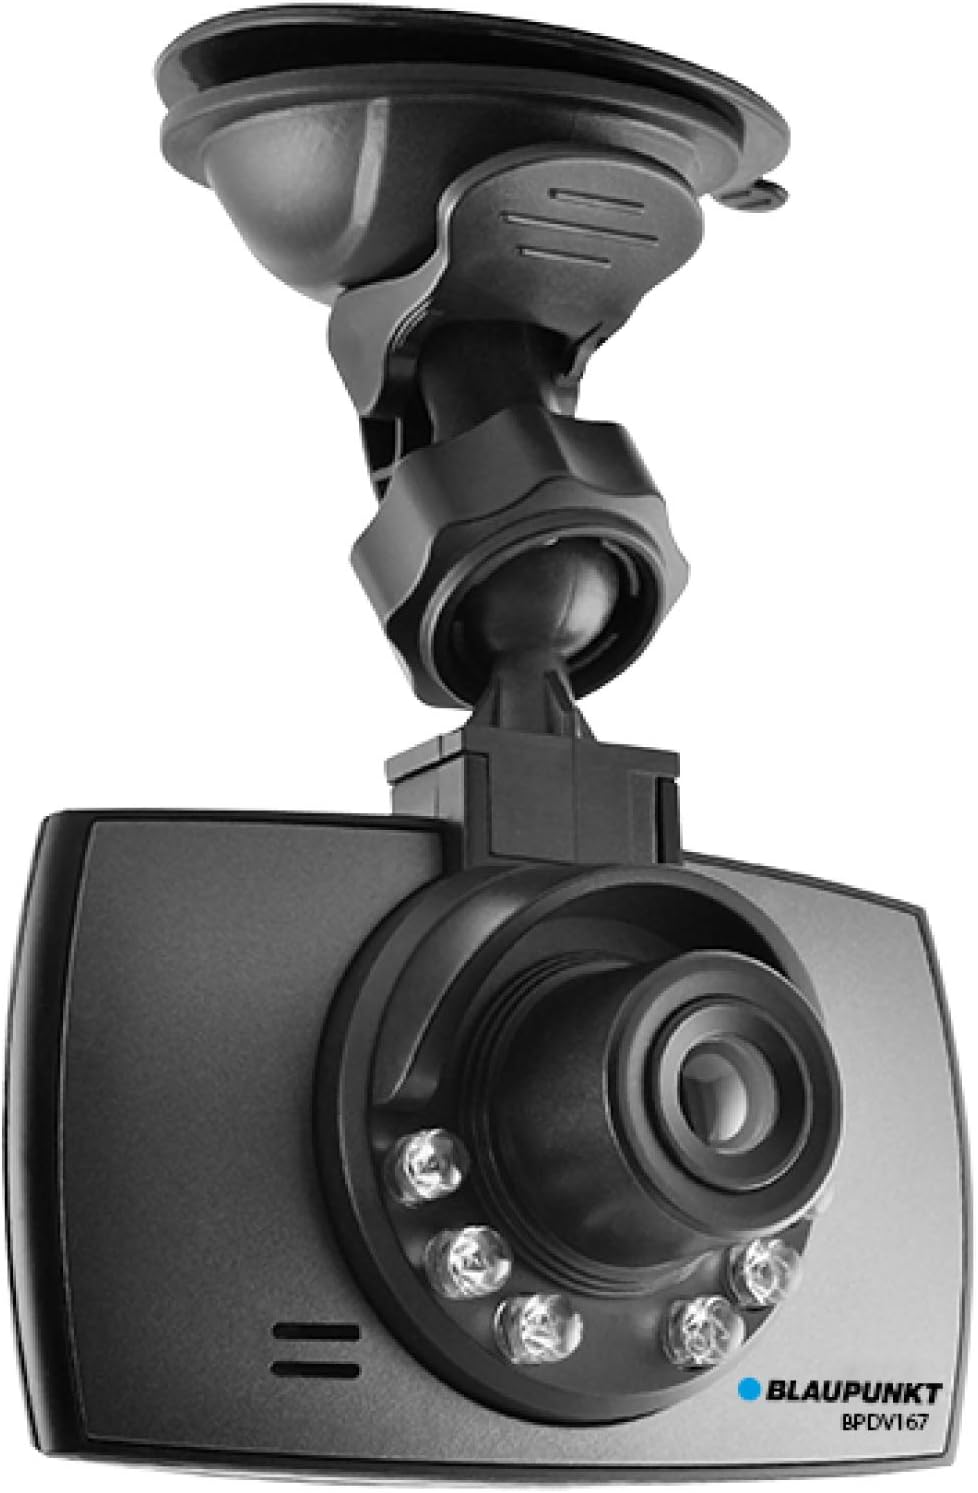
Figura 1: Fronte View of Dashcam. This image shows the front of the Blaupunkt BPDV167 dashcam, featuring the camera lens, infrared lights, and the attached suction cup mount for windshield installation.

Figura 2: Traseira View of Dashcam. This image displays the rear of the Blaupunkt BPDV167 dashcam, highlighting the 2.4-inch LCD screen, power button, menu button, mode button, and navigation/OK buttons on the right side.
Note: Specific button labels and port locations are detailed in the following sections.
3. Configuración
3.1 Inserción da tarxeta Micro SD
- Locate the Micro SD card slot on the side of the dashcam.
- Gently insert the included 8GB Micro SD card (or another compatible card up to 32GB, Class 6 TF or higher) into the slot until it clicks into place. Ensure the card is inserted with the correct orientation.
- To remove, gently push the card in until it clicks, then release, and it will spring out.
Importante: Format the Micro SD card within the dashcam's settings menu before first use and periodically thereafter to ensure optimal performance and prevent recording errors.
3.2 Mounting the Dashcam
- Clean the area on your windshield where you intend to mount the dashcam. Ensure it is free of dust and grease.
- Attach the suction cup mount to the dashcam.
- Press the suction cup firmly against the windshield and flip the lever to secure it. Position the dashcam so it has a clear view of the road and does not obstruct your driving vision.
- Adjust the angle of the camera lens to capture the desired field of view.
3.3 Conexión de alimentación
- Connect the included car charger to the dashcam's power input port.
- Conecta o outro extremo do cargador do coche á toma de corrente de 12 V do teu vehículo (toma do acendedor de cigarros).
- The dashcam will typically power on automatically when the vehicle's ignition is turned on and begin recording.
- The internal rechargeable battery allows for short-term operation without external power, useful for parking monitor mode or reviewing footage outside the vehicle.
4. Instrucións de funcionamento
4.1 Acendido/Apagado
- Automático: The dashcam powers on and off automatically with your vehicle's ignition when connected to the car charger.
- Manual: Press and hold the Power button (refer to Figure 2) for a few seconds to manually turn the dashcam on or off.
4.2 Modos de gravación
The dashcam supports several recording modes:
- Gravación en bucle: When the dashcam is powered on, it automatically begins continuous loop recording. Video files are saved in segments (e.g., 1, 3, or 5 minutes). When the memory card is full, the oldest unlocked files están sobreescritas.
- Sensor G (gravación de emerxencia): The built-in G-Sensor detects sudden impacts or collisions. When triggered, the current video segment is automatically locked and protected from being overwritten by loop recording.
- Monitor de estacionamento: When enabled in the settings, the dashcam can automatically start recording if it detects motion or impact while the vehicle is parked and the dashcam is off (powered by its internal battery).
4.3 Navegación por menús
Use the Menu button to access settings and the Up/Down/OK buttons (refer to Figure 2) to navigate and select options. Common settings include:
- Video Resolution (e.g., 720p)
- Loop Recording duration
- Sensibilidade do sensor G
- Parking Monitor On/Off
- Configuración de data/hora
- Micrófono activado / desactivado
- Formatear tarxeta SD
4.4 Reprodución e File Transferencia
- Reprodución no dispositivo: Switch to playback mode using the Mode button (refer to Figure 2). Use the Up/Down buttons to browse files and the OK button to play/pause.
- File Transfer via USB: Connect the dashcam to a computer using the provided USB cable. The dashcam will appear as a removable disk, allowing you to copy video filedirectamente ao teu ordenador.
- Lector de tarxetas Micro SD: Alternatively, remove the Micro SD card from the dashcam and insert it into a compatible card reader connected to your computer for faster file Transferir.
5. Mantemento
5.1 Cleaning the Dashcam
- Ensure the dashcam is powered off and disconnected from power before cleaning.
- Use a soft, dry cloth to wipe the body of the dashcam.
- Para a lente, use un pano e unha solución de limpeza de lentes especializados para evitar rabuñaduras.
- Non empregue produtos químicos duros nin limpadores abrasivos.
5.2 Xestión de tarxetas de memoria
- Regularly format the Micro SD card (at least once a month) through the dashcam's menu to maintain optimal recording performance and prevent data corruption.
- Facer unha copia de seguridade do vídeo importante files to a computer or external storage before formatting.
- Replace the Micro SD card if you experience frequent recording errors or file corruption, as memory cards have a limited lifespan.
6 Solución de problemas
| Problema | Causa posible | Solución |
|---|---|---|
| A cámara do salpicadero non se acende. | No power supply; faulty car charger; depleted internal battery. | Check car charger connection and vehicle's 12V outlet. Ensure the car charger is functional. Charge the internal battery. |
| A gravación párase ou files están corrompidos. | Memory card full; memory card error; incompatible or slow memory card. | Format the Micro SD card. Use a Class 6 TF or higher card. Replace the memory card if issues persist. |
| A calidade do vídeo é deficiente ou borrosa. | Protective film on lens; dirty lens; incorrect resolution setting. | Remove any protective film. Clean the camera lens. Ensure video resolution is set to 720p in settings. |
| Dashcam freezes or becomes unresponsive. | Erro de software; problema coa tarxeta de memoria. | Press and hold the Power button to force a restart. If possible, use the reset button (if available). Format or replace the Micro SD card. |
| Audio is not recording. | Microphone is turned off in settings. | Check the dashcam's settings menu to ensure the microphone is enabled. |
7. Especificacións
| Característica | Detalle |
|---|---|
| Modelo | BPDV167 |
| Tamaño da pantalla | LCD de 2.4 polgadas |
| Resolución de captura de vídeo | 720 p |
| Ángulo da lente | 120-degree Wide-Angle |
| Almacenamento | Micro SD Card (8GB included), supports up to 32GB (Class 6 TF) |
| Tecnoloxía de conectividade | USB |
| Características especiais | Built-In Microphone, G-Sensor, Parking Monitor, Infrared Light, Loop Recording |
| Método de control | Toca |
| Fonte de enerxía | Rechargeable Battery, Car Charger (12V) |
| Peso do elemento | 7.4 onzas |
| Dimensións do paquete | 5.98 x 5.08 x 2.87 polgadas |
| Fabricante | BLAUPUNKT |


