1. Introdución
This manual provides detailed instructions for the TERIOS Wireless Controller, designed for use with Nintendo Switch and Switch Lite consoles. It features advanced functionalities such as button programming, turbo mode, and adjustable vibration, enhancing your gaming experience with precision and control.

Figure 1: TERIOS Wireless Controller (Purple & Yellow)
2. Configuración e conexión
Follow these steps to connect your TERIOS Wireless Controller to your Nintendo Switch or Switch Lite console:
- Paso 1: Acenda a súa consola Nintendo Switch.
- Paso 2: Navega ata Configuración do sistema > Modo avión > Conexión do controlador (Bluetooth), and ensure it is set to 'On'.
- Paso 3: Ir a Controladores setting > Click Cambiar Grip/Orden.
- Paso 4: Press and hold down the "H" (Home) button on the TERIOS controller until the LED light flashes. Once paired, the player LED(s) corresponding to the controller number will remain lit.

Figure 2: Key features of the TERIOS Wireless Controller, including wireless connectivity and programmable buttons.
3. Instrucións de funcionamento
3.1. Función Turbo
The turbo function allows for rapid, repeated button presses. To activate or deactivate:
- To activate: Hold the Turbo button and press the button you wish to assign it to. Release the Turbo button. Now, holding the assigned button will simulate repeated presses.
- To deactivate: Press the Turbo button and the assigned button once more.
To change the Turbo speed:
- Aumentar a velocidade: Preme o Turbo Button + push the Right Analog Stick up to cycle through speeds: 5 times/second → 12 times/second → 20 times/second.
- Diminuír a velocidade: Preme o Turbo Button + push the Right Analog Stick down to cycle through speeds: 20 times/second → 12 times/second → 5 times/second.

Figure 3: Turbo function settings on the controller.
3.2. Axuste da intensidade da vibración
The controller offers 4 levels of vibration intensity for a more realistic gaming experience. You can manually adjust the motor vibration:
- Increase Strength: Preme Turbo + push the Left Analog Stick up to cycle through strengths: 0% → 30% → 70% → 100%.
- Decrease Strength: Preme Turbo + push the Left Analog Stick down to cycle through strengths: 100% → 70% → 30% → 0%.
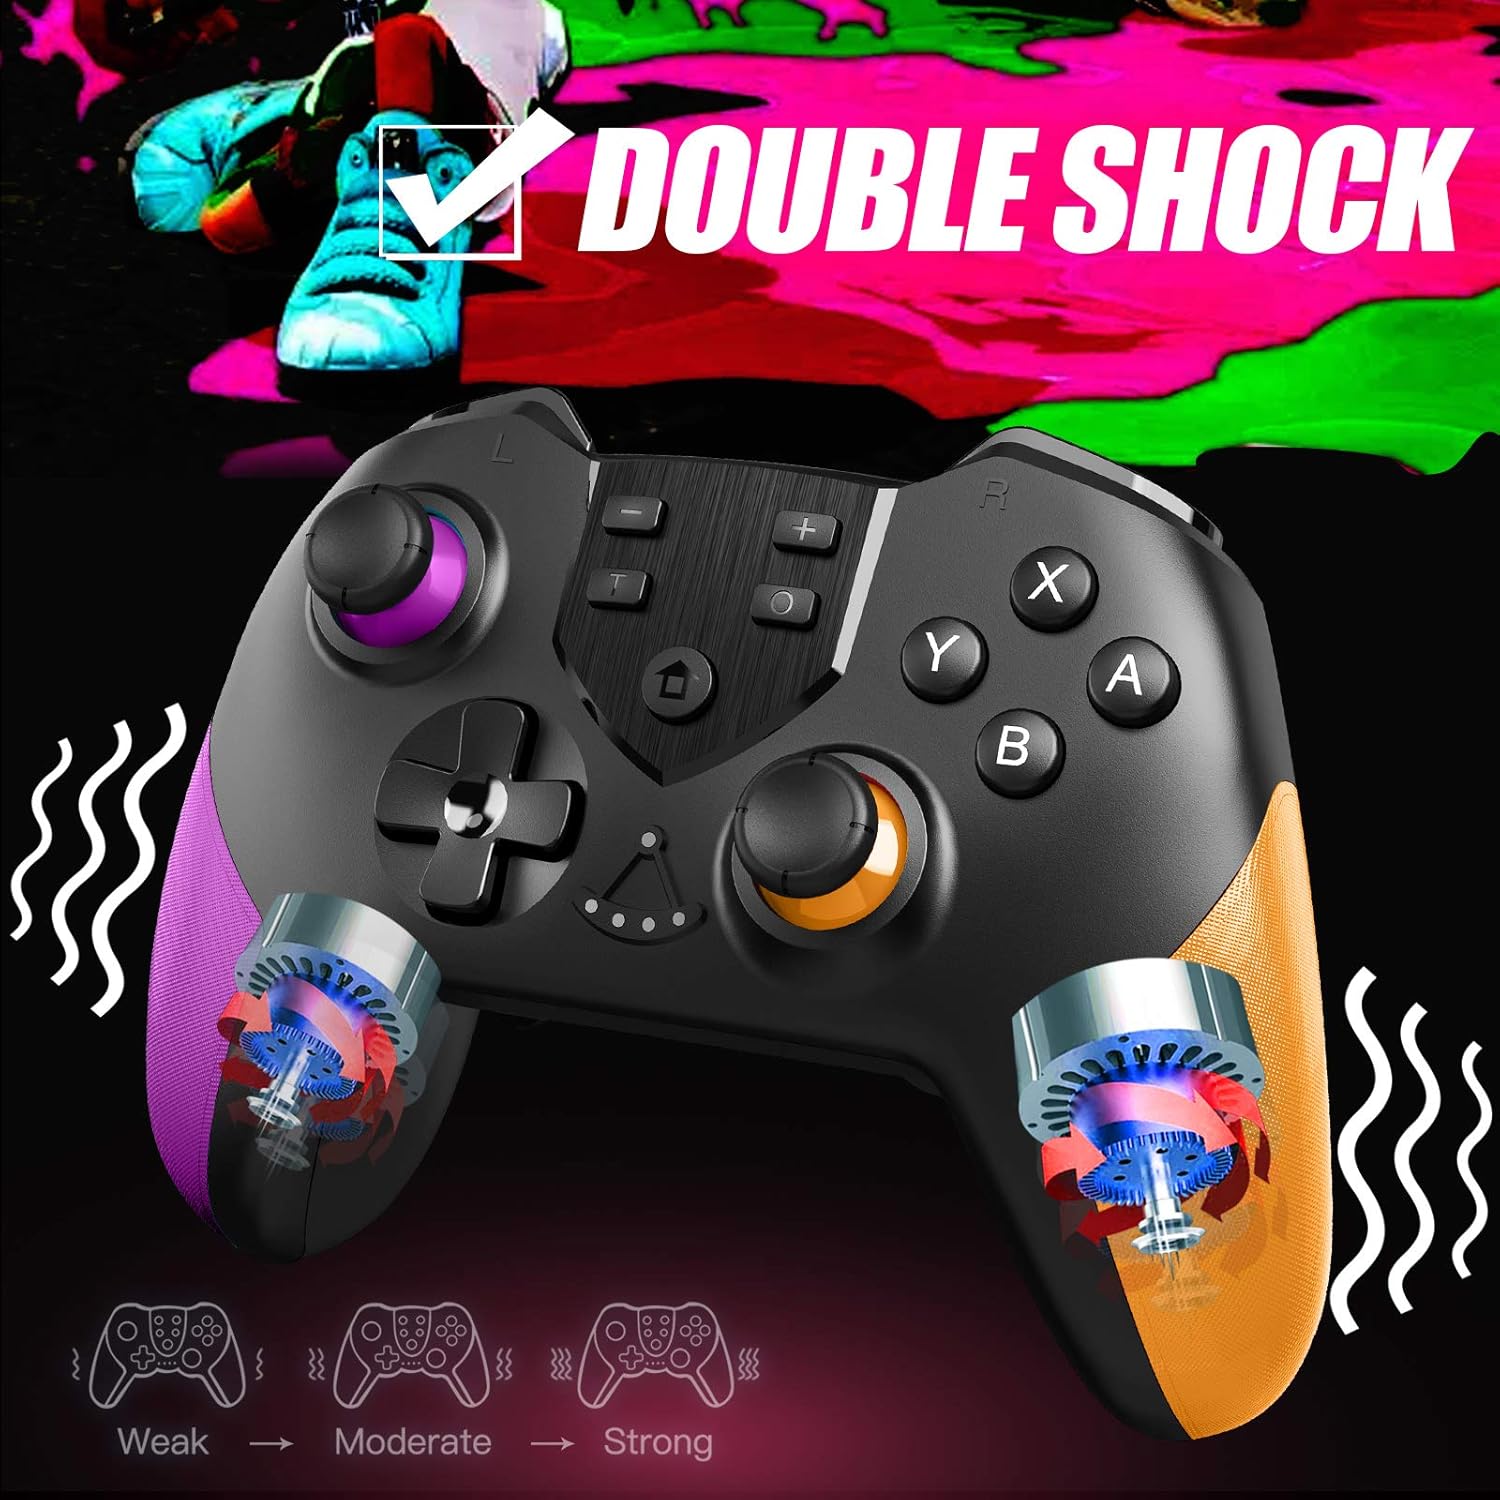
Figure 4: Adjustable vibration intensity levels.
3.3. Button Programming (M1/M2 Back Buttons)
The TERIOS wireless gaming controller provides a fully customizable individual button programming experience using the M1 and M2 back buttons. There are three programming modes:
Mode 1: Single Key Programming
Assign a single button to M1 or M2.
- Preme M1 (or M2) & "+" to activate setting.
- Press the button you want to assign to (e.g., "Y").
- Preme M1 (or M2) again to save setting.
Video: How to Set up Back Button Programming Mode? (Includes Single Key, Triggered in Sequence, and Triggered Simultaneously modes).
Mode 2: Triggered in Sequence
Assign a sequence of button presses to M1 or M2.
- Preme M1 (or M2) & "+" to activate setting.
- Press the buttons you want to assign in sequence (e.g., "Y > Y > X > Y").
- Preme M1 (or M2) again to save setting.
Mode 3: Triggered Simultaneously
Assign multiple buttons to be pressed at the same time to M1 or M2.
- Preme M2 (or M1) & "-" to activate setting.
- Press the buttons simultaneously you want to assign to (e.g., "L1 + X").
- Preme M2 (or M1) again to save setting.

Figure 5: Location of M1 and M2 programmable back buttons.
4. Mantemento
To ensure the longevity and optimal performance of your TERIOS Wireless Controller, follow these maintenance guidelines:
- Limpeza: Use un pano suave e seco para limpar o controlador regularmente. Para a sucidade persistente, dóreo lixeiramente.ampEnxágüe o pano con auga ou un limpador electrónico suave. Evite a humidade excesiva.
- Almacenamento: Garde o controlador nun lugar fresco e seco, lonxe da luz solar directa, de temperaturas extremas e de alta humidade.
- Coidado da batería: For optimal battery life, avoid fully discharging the controller frequently. Charge it regularly, especially if it will be stored for an extended period.
- Manexo: Evite deixar caer o controlador ou sometelo a impactos fortes, xa que isto pode danar os compoñentes internos.
5 Solución de problemas
If you encounter issues with your TERIOS Wireless Controller, try the following solutions:
- Controller Won't Pair/Respond/Flashing Light: If the controller won't pair, respond, or is displaying a flashing light, you may need to reset it. Use a small tool (like a paperclip) to push the reset button, usually located in a small hole on the back or bottom of the controller. This will prompt the controller to resync.
- Latencia ou desconexión: Ensure the controller is fully charged. Move closer to the console to reduce interference. Check for any strong wireless signals nearby that might cause interference.
- Botóns que non responden: Ensure the controller is properly connected. If specific buttons are unresponsive, try resetting the controller. If the issue persists, contact customer support.
- Problemas de carga: Ensure the charging cable is securely connected to both the controller and a power source. Try a different USB-C cable or charging port.
6. Especificacións
| Característica | Detalle |
|---|---|
| Marca | TERIOS |
| Plataforma de hardware | Nintendo Switch |
| Peso do elemento | 7.4 onzas |
| Dimensións do produto | 6.1 x 4.53 x 2.56 polgadas |
| Cor | Purple&Yellow |
| Fonte de enerxía | Alimentado por batería |
| Baterías | 1 pilas de polímero de litio necesarias (incluidas) |
| Tecnoloxía de conectividade | Sen fíos |
| Tipo de controlador | Joystick |
| Primeira data dispoñible | 8 de xaneiro de 2021 |
7. Garantía e soporte
TERIOS products are covered for repair or replacement of broken units for a period of 12 meses desde a data de compra. We also offer premium customer support, including lifetime online technical support.
For further assistance, troubleshooting, or to access additional resources, please visit our official support page:
A detailed User Manual is also available in PDF format for download: Descargar o manual de usuario (PDF)


