1. Introdución
This manual provides comprehensive instructions for the installation, operation, and maintenance of your CALEX Smart Mini Indoor IP Camera. Please read this manual thoroughly before using the product to ensure proper functionality and safety.
The CALEX Smart Mini Indoor IP Camera is a Wi-Fi surveillance camera offering 1080P Full HD resolution, night vision capabilities, two-way audio communication, and flexible storage options via MicroSD card or cloud.
2. Contido do paquete
Verifica que todos os elementos estean presentes no paquete:
- 1 x CALEX Smart Mini Indoor IP Camera
- 1 x Power Adapter (AC 220-240 V, 50/60 Hz input; DC 5 V output)
- 1 x cable USB
- 1 x Manual de usuario (este documento)
- Mounting accessories (if applicable, not explicitly listed but common for cameras)

Figure 2.1: CALEX Smart Mini Indoor IP Camera and its retail packaging. The packaging highlights 1080P Full HD, Wi-Fi 2.4 GHz, and compatibility with the Calex Smart app.
3. Produto rematadoview
Familiarize yourself with the components of your CALEX Smart Mini Indoor IP Camera.
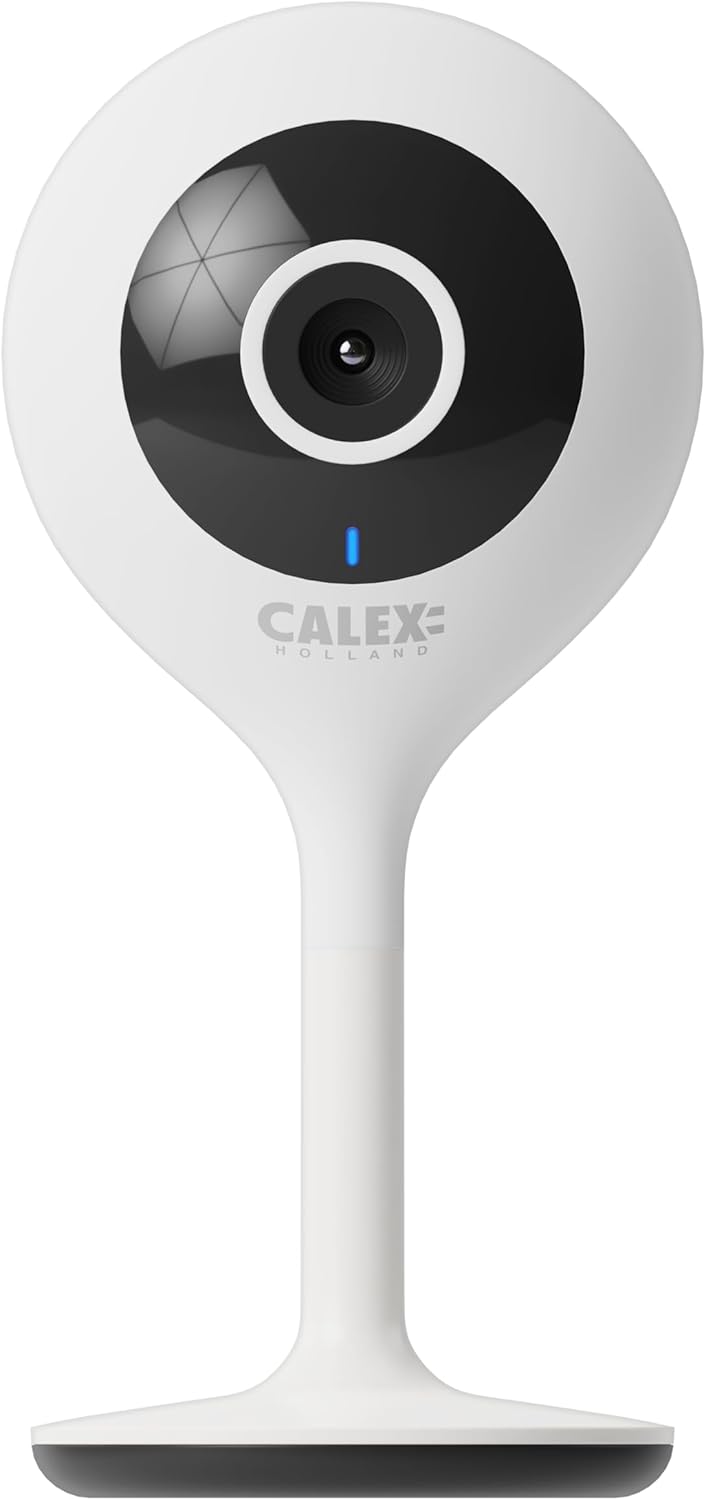
Figura 3.1: Fronte view of the CALEX Smart Mini Indoor IP Camera. It features a central lens, an indicator light, and the CALEX HOLLAND logo.

Figura 3.2: Traseira view of the CALEX Smart Mini Indoor IP Camera. This view shows the speaker grille, a reset button, and the MicroSD card slot. The USB power input is located at the base.
Características principais:
- Resolución Full HD 1080P: Ofrece un vídeo claro e detalladotage.
- Visión nocturna: Equipped with infrared LEDs for clear monitoring in low-light or dark conditions.
- Audio bidireccional: Micrófono e altofalante integrados para a comunicación.
- Conectividade Wi-Fi: Connects to your home Wi-Fi network (2.4 GHz only).
- Almacenamento local: Supports MicroSD card for continuous recording or event-triggered recording.
- Almacenamento na nube: Optional cloud storage service for secure off-site recording.
- Detección de movemento: Alerts and records upon detecting movement.
- Control de aplicacións móbiles: Xestionar e view live feed via the Calex Smart app.
- Compatibilidade do asistente de voz: Funciona con Amazon Alexa e Google Home.
4. Configuración e instalación
4.1 Antes de comezar
- Ensure your Wi-Fi network is 2.4 GHz. The camera does not support 5 GHz Wi-Fi.
- Ten a man o nome da túa rede Wi-Fi (SSID) e o contrasinal.
- Download the "Calex Smart" app from your mobile device's app store.
- Place the camera within range of your Wi-Fi router.

Figure 4.1: QR codes for downloading the Calex Smart app. Scan the appropriate QR code for your device (iOS or Android) to download the application.
Download the Calex Smart app here: iOS App Store | Google Play Store
4.2 Pasos de configuración iniciais
- Encendido: Connect the camera to a power outlet using the provided USB cable and power adapter. The camera's indicator light will begin to flash, indicating it is ready for pairing.
- Open Calex Smart App: Launch the Calex Smart app on your smartphone. If you are a new user, register an account. If you already have an account, log in.
- Engadir dispositivo: Tap the "+" icon in the top right corner of the app to add a new device. Select "Security & Video Surveillance" and then "Smart Camera".
- Confirm Indicator Status: Follow the in-app instructions. Confirm that the indicator light on your camera is flashing rapidly.
- Introduza os detalles da wifi: Enter your 2.4 GHz Wi-Fi network name and password when prompted.
- Escanear código QR: The app will generate a QR code. Hold your phone with the QR code approximately 15-20 cm (6-8 inches) in front of the camera lens. The camera will emit a sound when it successfully scans the QR code.
- Conexión: Tap "I heard a prompt" in the app. The camera will then attempt to connect to your Wi-Fi network. Once connected, the indicator light will turn solid blue.
- Nome do dispositivo: Once connected, you can name your camera (e.g., "Living Room Camera", "Nursery Camera").


Figura 4.2: Examples of the Calex Smart app interface. The left image shows a live camera feed with options for screenshot, speaking, and recording. The right image shows a settings screen within the app.
5. Uso da cámara
5.1 En directo View
Open the Calex Smart app and select your camera from the device list to access the live video feed. You can view the feed in portrait or landscape mode.

Figure 5.1: A user viewing the live feed from the CALEX Smart Mini Indoor IP Camera on their smartphone.
5.2 Audio bidireccional
Mentres está en directo view, toca a icona do micrófono para falar polo altofalante da cámara. Toca a icona do altofalante para escoitar o audio do micrófono da cámara.
5.3 Gravación e reprodución
- Gravación manual: Tap the "Record" button in the live view interface to start or stop manual recording. Recordings are saved to your phone's gallery.
- Captura de pantalla: Tap the "Screenshot" button to capture a still image from the live feed.
- Gravación en tarxeta MicroSD: Insert a MicroSD card (up to 128GB, not included) into the camera's slot for continuous or event-triggered recording. Ensure the card is formatted within the app settings.
- Almacenamento na nube: Subscribe to the cloud storage service via the app for secure, off-site storage of event recordings.
- Reprodución: Acceso gravado footage from the "Playback" section within the camera's settings in the app.

Figure 5.2: The Calex Smart app interface displaying options for cloud storage and video playback. This allows users to review eventos rexistrados.
5.4 Detección de movemento e alertas
Configure motion detection sensitivity and alert settings in the app. You will receive push notifications on your smartphone when motion is detected.
5.5 Control por voz (Alexa/Google Home)
To integrate your camera with Amazon Alexa or Google Home, follow the instructions in the respective voice assistant app to enable the "Calex Smart" skill/action. You can then use voice commands to view a imaxe da cámara en pantallas intelixentes compatibles.

Figure 5.3: A couple using voice commands with an Amazon Echo device, demonstrating the camera's compatibility with smart home ecosystems like Alexa and Google Home.
6. Mantemento
- Limpeza: Usa un pano suave e seco para limpar a lente e o corpo da cámara. Non empregues produtos de limpeza líquidos nin aerosois.
- Actualizacións de firmware: Periodically check the Calex Smart app for available firmware updates for your camera. Keeping the firmware updated ensures optimal performance and security.
- Restablecer a cámara: If you experience connectivity issues or need to reconfigure the camera, locate the reset button on the back of the device (refer to Figure 3.2). Use a pin or a straightened paperclip to press and hold the reset button for approximately 5-10 seconds until the indicator light flashes rapidly. This will restore the camera to factory settings.
7 Solución de problemas
| Problema | Causa posible | Solución |
|---|---|---|
| A cámara non se conecta á wifi. | Incorrect Wi-Fi password; 5 GHz Wi-Fi network; camera too far from router; Wi-Fi signal interference. |
|
| Sen transmisión de vídeo en directo. | Camera offline; poor internet connection; app issue. |
|
| Tarxeta MicroSD non recoñecida. | Card not inserted correctly; card corrupted; unsupported card size/format. |
|
| O audio bidireccional non funciona. | Microphone/speaker muted in app; low volume; app permissions. |
|
8. Especificacións
| Característica | Detalle |
|---|---|
| Nome do modelo | Seguridade intelixente |
| Número de modelo | 5501000300 |
| Resolución | Full HD 1080p |
| Conectividade | Wi-Fi (só 2.4 GHz) |
| Entrada de enerxía | AC 220-240 Volts, 50/60 Hz |
| Saída de enerxía (adaptador) | DC 5 voltios |
| Consumo de enerxía | 5 vatios |
| Dimensións (L x W x H) | 3.2 x 5.3 x 11 cm (1.26 x 2.09 x 4.33 polgadas) |
| Peso | 167 gramos (0.37 libras) |
| Material | Plástico |
| Cor | Branco |
| Opcións de almacenamento | MicroSD (ata 128 GB), almacenamento na nube |
| Características especiais | Night Vision, Two-Way Audio, Motion Detection, Compatible with Alexa/Google Home |
| Ambiente de uso | Interior |
9. Garantía e soporte
CALEX products are designed and manufactured to the highest quality standards. For warranty information and technical support, please refer to the official CALEX websitio web ou póñase en contacto directamente co servizo de atención ao cliente.
Fabricante: CALEX
Para obter máis asistencia, visite o CALEX Official Websitio.
10. Información de seguridade
- Non expoñas a cámara á auga nin á humidade. Este produto está deseñado só para uso en interiores.
- Non intente desmontar nin reparar a cámara vostede mesmo. Encargue calquera mantemento a persoal cualificado.
- Use only the provided power adapter and cable to prevent damage or fire.
- Keep the camera away from direct sunlight, heat sources, and strong magnetic fields.
- Ensure the camera is placed on a stable surface to prevent it from falling.


