1. Introdución
Grazas pola compraasing the Technics SL-1200MK7 Direct Drive Turntable. This manual provides essential information for the proper setup, operation, and maintenance of your new turntable. Please read this manual thoroughly before using the product to ensure optimal performance and longevity.
The Technics SL-1200MK7 is engineered for precision and durability, offering a high-quality audio experience for both professional DJs and audiophiles. Its robust construction and advanced features make it a reliable choice for vinyl playback.
2. Información de seguridade
To prevent electric shock, fire, or damage to the unit, please observe the following safety precautions:
- Non expoña esta unidade á choiva nin á humidade.
- Non retire a tapa. Encárguese da reparación só a persoal cualificado.
- Non coloque obxectos cheos de líquidos, como vasos, na unidade.
- Asegúrese de que haxa unha ventilación axeitada. Non bloquee as aberturas de ventilación.
- Empregue só a fonte de alimentación especificada para esta unidade.
- Disconnect the power plug from the wall outlet if the unit will not be used for a long period.
- Evite colocar a unidade baixo a luz solar directa ou preto de fontes de calor.
3. Guía de configuración
3.1 Desembalaxe e compoñentes incluídos
Retire con coidado todos os compoñentes da embalaxe. Asegúrese de que estean presentes os seguintes elementos:
- Technics SL-1200MK7 Turntable Unit
- Lid (Dust Cover)
- Cable de alimentación
- RCA Signal Cable
- Prato
- Slipmat
- Contrapeso
- Headshell with Cartridge (may be sold separately)
- Adaptador de 45 rpm
3.2 Colocación
Place the turntable on a stable, level surface, away from direct sunlight, heat sources, and strong magnetic fields. Ensure there is adequate space around the unit for ventilation and cable connections. Avoid placing it near speakers to minimize vibrations that could affect playback quality.

Figura 3.2.1: Principal view of the Technics SL-1200MK7 Turntable, showcasing its sleek grey finish and classic design. This image provides an overview of the unit's primary components.
3.3 Asemblea
- Instalación do prato: Carefully place the platter onto the spindle. Ensure it sits flush and rotates freely.
- Slipmat Placement: Coloca o tapete incluído enriba da bandexa.
- Funda antipolvo: Attach the dust cover to the hinges at the rear of the unit.
- Cartridge and Headshell: If not pre-installed, attach your preferred cartridge to the headshell. Ensure the stylus is protected during installation.
- Tonearm Balance: Mount the headshell onto the tonearm. Adjust the counterweight until the tonearm is balanced and floats horizontally.
- Forza de seguimento: Set the tracking force according to your cartridge manufacturer's specifications using the tonearm's tracking force dial.
- Antipatrón: Adjust the anti-skate dial to match the tracking force setting.
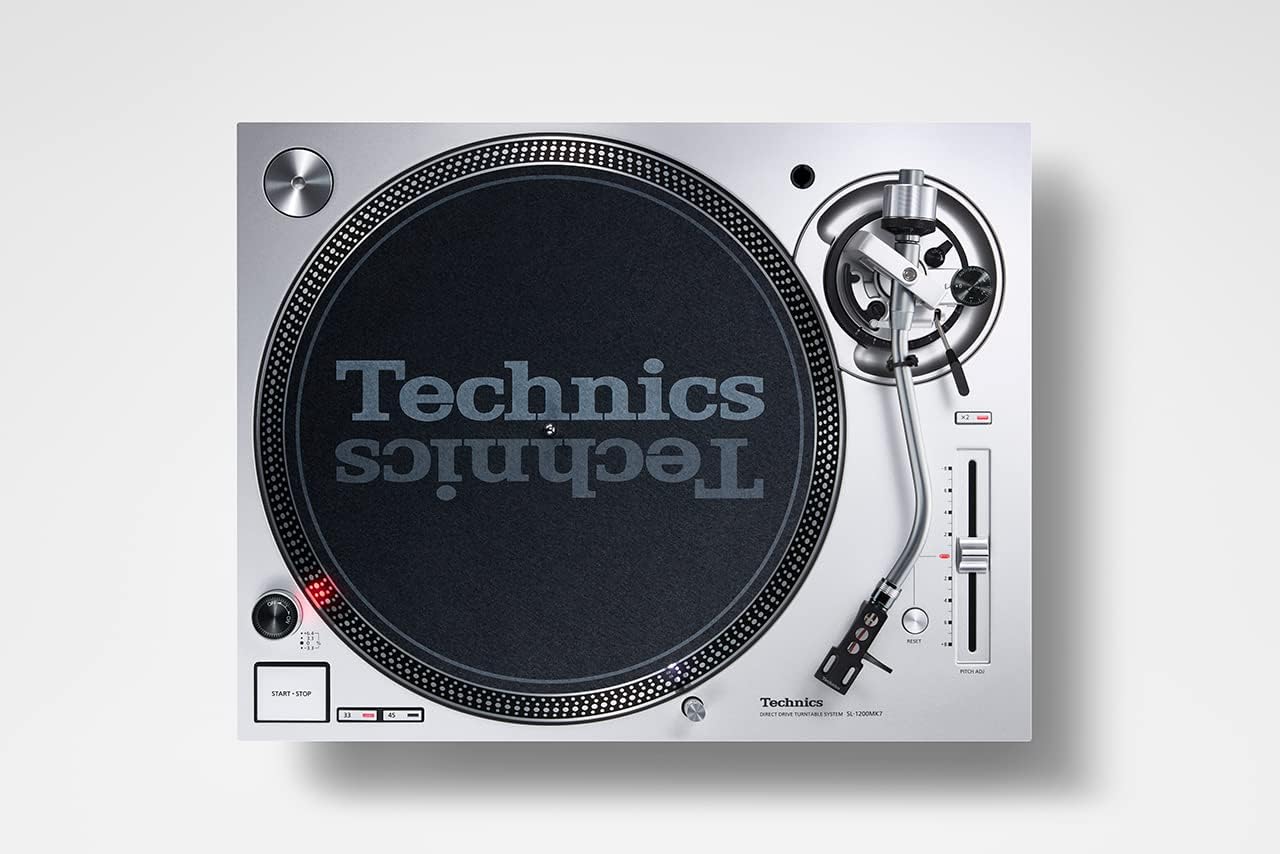
Figura 3.3.1: De arriba abaixo view of the Technics SL-1200MK7, highlighting the platter, tonearm, and control layout. This perspective is useful for understanding component placement during assembly.
3.4 Conexións
- Saída RCA: Connect the supplied RCA signal cable from the turntable's RCA output jacks to the PHONO input of your amplifier ou phono preamplifier. Ensure correct left (white) and right (red) channel connections.
- Fío de terra: Conecta o cable de terra do tocadiscos ao terminal de terra do teu amplifier ou phono preamplificador para minimizar o zumbido.
- Potencia: Connect the power cable to the turntable and then to a suitable wall outlet.

Figura 3.4.1: Lateral view of the Technics SL-1200MK7, illustrating its sturdy base and adjustable feet. This view helps in understanding the unit's profile and stability features.
4. Instrucións de funcionamento
4.1 Acendido/Apagado
To power on the turntable, rotate the power switch/strobe illuminator knob clockwise. The strobe light will illuminate. To power off, rotate the knob counter-clockwise until it clicks off.
4.2 Reproducindo un disco
- Coloca un disco no prato.
- Select the appropriate speed (33 ⅓, 45, or 78 RPM) using the speed selector buttons. For 78 RPM, refer to the advanced settings in the full manual.
- Prema o botón START/STOP para iniciar a rotación do prato.
- Levante suavemente o brazo usando a palanca de sinalización.
- Position the tonearm over the desired groove of the record.
- Baixa lentamente a palanca de sinalización para permitir que o punteiro baixe sobre o disco.
- To stop playback, lift the tonearm using the cueing lever and return it to the tonearm rest. Press the START/STOP button to stop the platter.
4.3 Pitch Control
The SL-1200MK7 features a pitch control slider to adjust the playback speed. Move the slider up or down to increase or decrease the speed. The RESET button instantly returns the pitch to 0%.
5. Mantemento
5.1 Limpeza
- Funda antipolvo: Limpar cun pano suave e seco. Para marcas difíciles, usar un pano lixeiramente seco.amp pano e deterxente suave e, a continuación, seque ben.
- Platter and Chassis: Use a soft, lint-free cloth. Avoid abrasive cleaners.
- Stylus: Use a dedicated stylus brush or cleaner. Always brush from back to front.
5.2 Substitución do punteiro
The stylus is a delicate component and wears over time. Replace it according to your cartridge manufacturer's recommendations (typically every 500-1000 hours of playback). Refer to your cartridge manual for specific replacement instructions.
6 Solución de problemas
| Problema | Causa posible | Solución |
|---|---|---|
| Sen son nin baixo volume | Conexións incorrectas; Amplifier input not set to PHONO; Cartridge/stylus issue. | Check RCA and ground connections. Ensure amplifier is set to PHONO input. Verify cartridge is properly installed and stylus is not damaged. |
| Son distorsionado | Incorrect tracking force/anti-skate; Worn or dirty stylus; Damaged record. | Adjust tracking force and anti-skate. Clean or replace stylus. Inspect record for damage. |
| O prato non xira | Power not connected; START/STOP button not pressed. | Check power cable connection. Press the START/STOP button. |
| Saltar ou saltar | Dust on stylus/record; Incorrect tracking force/anti-skate; Turntable not level; Vibrations. | Clean stylus and record. Re-adjust tracking force and anti-skate. Ensure turntable is level and on a stable surface. |
7. Especificacións
| Característica | Detalle |
|---|---|
| Nome do modelo | SL 1200 |
| Número de modelo do artigo | SL-1200MK7EG |
| Marca | Técnicas |
| Cor | Gris |
| Material | Aluminio |
| Tecnoloxía de conectividade | Auxiliar |
| Velocidade de rotación máxima | 78 RPM (supports 33 ⅓, 45, and 78 RPM) |
| Peso do elemento | 22 libras (aprox. 10 kg) |
| Dimensións do paquete | 21.34 x 17.17 x 9.53 polgadas |
| Compoñentes incluídos | Lid, power cable, RCA signal cable |
8. Garantía e soporte
For warranty information and technical support, please refer to the warranty card included with your product or visit the official Technics websitio. Garda o comprobante de compra para calquera reclamación de garantía.
For further assistance, you may contact Technics customer service through their official channels. Please have your model number (SL-1200MK7EG) and serial number ready when contacting support.


