Información importante de seguridade
Lea atentamente todas as instrucións antes da montaxe e o uso. Garde este manual para futuras consultas.
WARNING: This product requires assembly and proper mounting to prevent falling or breaking. Always use appropriate tools and follow the instructions provided. Keep the mirror away from heat sources and areas where it can be easily knocked over. In case of breakage, clean up shattered glass immediately to prevent injury.
This mirror features an explosion-proof film. In the event of accidental breakage, this film helps prevent fragments from scattering, enhancing safety.

Figure 1: Explosion-proof film feature for enhanced safety.
Configuración e montaxe
The HOMCOM Full Length Mirror offers two installation options: freestanding or wall-mounted.

Figure 2: The mirror can be used freestanding or wall-mounted.
Configuración independente
- Unpack all components and ensure no parts are missing.
- Carefully unfold the integrated kickstand located at the back of the mirror.
- Ensure the reinforced bar is securely locked into place to provide stability for the stand.
- Place the mirror on a flat, stable surface, ensuring the kickstand is fully extended and the mirror is balanced.

Figura 3: Fronte, lateral e traseira views of the mirror, illustrating the freestanding mechanism.
Configuración montada na parede
For wall mounting, ensure the wall material is suitable for supporting the mirror's weight (approximately 15 pounds).
- Locate the wall mount holes on the back of the mirror frame.
- Measure the distance between the mounting holes.
- Mark the desired mounting location on your wall, ensuring it is level.
- Drill appropriate pilot holes and insert wall anchors if necessary (not included).
- Securely fasten screws (not included) into the wall, leaving a small portion exposed to hang the mirror.
- Carefully lift the mirror and align the wall mount holes with the screws on the wall.
- Ensure the mirror is firmly seated and stable on the wall.

Figure 4: Detail of the wall mount hole on the mirror frame.
Funcionamento e uso
This full-length mirror is designed for dressing, getting ready, applying makeup, and decorative purposes in various rooms such as bedrooms, living rooms, and bathrooms.
- Dressing and Grooming: Use the mirror for a head-to-toe view of your outfit.
- Colocación: Position the mirror in a location that provides adequate lighting for optimal reflection.
- Estabilidade: If freestanding, ensure the mirror is on a level surface and not in a high-traffic area where it could be easily knocked over.
- Uso decorativo: The simple and elegant design complements various interior styles.

Figura 5: Example of freestanding mirror placement in a bedroom.
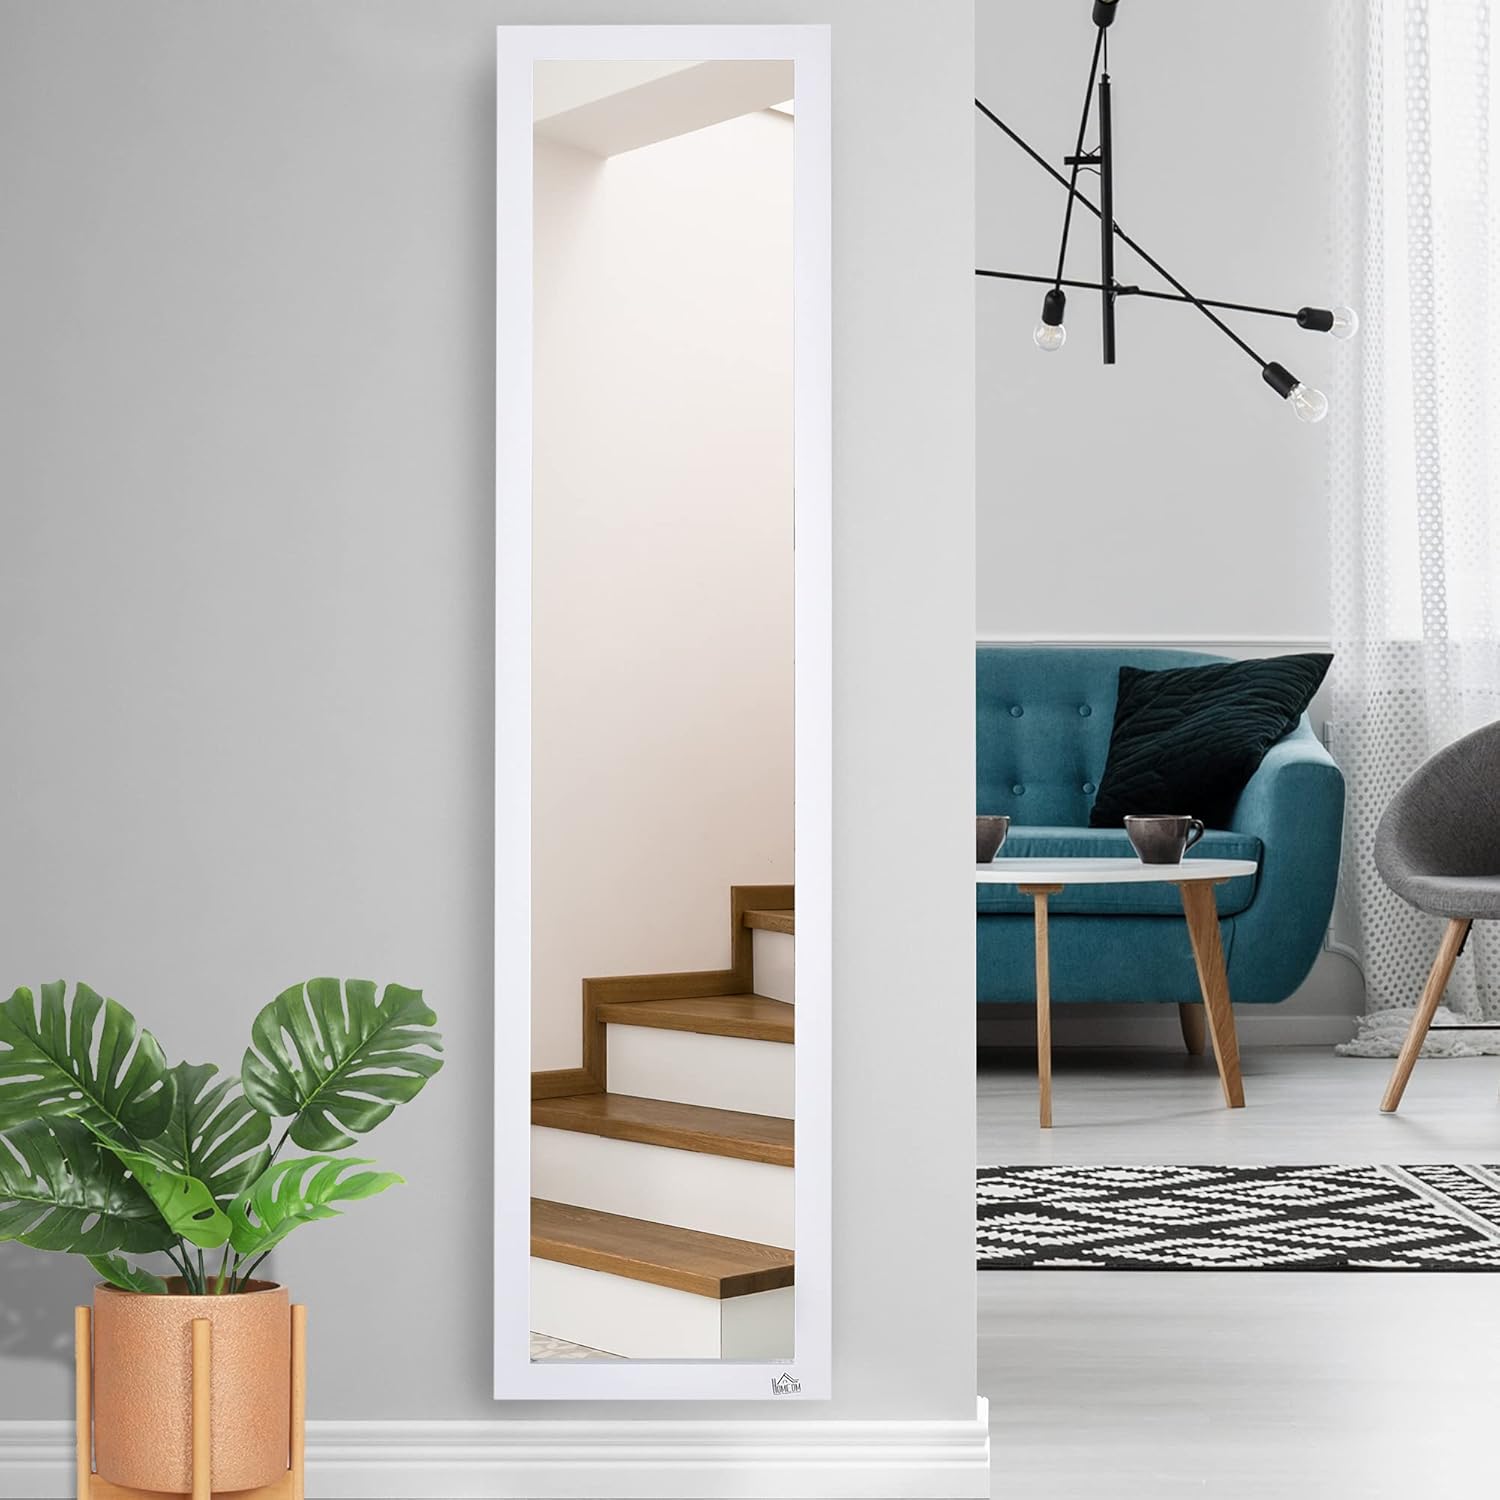
Figura 6: Example of wall-mounted mirror placement in a living room.
Mantemento e coidados
Proper care will ensure the longevity and clarity of your mirror.
- Limpeza da superficie do espello: Use a soft, lint-free cloth and a non-abrasive glass cleaner. Spray the cleaner onto the cloth, not directly onto the mirror, to avoid streaks and drips. Wipe gently in a consistent direction.
- Limpeza do cadro: The frame is made of engineered wood. Wipe it with a soft, damp pano. Evite produtos químicos agresivos ou produtos de limpeza abrasivos que poidan danar o acabado.
- Desempolvado: Limpa regularmente o espello e o marco cun pano suave e seco para evitar acumulacións.
- Evitar a humidade: While suitable for bathrooms, avoid prolonged exposure to excessive moisture or direct water spray to protect the frame.
- Inspección: Periodically check the stability of the freestanding stand or the wall mounting hardware to ensure it remains secure.
Resolución de problemas
If you encounter any issues with your mirror, refer to the following common solutions:
- Mirror is Unstable (Freestanding):
- Ensure the mirror is placed on a completely flat and level surface.
- Verify that the kickstand is fully extended and the reinforced bar is securely engaged.
- Check the feet of the stand for any obstructions or unevenness.
- Mirror is Not Secure (Wall-Mounted):
- Re-check the wall mounting hardware. Ensure screws are properly seated in wall anchors and the mirror's mounting holes.
- Confirm that the wall material can adequately support the mirror's weight. Consider using stronger anchors if needed.
- Streaks on Mirror Surface:
- Use a clean, lint-free microfiber cloth.
- Apply glass cleaner to the cloth first, rather than directly to the mirror.
- Wipe in a single, consistent direction (e.g., top to bottom) to avoid circular streaks.
- Minor Scratches on Frame:
- For minor blemishes on the white engineered wood frame, a touch-up paint pen in a matching white color may be used.
Especificacións
| Característica | Detalle |
|---|---|
| Número de modelo | 831-389V80 |
| Marca | HOMCOM |
| Dimensións xerais | 14.5 cm de ancho x 14.5 cm de fondo x 60.75 cm de alto |
| Mirror Dimension | 11.5" de ancho x 57.75" de alto |
| Peso do elemento | 15 libras |
| Material do marco | Madeira de enxeñería |
| Cor | Branco |
| Tipo de montaxe | Freestanding or Wall Mount |
| Requírese montaxe | Si |

Figure 7: Detailed dimensions of the HOMCOM Full Length Mirror.
Garantía e Soporte
For warranty information or technical support, please contact the manufacturer, Aosom LLC, or your retailer directly. Keep your purchase receipt and model number (831-389V80) handy when contacting support.
Fabricante: Aosom LLC
For further assistance, please visit the HOMCOM store on Amazon: Tenda HOMCOM


