1. Introdución
Thank you for choosing the COSTWAY Portable Twin Tub Washing Machine. This appliance is designed for convenient and efficient laundry care in compact living spaces such as apartments, RVs, and dorms. Featuring separate wash and spin tubs, it allows for simultaneous washing and spinning, saving time and effort. This manual provides essential information for safe operation, installation, maintenance, and troubleshooting to ensure optimal performance and longevity of your washing machine.

Image 1.1: The COSTWAY Portable Twin Tub Washing Machine, Model 10021US-BL-CYPF, in a typical home setting.
2. Instrucións de seguridade importantes
Please read all instructions carefully before using this appliance to reduce the risk of fire, electric shock, or injury to persons.
- Asegúrese de que a fonte de alimentación coincida co voltage requisitos especificados no aparello.
- Non fagas funcionar a lavadora cun cable de alimentación ou enchufe danados.
- Manteña o aparello lonxe de fontes de calor e luz solar directa.
- Non mergulle as pezas eléctricas en auga nin noutros líquidos.
- Vixiar aos nenos cando o aparello estea en uso.
- Always unplug the machine from the power outlet before cleaning or performing any maintenance.
- Do not overload the wash or spin tubs beyond their specified capacities.
- Ensure the drain hose is properly positioned to prevent water leakage.
- Avoid using excessively hot water, as the plastic material may be damaged.
- Do not open the spin tub lid until the spinning cycle has completely stopped.
3. Produto rematadoview e Compoñentes
The COSTWAY Portable Twin Tub Washing Machine features a dual-tub design for washing and spinning clothes. Key components include:
- Tina de lavado: Capacity of 18 lbs for washing clothes.
- Bañeira de xiro: Capacity of 8 lbs for spinning clothes dry.
- Panel de control: Includes knobs for Wash Timer, Wash Selector (Gentle, Normal, Drain), and Spin Timer.
- Bomba de drenaxe: Built-in for efficient water drainage.
- Mangueira de entrada: For connecting to a water source.
- Mangueira de drenaxe: For directing wastewater.
- Clear Lids: Allows observation of the washing and spinning process.
- Filtro desmontable: For collecting lint and dirt during washing.

Image 3.1: Twin Tub Design with specified capacities for washing and spinning.

Image 3.2: Easy Operation Control Panel featuring wash and spin timers and wash mode selector.

Image 3.3: Humanized Design elements including the spin lid, safety cover, dual water inlet, and detachable filter.

Image 3.4: Powerful Dual Motor system with 280W washing motor, 140W spinning motor, and built-in drain pump.
4. Instrucións de configuración
- Desembalaxe: Carefully remove the washing machine from its packaging. Retain packaging materials for future transport if needed.
- Colocación: Place the washing machine on a firm, level surface to prevent vibrations and noise during operation. Ensure it is near a water source and a suitable drain. The compact design makes it suitable for various locations.
- Conexión de entrada de auga: Connect the provided inlet hose to the water inlet on the machine and to a water faucet. Ensure connections are secure to prevent leaks.
- Drain Hose Positioning: Position the drain hose into a sink, bucket, or floor drain. Ensure the hose is not kinked or blocked to allow for proper water drainage. The built-in drain pump will assist in expelling water.
- Conexión de alimentación: Enchufe o cable de alimentación a unha toma eléctrica conectada a terra.

Image 4.1: Product dimensions for proper placement and setup.

Image 4.2: Included inlet and outlet pipes for water connection and drainage.
5. Instrucións de funcionamento
5.1 Washing Cycle
- Cargar roupa: Open the wash tub lid and place clothes loosely into the wash tub. Do not exceed the 18 lbs capacity.
- Engadir deterxente: Add the appropriate amount of laundry detergent directly into the wash tub.
- Enche de auga: Fill the wash tub with water to the desired level. You can use warm or cold water. Avoid excessively hot water.
- Seleccionar o modo de lavado: Rotate the "Wash Selector" knob to choose between "Gentle", "Normal", or "Drain" depending on the fabric type.
- Axustar o temporizador de lavado: Rotate the "Wash Timer" knob to set the desired washing time (up to 15 minutes). The machine will start automatically.
- Drenaxe de auga: Unha vez finalizado o ciclo de lavado, xire o botón "Selector de lavado" á posición "Drenaxe" para baleirar a auga da cuba de lavado.
5.2 Ciclo de Spin
- Roupa de transferencia: Carefully transfer the washed clothes from the wash tub to the spin tub. Distribute them evenly to prevent imbalance. Do not exceed the 8 lbs capacity.
- Secure Spin Lid: Place the safety cover and close the spin tub lid securely.
- Axustar o temporizador de centrifugado: Rotate the "Spin Timer" knob to set the desired spinning time (up to 5 minutes). The machine will begin spinning.
- Quitar a roupa: Once the spin cycle is complete and the tub has stopped rotating, open the lid and remove the spun clothes.

Image 5.1: Operational steps for loading, filling, and selecting wash/spin modes.
5.3 Demostración en vídeo
Video 5.2: A comprehensive demonstration of the washing machine's features and operation (2:07 duration).
Vídeo 5.3: Unha análise detalladaview of the washing machine's functionality (1:49 duration).
6. Mantemento
Un mantemento regular garante a lonxevidade e o funcionamento eficiente da túa lavadora.
- Cleaning the Detachable Filter: Periodically remove and clean the detachable filter located in the wash tub to prevent lint and debris buildup. Rinse it under running water and reinsert.
- Limpeza exterior: Limpe o exterior da máquina cun suave, damp cloth. Avoid abrasive cleaners or solvents that could damage the plastic surface.
- Draining After Use: Always ensure all water is drained from both tubs after each use to prevent mildew and odors.
- Almacenamento: If storing the machine for an extended period, ensure it is completely dry and unplugged. Store in a cool, dry place.
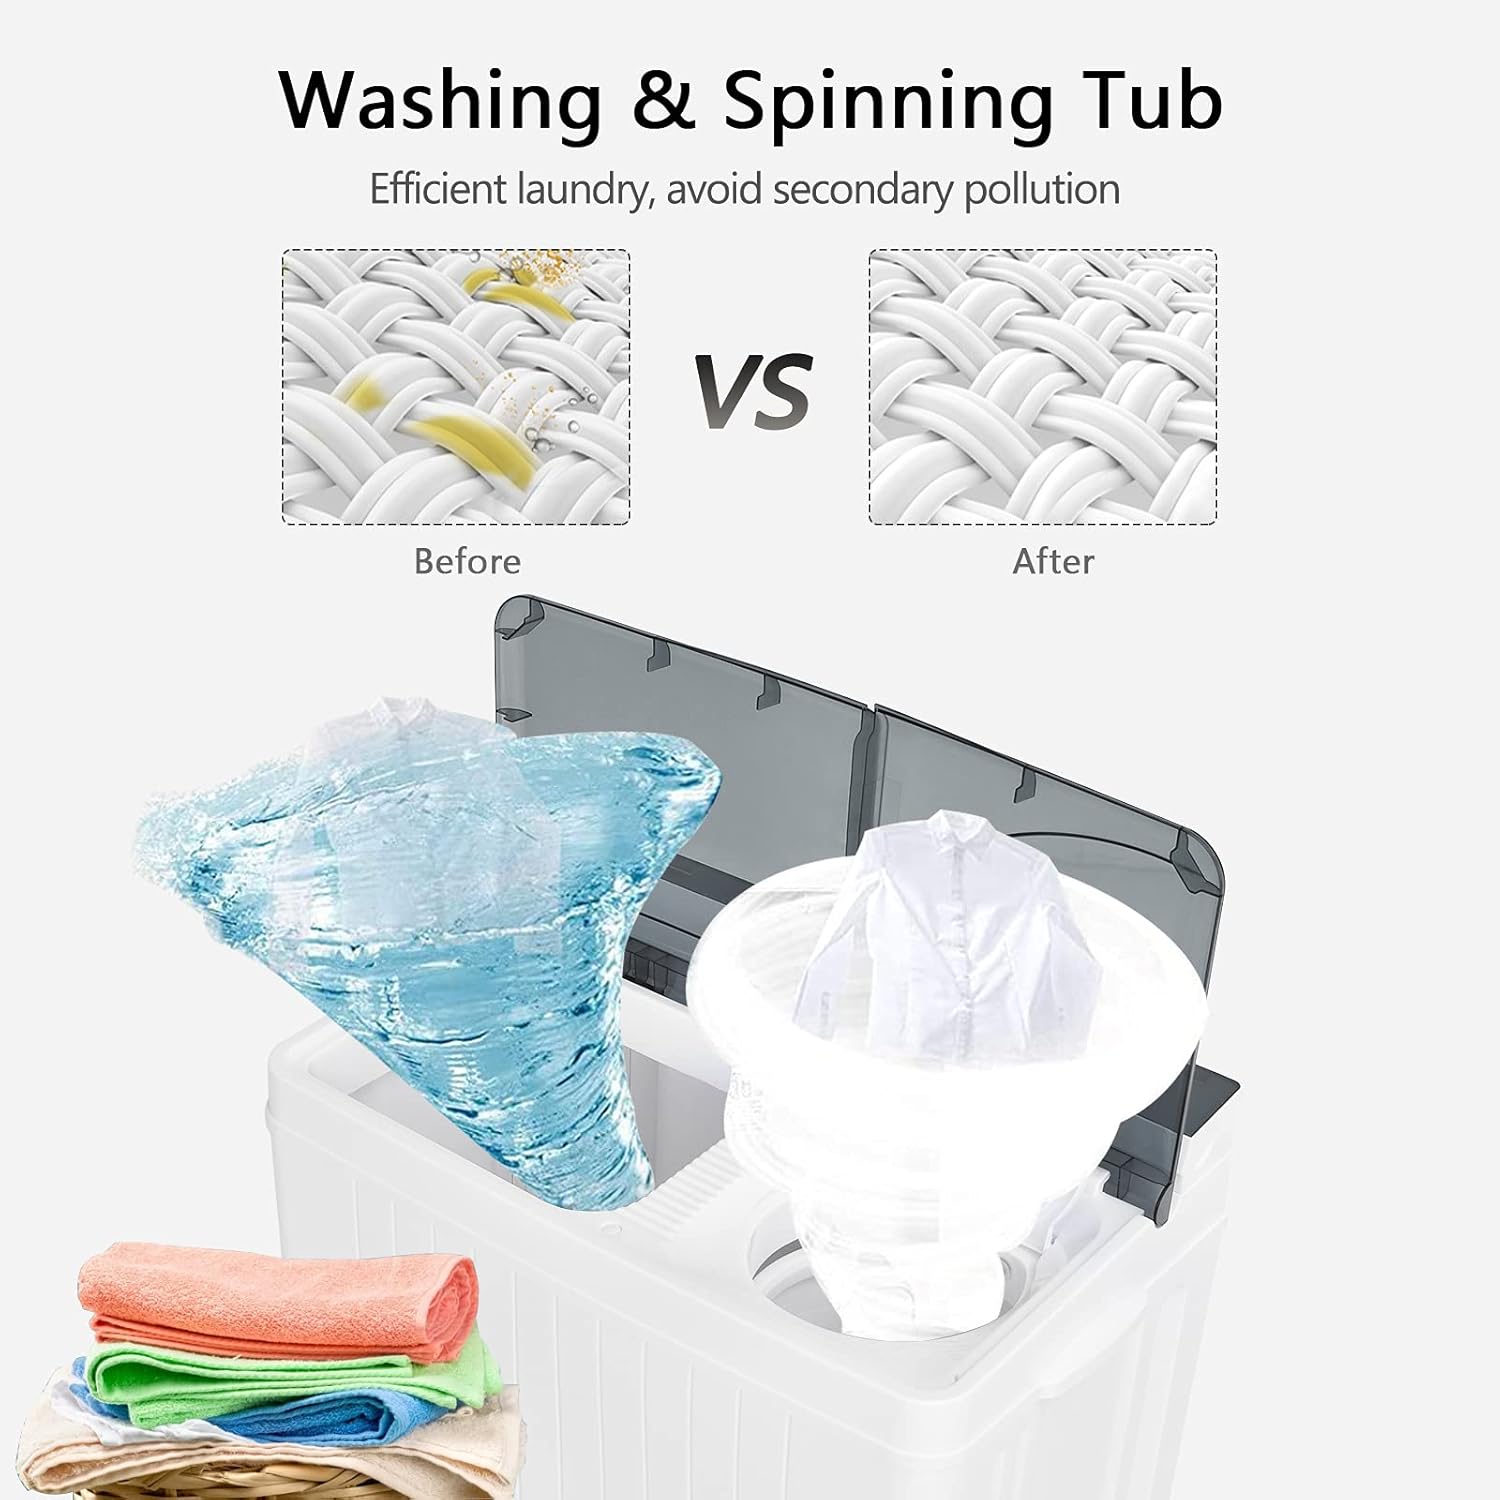
Image 6.1: Illustration of effective washing and spinning, highlighting the importance of maintenance for optimal results.
7 Solución de problemas
Consulta a táboa seguinte para ver os problemas comúns e as súas solucións.
| Problema | Causa posible | Solución |
|---|---|---|
| A máquina non arranca | Non conectado; apagadotage; Timer not set. | Check power connection; Verify power supply; Set the wash/spin timer. |
| A auga non drena | Drain hose kinked or blocked; Drain selector not set to "Drain". | Straighten drain hose; Clear any blockages; Turn the Wash Selector to "Drain". |
| Excessive vibration or noise during spin | Clothes unevenly distributed in spin tub; Machine not on a level surface. | Rearrange clothes evenly; Ensure machine is on a stable, level surface. |
| Fuga de auga | Inlet/drain hose connections loose; Overfilling the tub. | Tighten hose connections; Do not fill water above the maximum level indicator. |
| Clothes tangling | Overloading the wash tub; Incorrect wash mode for fabric type. | Reduce load size; Select "Gentle" mode for delicate items. |
8. Especificacións
| Característica | Detalle |
|---|---|
| Marca | COSTWAY |
| Número de modelo | 10021US-BL-CYPF |
| Peso do elemento | 34 libras |
| Dimensións do produto (L x W x H) | 26.5 x 16.5 x 31.5 polgadas |
| Capacidade de lavado | 18 libras |
| Capacidade de xiro | 8 libras |
| Capacidade total | 26 libras |
| Velocidade máxima de xiro | 1300 RPM |
| Tipo de instalación | Autónomo |
| Características especiais | Portátil, compacto |
| Cor | Gris |
| Consola de control | Pomo |
| Ciclos Estándar | 5 (Gentle, Normal, Drain, Wash, Spin) |
| Localización de acceso | Carga superior |
| Tipo de material | Plástico (ABS, PP) |
| Compoñentes incluídos | Drain Hose, Inlet Hose, Manual |
9. Garantía e soporte
For warranty information, product support, or to purchase replacement parts, please contact COSTWAY customer service. Refer to the contact information provided with your purchase documentation or visit the official COSTWAY websitio.
Websitio: www.costway.com
Please have your model number (10021US-BL-CYPF) and purchase date ready when contacting support.


