1. Introdución
Thank you for choosing the ETA Falco Smart Robot Vacuum Cleaner with Mopping Function. This manual provides essential information for the safe and efficient operation, maintenance, and troubleshooting of your device. Please read this manual thoroughly before using the product and keep it for future reference.
Información importante de seguridade
- Always ensure the robot is placed on a stable, level surface.
- Manteña o dispositivo lonxe da auga e da humidade.
- Do not allow children or unauthorized persons to operate the robot.
- Use only the original charging adapter and accessories provided.
- Before cleaning or maintenance, ensure the robot is powered off and unplugged from the charging station.
- Avoid operating the robot near open flames or flammable materials.
2. Produto rematadoview
Compoñentes e controis
Familiarize yourself with the main parts and controls of your ETA Falco Smart robot vacuum cleaner.
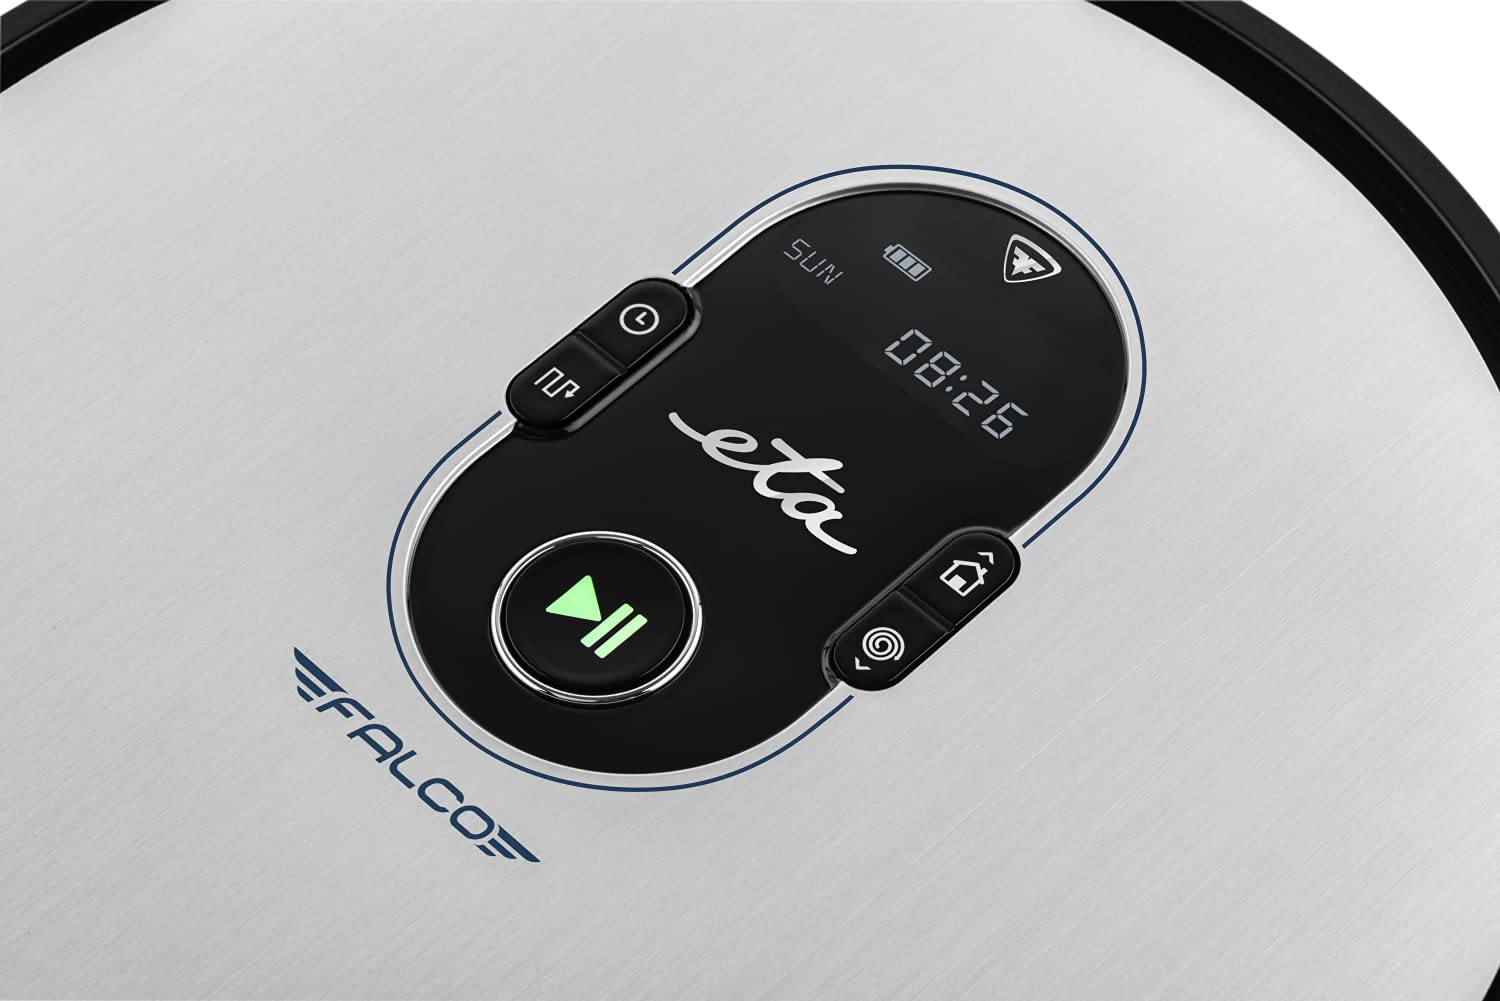
Imaxe 2.1: Top panel controls. This image shows the main control panel on the top of the robot, including buttons for power, scheduling, and return to charging station, along with a digital display.

Imaxe 2.2: Parte inferior view. This image displays the bottom of the robot, highlighting the main brush, two side brushes, and the mop attachment.

Imaxe 2.3: Underside diagram. This diagram labels the key components on the robot's underside, including the side brushes, main brush, and mop attachment.
3. Contido do paquete
Ao desembalar, asegúrese de que estean presentes todos os seguintes elementos:
- ETA Falco Smart Robot Vacuum Cleaner
- Estación de carga
- Adaptador de carga
- Control remoto
- 2x Spare Side Brushes
- Special Rotary and Lamella Brush
- 2x Cleaning Cloths (Mop Pads)
- Filtro HEPA de reposto
- Mop Attachment with 300 ml Water Tank
- Muro Virtual
4. Configuración
4.1 Carga inicial
- Place the charging station against a wall in an open area, ensuring there are no obstacles within 1 meter to the sides and 2 meters in front.
- Connect the charging adapter to the charging station and plug it into a power outlet.
- Place the robot vacuum cleaner on the charging station. Ensure the charging contacts align. The robot will begin charging automatically. A full charge takes approximately 5 hours.
4.2 Instalación dos cepillos laterais
Attach the side brushes to the designated posts on the underside of the robot by pressing them down until they click into place. Ensure the 'L' and 'R' markings on the brushes match the corresponding markings on the robot.
4.3 Connecting to the ETA SMART App
The ETA SMART app enhances the functionality of your robot. Download the app from your smartphone's app store. Follow the in-app instructions to connect your robot to your home Wi-Fi network and pair it with the app.
4.4 Configuración do Muro Virtual
The virtual wall creates an invisible barrier to restrict the robot's access to certain areas. Place the virtual wall device on the floor where you want to create a boundary. Ensure the infrared beam is directed towards the area you wish to block. The robot will detect this beam and avoid crossing it.

Imaxe 4.1: Robot with charging station and virtual wall. This image shows the robot positioned near its charging station, with a virtual wall device placed nearby to illustrate its function.
5. Instrucións de funcionamento
5.1 Modos de limpeza
The ETA Falco Smart offers four distinct cleaning modes:
- INTELLIGENTE: General cleaning mode for optimal coverage.
- CLÁSICO: Standard cleaning pattern.
- BORDE: Limpa ao longo de paredes e bordos de mobles.
- LUGAR: Limpeza concentrada nunha zona específica.
You can select these modes via the ETA SMART app or the remote control.
5.2 Programación da limpeza
Use the ETA SMART app to set a cleaning schedule for your robot. You can program specific times and days for the robot to automatically start cleaning.
5.3 Control manual
You can manually control the robot's movement and functions using the remote control or the ETA SMART app. The app also allows you to monitor cleaning activity, battery charge, and view cleaning routes.

Imaxe 5.1: ETA Smart App features. This image displays the ETA Smart App interface on a smartphone, highlighting features such as remote control, cleaning history, activity monitoring, battery status, cleaning modes (SMART, CLASSIC, EDGE, SPOT), cleaning schedule, mopping intensity control, and suction power adjustment.
5.4 Función de fregado
- Fill the 300 ml water tank with clean water. Do not use detergents or cleaning solutions that are not approved for robot vacuums.
- Attach a clean mop pad to the mop attachment.
- Slide the mop attachment into the designated slot on the underside of the robot.
- Inicia un ciclo de limpeza. O robot aspirará e fregará simultaneamente.
6. Mantemento
Un mantemento regular garante un rendemento óptimo e prolonga a vida útil do teu robot aspirador.
6.1 Cleaning the Dust Bin and Filter
- Prema o botón de liberación do colector de po e retire o colector.
- Open the dust bin and empty its contents into a trash can.
- Remove the HEPA filter and primary filter. Tap them gently to remove dust. If washable, rinse under running water and allow to air dry completely before reinserting.
- Wipe the inside of the dust bin with a dry cloth.
- Reassemble the filters and dust bin, then reinsert into the robot.
6.2 Cleaning the Main Brush
- Xire o robot.
- Remove the main brush cover by pressing the release tabs.
- Lift out the main brush.
- Use the cleaning tool (if provided) or scissors to remove hair and debris tangled around the brush.
- Clean the brush compartment.
- Reinsert the main brush and secure the cover.
6.3 Limpeza dos cepillos laterais
Periodically check the side brushes for tangled hair or debris. If necessary, remove them by gently pulling upwards and clean them. Replace worn or damaged brushes with the spare ones provided.
6.4 Limpeza da almofada da mopa e do depósito de auga
After each mopping session, remove the mop pad and wash it thoroughly. Empty any remaining water from the water tank and rinse it. Allow both to air dry completely before storing or reusing.
6.5 Limpeza de sensores
Wipe the anti-drop sensors, bumper sensors, and charging contacts on the robot and charging station with a clean, dry cloth to ensure proper function.
7 Solución de problemas
Se o teu robot aspirador ten algún problema, consulta os seguintes problemas e solucións comúns:
| Problema | Causa posible | Solución |
|---|---|---|
| O robot non se acende | Batería baixa; interruptor de alimentación apagado | Cargue o robot; asegúrese de que o interruptor de alimentación estea aceso |
| Robot non cargando | Charging contacts dirty; Charging station unplugged | Clean charging contacts; Ensure charging station is plugged in |
| Mal rendemento da limpeza | Dust bin full; Brushes tangled; Filter clogged | Empty dust bin; Clean brushes; Clean/replace filter |
| O robot quédase atascado con frecuencia | Obstáculos no chan; Sensores sucios | Clear floor of cables/small items; Clean sensors |
| Virtual wall not working | Virtual wall batteries low; Incorrect placement | Replace batteries; Adjust virtual wall position |
Se o problema persiste despois de probar estas solucións, póñase en contacto co servizo de atención ao cliente.
8. Especificacións
Technical specifications for the ETA Falco Smart Robot Vacuum Cleaner (Model ETA251590000):
| Característica | Detalle |
|---|---|
| Fabricante | ETA |
| Dimensións do produto (L x W x H) | 32.5 x 33.5 x 7.5 cm |
| Peso | 250 gramos |
| Número de modelo do artigo | ETA251590000 (T2261) |
| Cor do modelo | Azul |
| Material | Plástico |
| Tipo de potencia | Alimentado por batería |
| Voltage | 3 Volts (14.4V Li-ion battery, 2400 mAh) |
| Number of items in package | 1 |
| Características especiais | Pet brush compatibility, Smart App control, Floating brush system, HEPA filter, Virtual wall |
| Compoñentes incluídos | Battery, Filter, Charging station, Adapter, Remote control, Side brushes, Rotary brush, Cleaning cloths, Mop attachment, Virtual wall |
| Composición da batería | Ion de litio |
| Duración da batería | Ata 120 minutos |
| Tempo de carga | Aprox. 5 horas |
| Recomendación de superficie | Laminado |
| Tipo de controlador | Control de aplicacións |
| Dispoñibilidade de Recambios | Información non dispoñible sobre pezas de reposto |
9. Garantía e soporte
For warranty information, product support, or to inquire about spare parts, please refer to the warranty card included with your purchase or visit the official ETA websitio. Garda o comprobante de compra para reclamacións de garantía.


