Introdución
This manual provides detailed instructions for the installation, operation, and maintenance of your AXAGON ADSA-ST USB 3.0 Docking Station. This device is designed to connect 2.5" and 3.5" SATA SSDs and HDDs to your computer via a USB 3.0 interface, offering fast data transfer speeds.
Lea este manual detidamente antes de usar o produto para garantir o seu correcto funcionamento e evitar danos.
Contido do paquete
Verifica que todos os compoñentes estean presentes no paquete:
- AXAGON ADSA-ST Docking Station
- USB 3.0 Type-A to Micro-B cable
- Adaptador de alimentación
- Manual de usuario (este documento)

Image: The AXAGON ADSA-ST Docking Station shown alongside its retail packaging, illustrating the product and its box.
Características clave
- Supports 2.5" and 3.5" SATA I/II/III SSDs and HDDs.
- USB 3.0 (USB 3.2 Gen 1) interface with up to 5 Gbps transfer speed.
- SATA 6G (SATA III) support.
- UASP (USB Attached SCSI Protocol) support for enhanced performance.
- TRIM support for SSDs.
- HDD Auto Spindown function.
- LED indication for power and activity.
- Compact design with aluminum body.

Imaxe: A view of the AXAGON ADSA-ST Docking Station highlighting its 5 Gbps USB 3.2 Gen 1 speed and compact size.
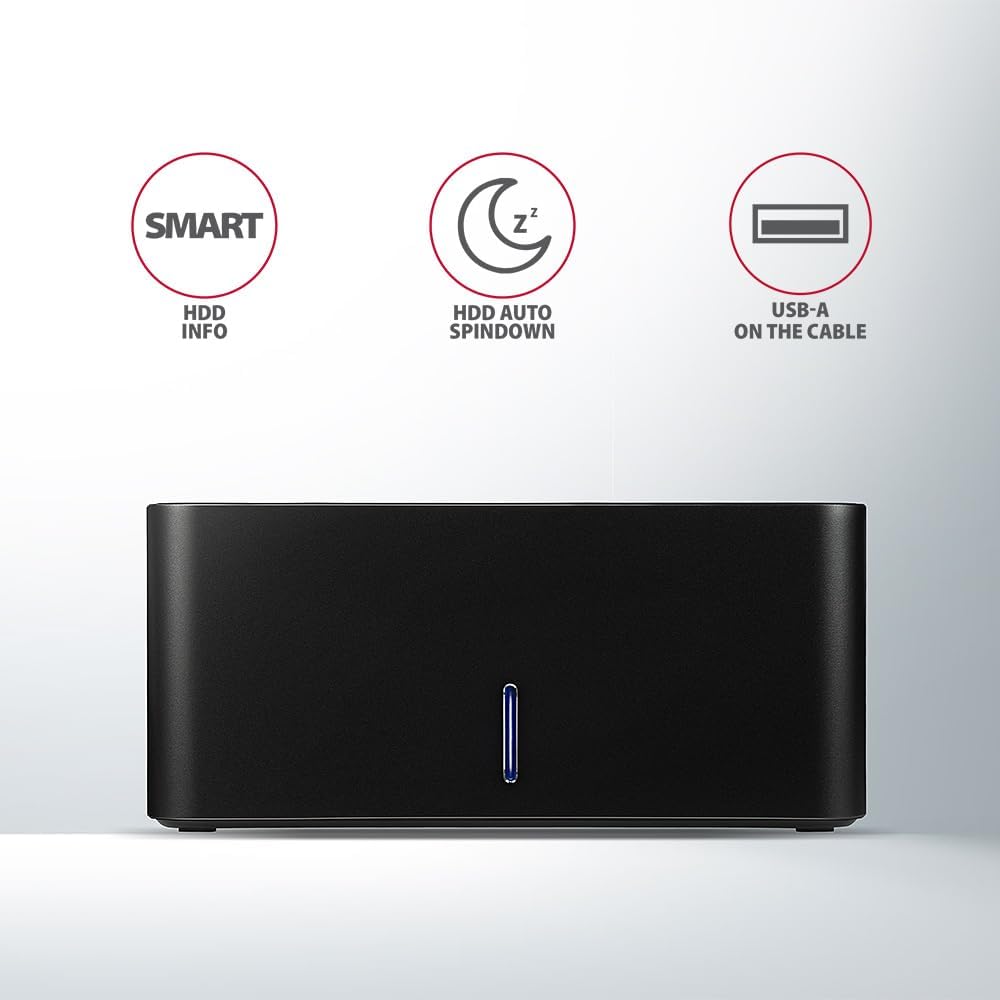
Image: The docking station from the front, indicating features like SMART HDD info, automatic HDD spindown, and USB-A connectivity.
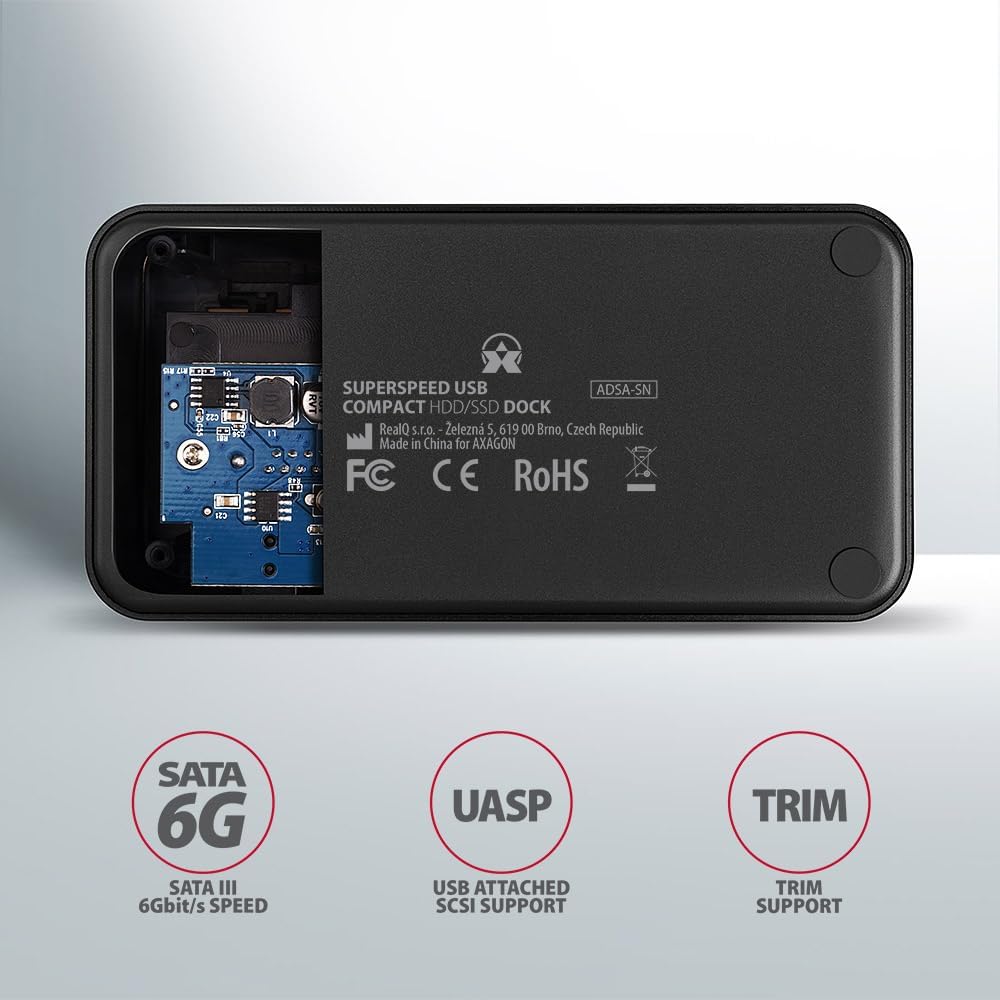
Image: The underside of the docking station, showing internal components and highlighting SATA 6G, UASP, and TRIM support.
Instrucións de configuración
- Conectar o adaptador de alimentación: Plug the included power adapter into the DC IN port on the back of the docking station and then into a power outlet.
- Conectar ao ordenador: Connect the USB 3.0 cable from the docking station's Micro-B port to an available USB 3.0 (or higher) port on your computer.
- Insert HDD/SSD:
- For 2.5" SSD/HDD: Gently slide the 2.5" drive into the slot until it connects firmly with the SATA connector.
- For 3.5" HDD: Gently slide the 3.5" drive into the slot until it connects firmly with the SATA connector.
Ensure the drive is inserted correctly with the SATA connector facing the correct direction. Do not force the drive.

Image: A 2.5-inch SSD being inserted into the docking station, demonstrating compatibility with smaller drives.
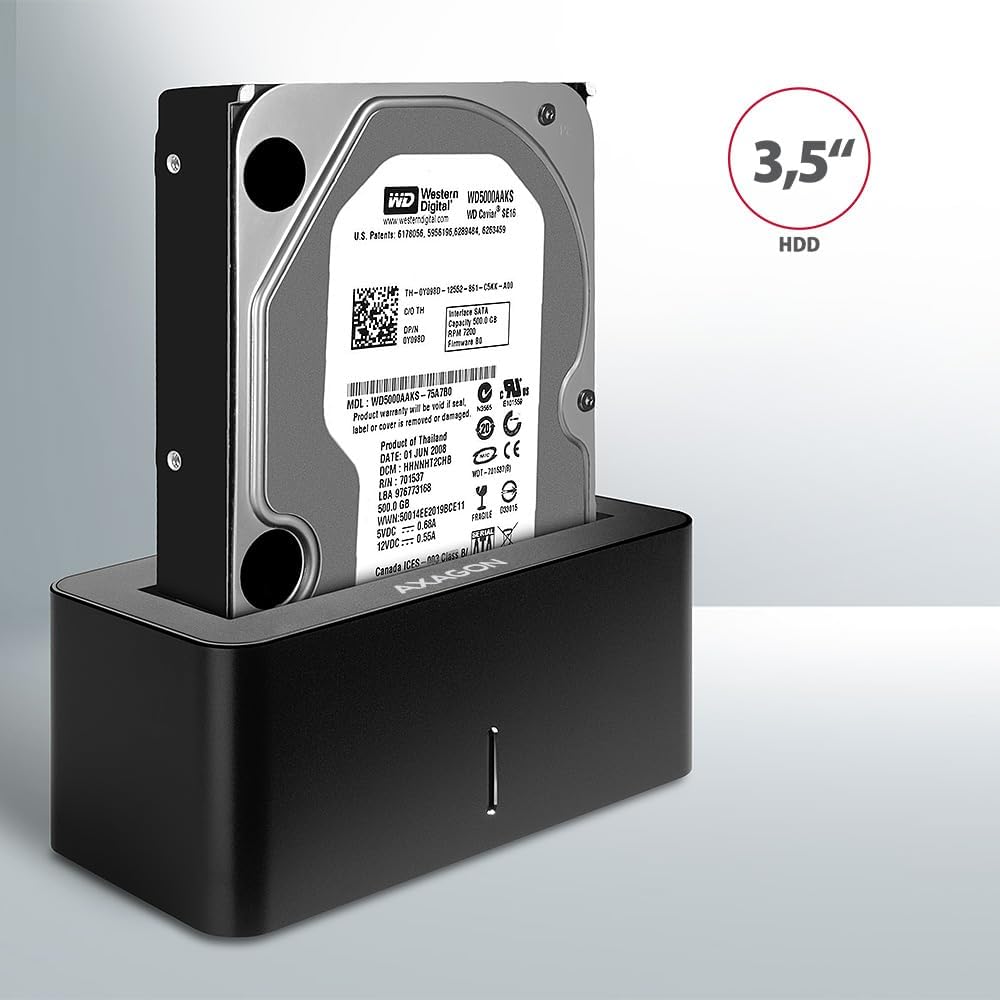
Image: A 3.5-inch HDD being inserted into the docking station, demonstrating compatibility with larger drives.
- Encendido: Press the power button located on the back of the docking station. The LED indicator on the front will illuminate.
Image: The rear panel of the docking station, showing the power button, USB Micro-B port, and power input for connection.
Instrucións de funcionamento
Drive Recognition
Once powered on and connected, your operating system should automatically detect the inserted drive. If it's a new drive, you may need to initialize and format it through Disk Management (Windows) or Disk Utility (macOS) before it appears in File Explorer/Finder.
Indicador LED
The LED indicator on the front of the docking station provides status information:
- Azul Sólido: Power on, drive idle.
- Azul intermitente: Drive activity (reading or writing data).
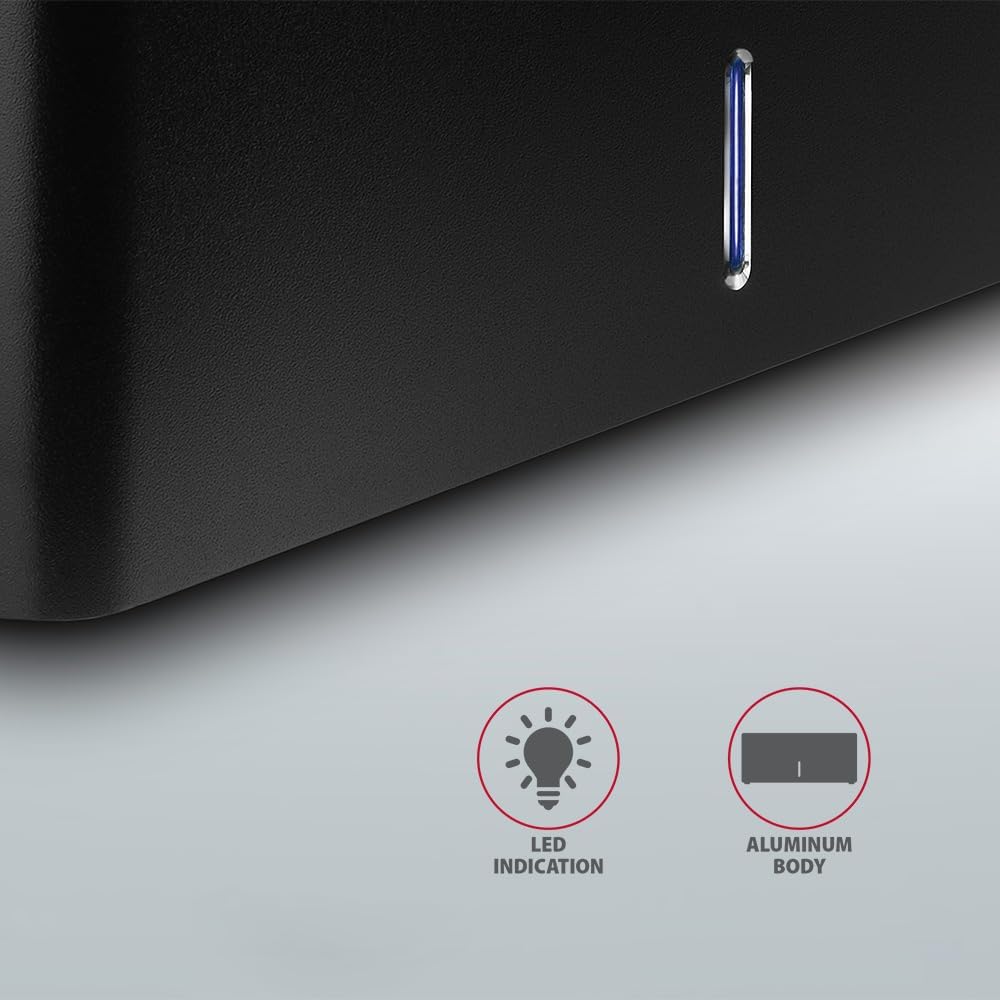
Imaxe: Primeiro plano view of the docking station's front panel, highlighting the LED indicator light.
Removing a Drive
Before removing a drive, always safely eject it from your operating system to prevent data corruption. After ejection, gently pull the drive straight out of the docking station slot.
HDD Auto Spindown
The docking station supports automatic spindown of the HDD when it is idle for a certain period, conserving power and extending drive lifespan. This feature is managed by the operating system or the drive itself.
Mantemento
- Manteña a estación de carga limpa e libre de po. Use un pano suave e seco para limpar.
- Evite expoñer o dispositivo a temperaturas extremas, humidade ou luz solar directa.
- Non intente desmontar nin reparar o dispositivo vostede mesmo. Consulte persoal de servizo cualificado.
- Ensure proper ventilation around the docking station during operation.
Resolución de problemas
- Unidade non detectada:
- Asegúrate de que o adaptador de corrente estea conectado correctamente e que a estación de acoplamento estea acendida.
- Verify the USB cable is properly connected to both the docking station and the computer.
- Proba cun porto USB diferente no teu ordenador.
- Ensure the HDD/SSD is fully seated in the docking station's slot.
- Check Disk Management (Windows) or Disk Utility (macOS) to see if the drive is recognized but uninitialized/unformatted.
- Test with a different HDD/SSD to rule out a drive issue.
- Velocidades de transferencia lentas:
- Ensure the docking station is connected to a USB 3.0 (or higher) port on your computer. USB 2.0 ports will limit speeds.
- Verifica que o teu sistema operativo e os controladores estean actualizados.
- The actual speed depends on the drive's performance and your computer's USB controller.
- Drive disconnects randomly:
- Comprobe todas as conexións de cable.
- Asegúrate de que o adaptador de corrente proporcione enerxía estable.
- Disable USB power saving features in your computer's operating system settings.
Especificacións técnicas
| Característica | Detalle |
|---|---|
| Marca | AXAGÓN |
| Número de modelo | ADSA-SN |
| Plataforma de hardware | PC |
| Dispositivos compatibles | Portátil, PC de escritorio |
| Compatibilidade con unidades | 2.5" / 3.5" SATA I/II/III SSD/HDD |
| Interface | USB 3.0 (USB 3.2 Gen 1) |
| Taxa de transferencia de datos | Up to 5 Gbps (USB 3.0), 6 Gbps (SATA III) |
| Total de portos USB | 1 (Micro-B) |
| Número de bahías de unidades | 1 |
| Cor | Negro |
| Peso do elemento | 2.2 libras (aprox. 1 kg) |
| Dimensións do paquete | 3.94 x 0.79 x 0.39 polgadas (aprox. 10 x 2 x 1 cm) |
| Data de primeira dispoñibilidade | 30 de marzo de 2021 |
Garantía e Soporte
For warranty information and technical support, please refer to the official AXAGON websitio web ou póñase en contacto co seu distribuidor local. Garde o comprobante de compra para reclamacións de garantía.


