1. Introdución
This manual provides detailed instructions for the installation, operation, and maintenance of your Vivotek IB9380-H 5MP IR Outdoor Network Bullet Camera. Please read this manual thoroughly before using the product to ensure proper setup and optimal performance. This camera is designed for outdoor security surveillance, offering high-resolution imaging and infrared capabilities for reliable monitoring.
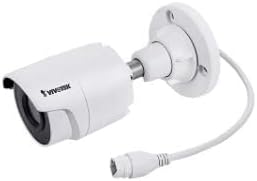
Image 1.1: Vivotek IB9380-H 5MP IR Outdoor Network Bullet Camera overview.
2. Información de seguridade
- Fonte de enerxía: Use only the specified AC/DC power adapter. Ensure the power supply is stable and meets the camera's requirements (3.5 watts).
- Entorno de instalación: This camera is rated for outdoor use (IP9380). Avoid installing in locations with extreme temperatures, high humidity, or corrosive substances beyond its operating specifications.
- Manexo: Do not drop or subject the camera to severe shock. Avoid touching the lens directly.
- Desmontaxe: Non intente desmontar nin modificar a cámara. Isto podería anular a garantía e causar danos.
- Cableado: Ensure all cables are properly secured and protected from environmental damage or tampering.
3. Contido do paquete
Verifica que todos os elementos estean presentes no paquete:
- Vivotek IB9380-H 5MP IR Outdoor Network Bullet Camera
- Kit de montaxe (parafusos, ancoraxes de parede)
- Guía de instalación rápida
- Conector impermeable para cable Ethernet
4. Configuración
4.1. Physical Installation and Mounting
The Vivotek IB9380-H camera is designed for wall mount installation. Choose a suitable location that provides the desired field of view e está ao alcance das conexións de enerxía e de rede.
- Prepare a superficie de montaxe: Mark the drilling points on the wall using the mounting template (if provided) or by holding the camera's base against the surface.
- Perforación: Perfore buratos guía nas posicións marcadas. Insira ancoraxes de parede se monta en cartón xeso ou albanelería.
- Protexe a cámara: Attach the camera's mounting base to the wall using the provided screws. Ensure it is firmly secured.
- Axustar ángulo: Afrouxe os parafusos de axuste do corpo da cámara para axustar o desexado viewing angle. Tighten the screws once the angle is satisfactory.

Image 4.1: Camera dimensions and mounting diagram for installation planning.
4.2. Conexión por cable
Connect the necessary cables to the camera:
- Cable Ethernet: Connect a standard Ethernet cable (RJ45) to the camera's network port. Use the waterproof connector to protect the connection if exposed to weather.
- Cable de alimentación: Connect the power adapter to the camera's power input. Ensure the connection is secure.

Image 4.2: Close-up of an Ethernet cable connector, similar to what is used for the camera's network connection.
4.3. Acendido inicial
Once all cables are connected, plug the power adapter into an electrical outlet. The camera will power on and initiate its startup sequence. Observe any indicator lights for status.
5. Instrucións de funcionamento
5.1. Network Configuration and Access
The Vivotek IB9380-H supports Wi-Fi connectivity. For initial setup, it is recommended to connect via Ethernet to configure network settings.
- Descubrir a cámara: Use the Vivotek IP Search utility or your network router's client list to find the camera's assigned IP address.
- Acceso Web Interface: Abrir a web browser and enter the camera's IP address. Log in using the default credentials (refer to the Quick Installation Guide for details).
- Configurar o Wi-Fi: Navigate to the network settings within the web interface. Select your Wi-Fi network, enter the password, and save the settings. Once configured, you may disconnect the Ethernet cable if desired.
5.2. En directo View e Gravación
After network setup, you can access the camera's live feed and configure recording options.
- En directo View: Dende o web interface or a compatible mobile application, select the camera to view a súa transmisión en directo.
- Configuración da gravación: Configure recording schedules, continuous recording, or event-triggered recording (e.g., motion detection). Recordings can be stored on a network video recorder (NVR) or a local storage device if supported.
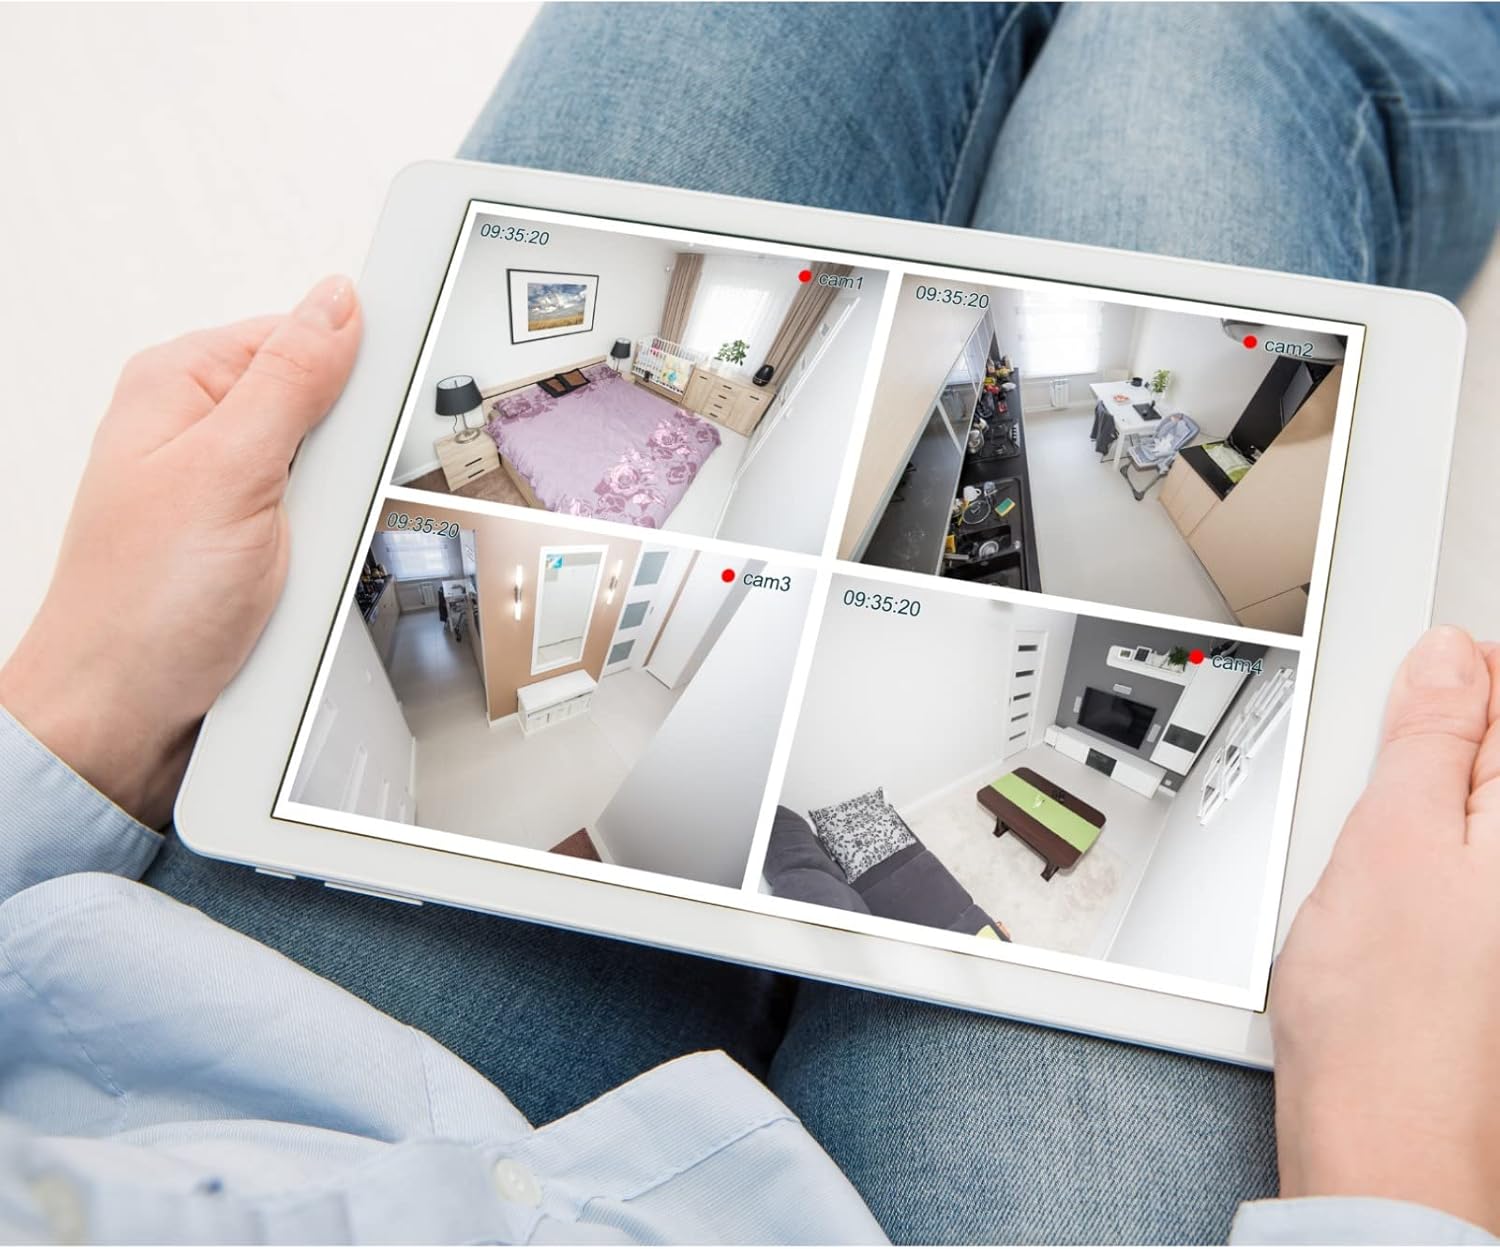
Imaxe 5.1: Ex.ample of a tablet displaying multiple camera feeds, illustrating remote monitoring capabilities.
5.3. Motion Detection Setup
The camera supports motion-only alerts.
- Access Alert Settings: In the camera's web interface, navigate to the event or alert settings section.
- Configure Motion Detection: Enable motion detection and define the detection zones and sensitivity levels.
- Set Actions: Specify actions to be taken upon motion detection, such as recording, sending email notifications, or triggering alarms.
5.4. Visión nocturna
The camera features IR (Infrared) and Night Color low light technology for clear imaging in various lighting conditions. These features typically activate automatically based on ambient light levels.
6. Mantemento
- Limpeza da lente: Limpe con coidado a lente da cámara cun pano suave e limpo. Para a sucidade persistente, use unha solución de limpeza de lentes deseñada para superficies ópticas. Non use produtos de limpeza abrasivos.
- Actualizacións de firmware: Periodically check the Vivotek websitio para actualizacións de firmware. Manter o firmware actualizado garante un rendemento óptimo, seguridade e acceso a novas funcións.
- Verificación ambiental: Regularly inspect the camera and its mounting for any signs of wear, damage, or loose connections, especially after severe weather conditions.
- Ciclo de enerxía: If the camera experiences minor issues, try power cycling it by disconnecting and reconnecting the power supply.
7 Solución de problemas
| Problema | Causa posible | Solución |
|---|---|---|
| Sen Poder | Power adapter unplugged or faulty; power outlet issue. | Check power connections. Test the outlet with another device. Try a different power adapter if available. |
| Sen fonte de vídeo | Network connection issue; incorrect IP address; camera not configured. | Verify network cable connection or Wi-Fi settings. Confirm camera's IP address. Ensure camera is properly configured in your viewsoftware de ing. |
| Mala calidade da imaxe | Dirty lens; low light conditions; incorrect resolution settings. | Clean the camera lens. Ensure sufficient lighting or verify night vision is active. Check video resolution settings in the camera's interface. |
| A detección de movemento non funciona | Motion detection disabled; incorrect sensitivity; detection zones not set. | Enable motion detection in settings. Adjust sensitivity and define detection zones. |
8. Especificacións
| Característica | Detalle |
|---|---|
| Modelo | IB9380-H |
| Resolución efectiva de fotografías | 5 MP |
| Resolución de captura de vídeo | 1080 p |
| Velocidade de cadros | 20 fps |
| Tecnoloxía de pouca luz | Cor da noite |
| Factor de forma | Bala |
| Uso interior/exterior | Ao aire libre |
| Tipo de montaxe | Soporte de parede |
| Comunicación sen fíos | Wi-Fi |
| Protocolo de conectividade | Wi-Fi |
| Fonte de enerxía | AC/DC |
| Wattage | 3.5 vatios |
| Tipo de alerta | Só Movemento |
| Método de control | Mando a distancia |
| Dimensións (L x W x H) | 3.59 x 3.59 x 6.96 polgadas |
| Clasificación de protección internacional | IP9380 |
| UPC | 655255870887, 681541834035 |
9. Información da garantía
This Vivotek product is covered by a manufacturer's limited warranty. Please refer to the warranty card included in your package or visit the official Vivotek website for detailed terms and conditions regarding warranty coverage, duration, and claims procedures. Keep your proof of purchase for warranty service.
10. Atención ao cliente
For technical assistance, troubleshooting beyond this manual, or warranty inquiries, please contact Vivotek customer support. You can typically find contact information (phone, email, support portal) on the official Vivotek websitio web ou na documentación que se inclúe co produto.
Recursos en liña: www.vivotek.com


